lorenzo artist

"Nipsy Blue" -Ascension

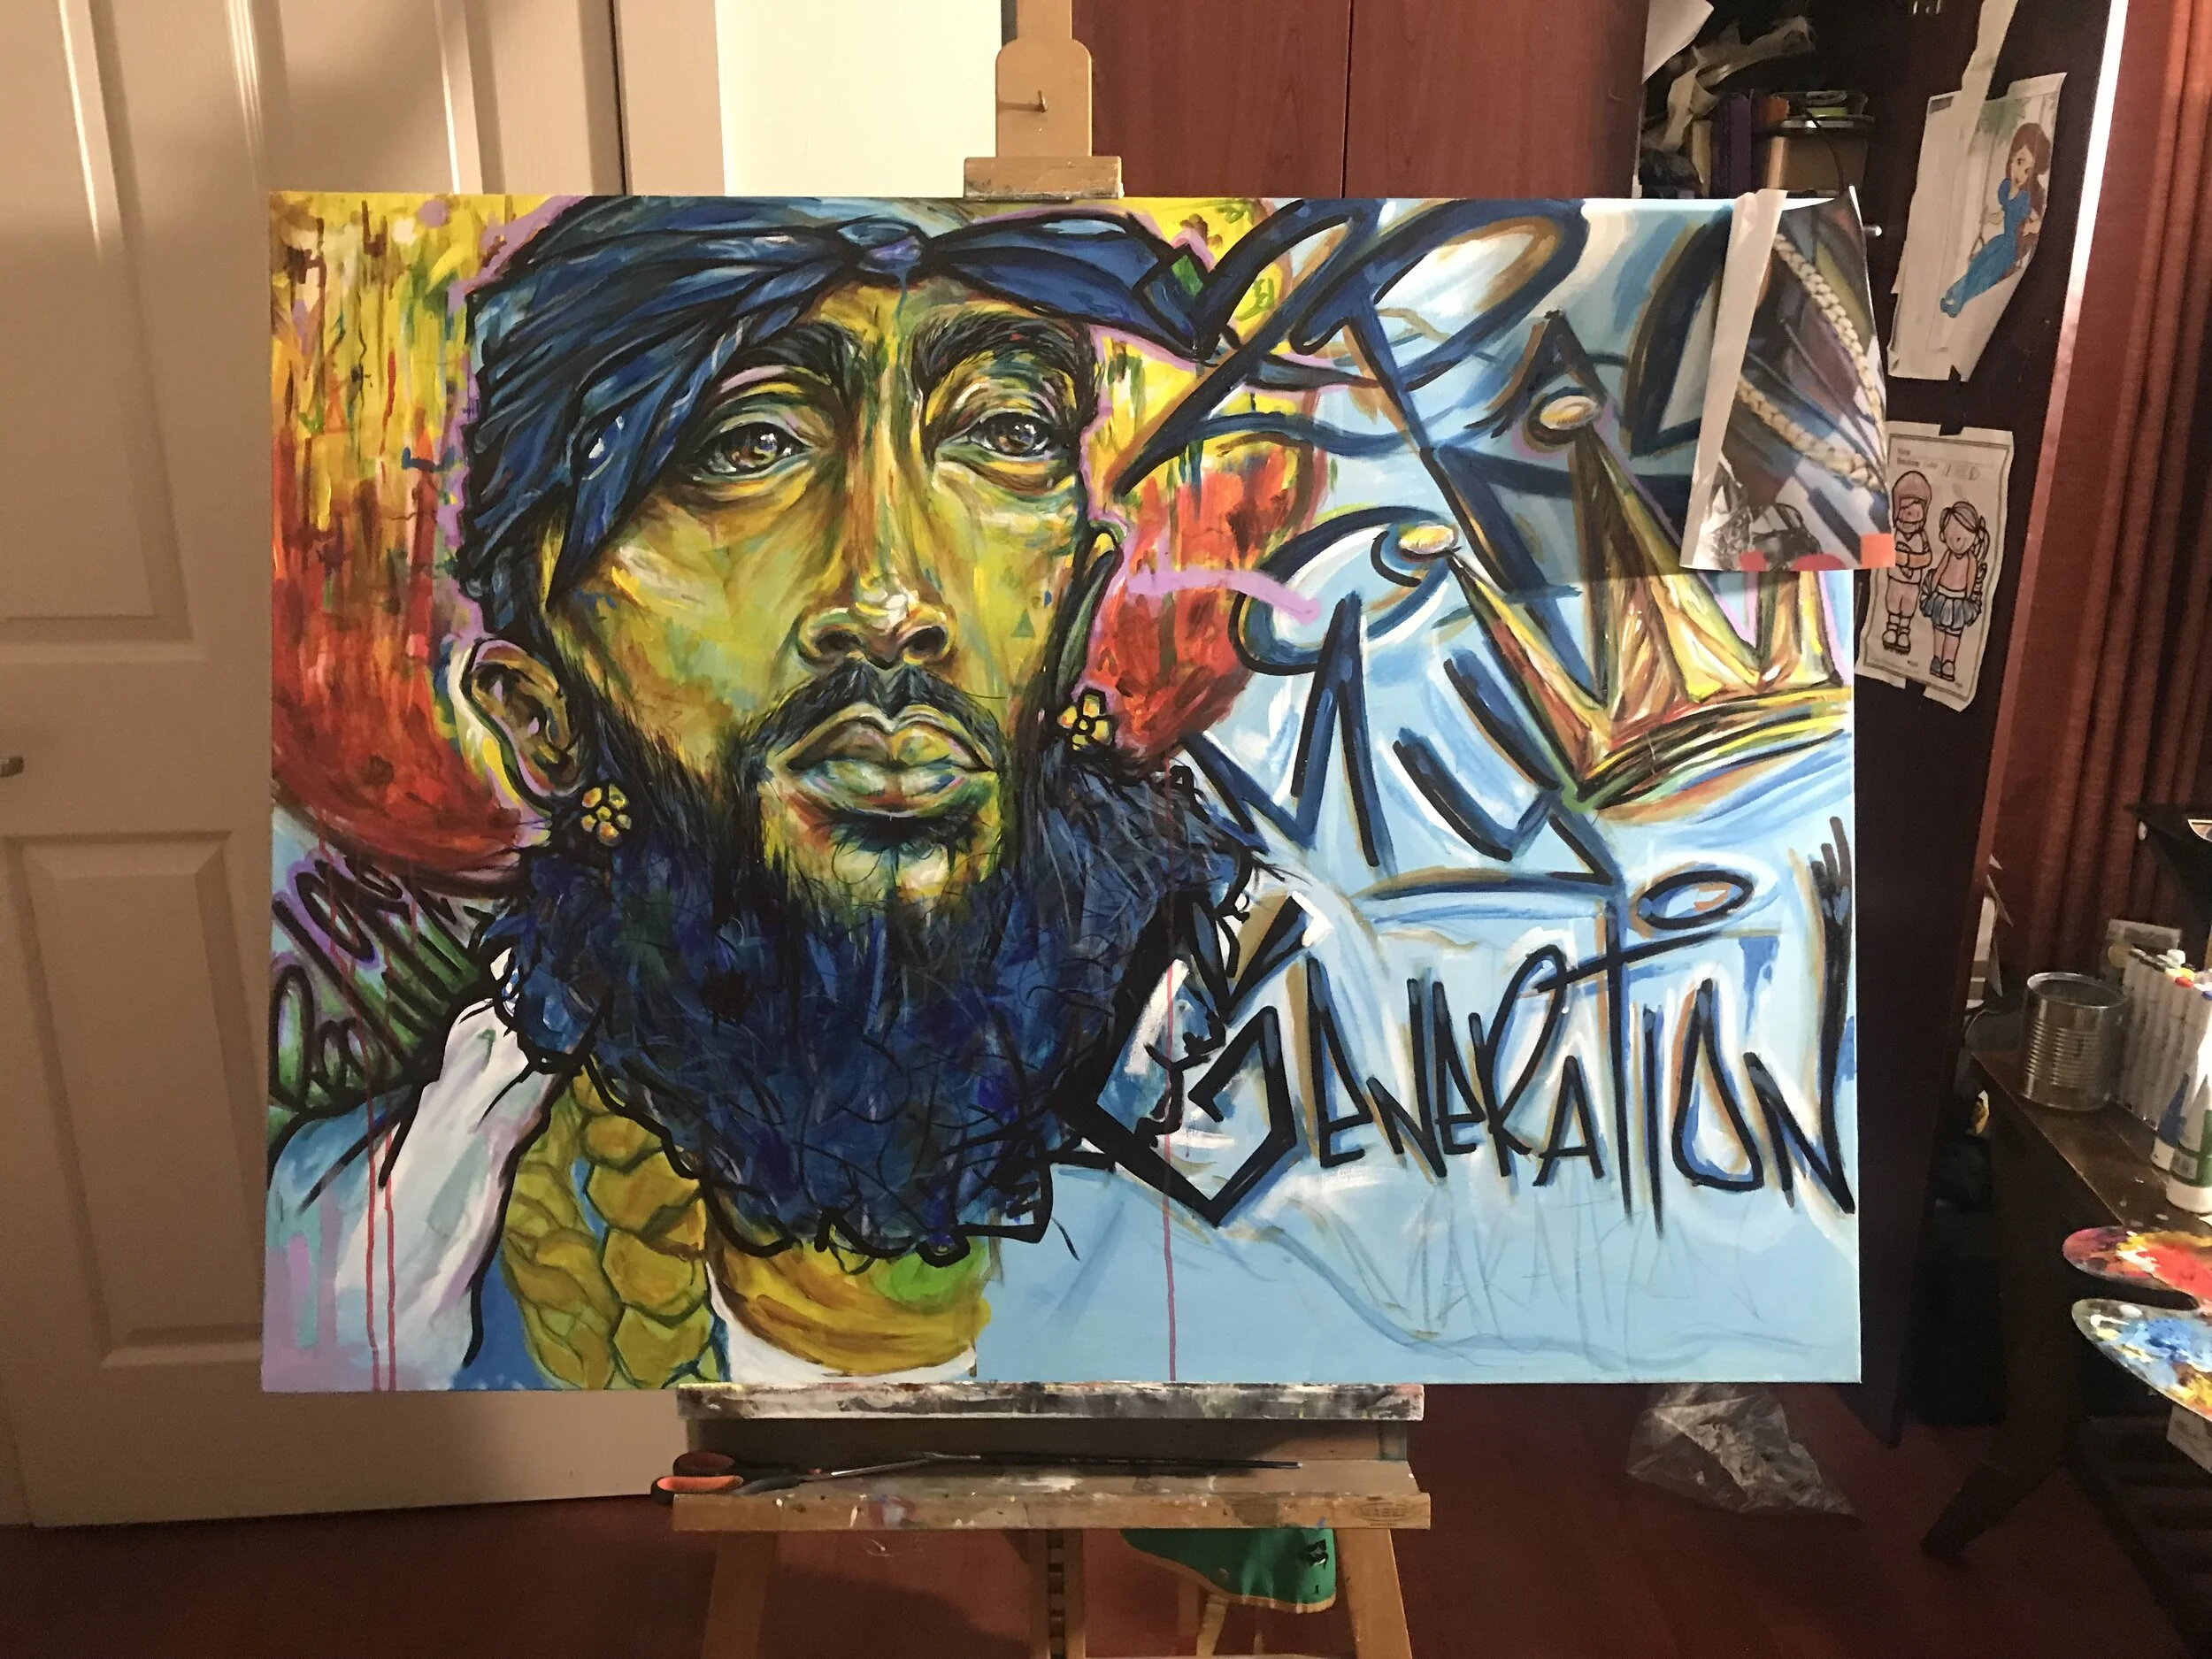
“2Pac Of My Generation”

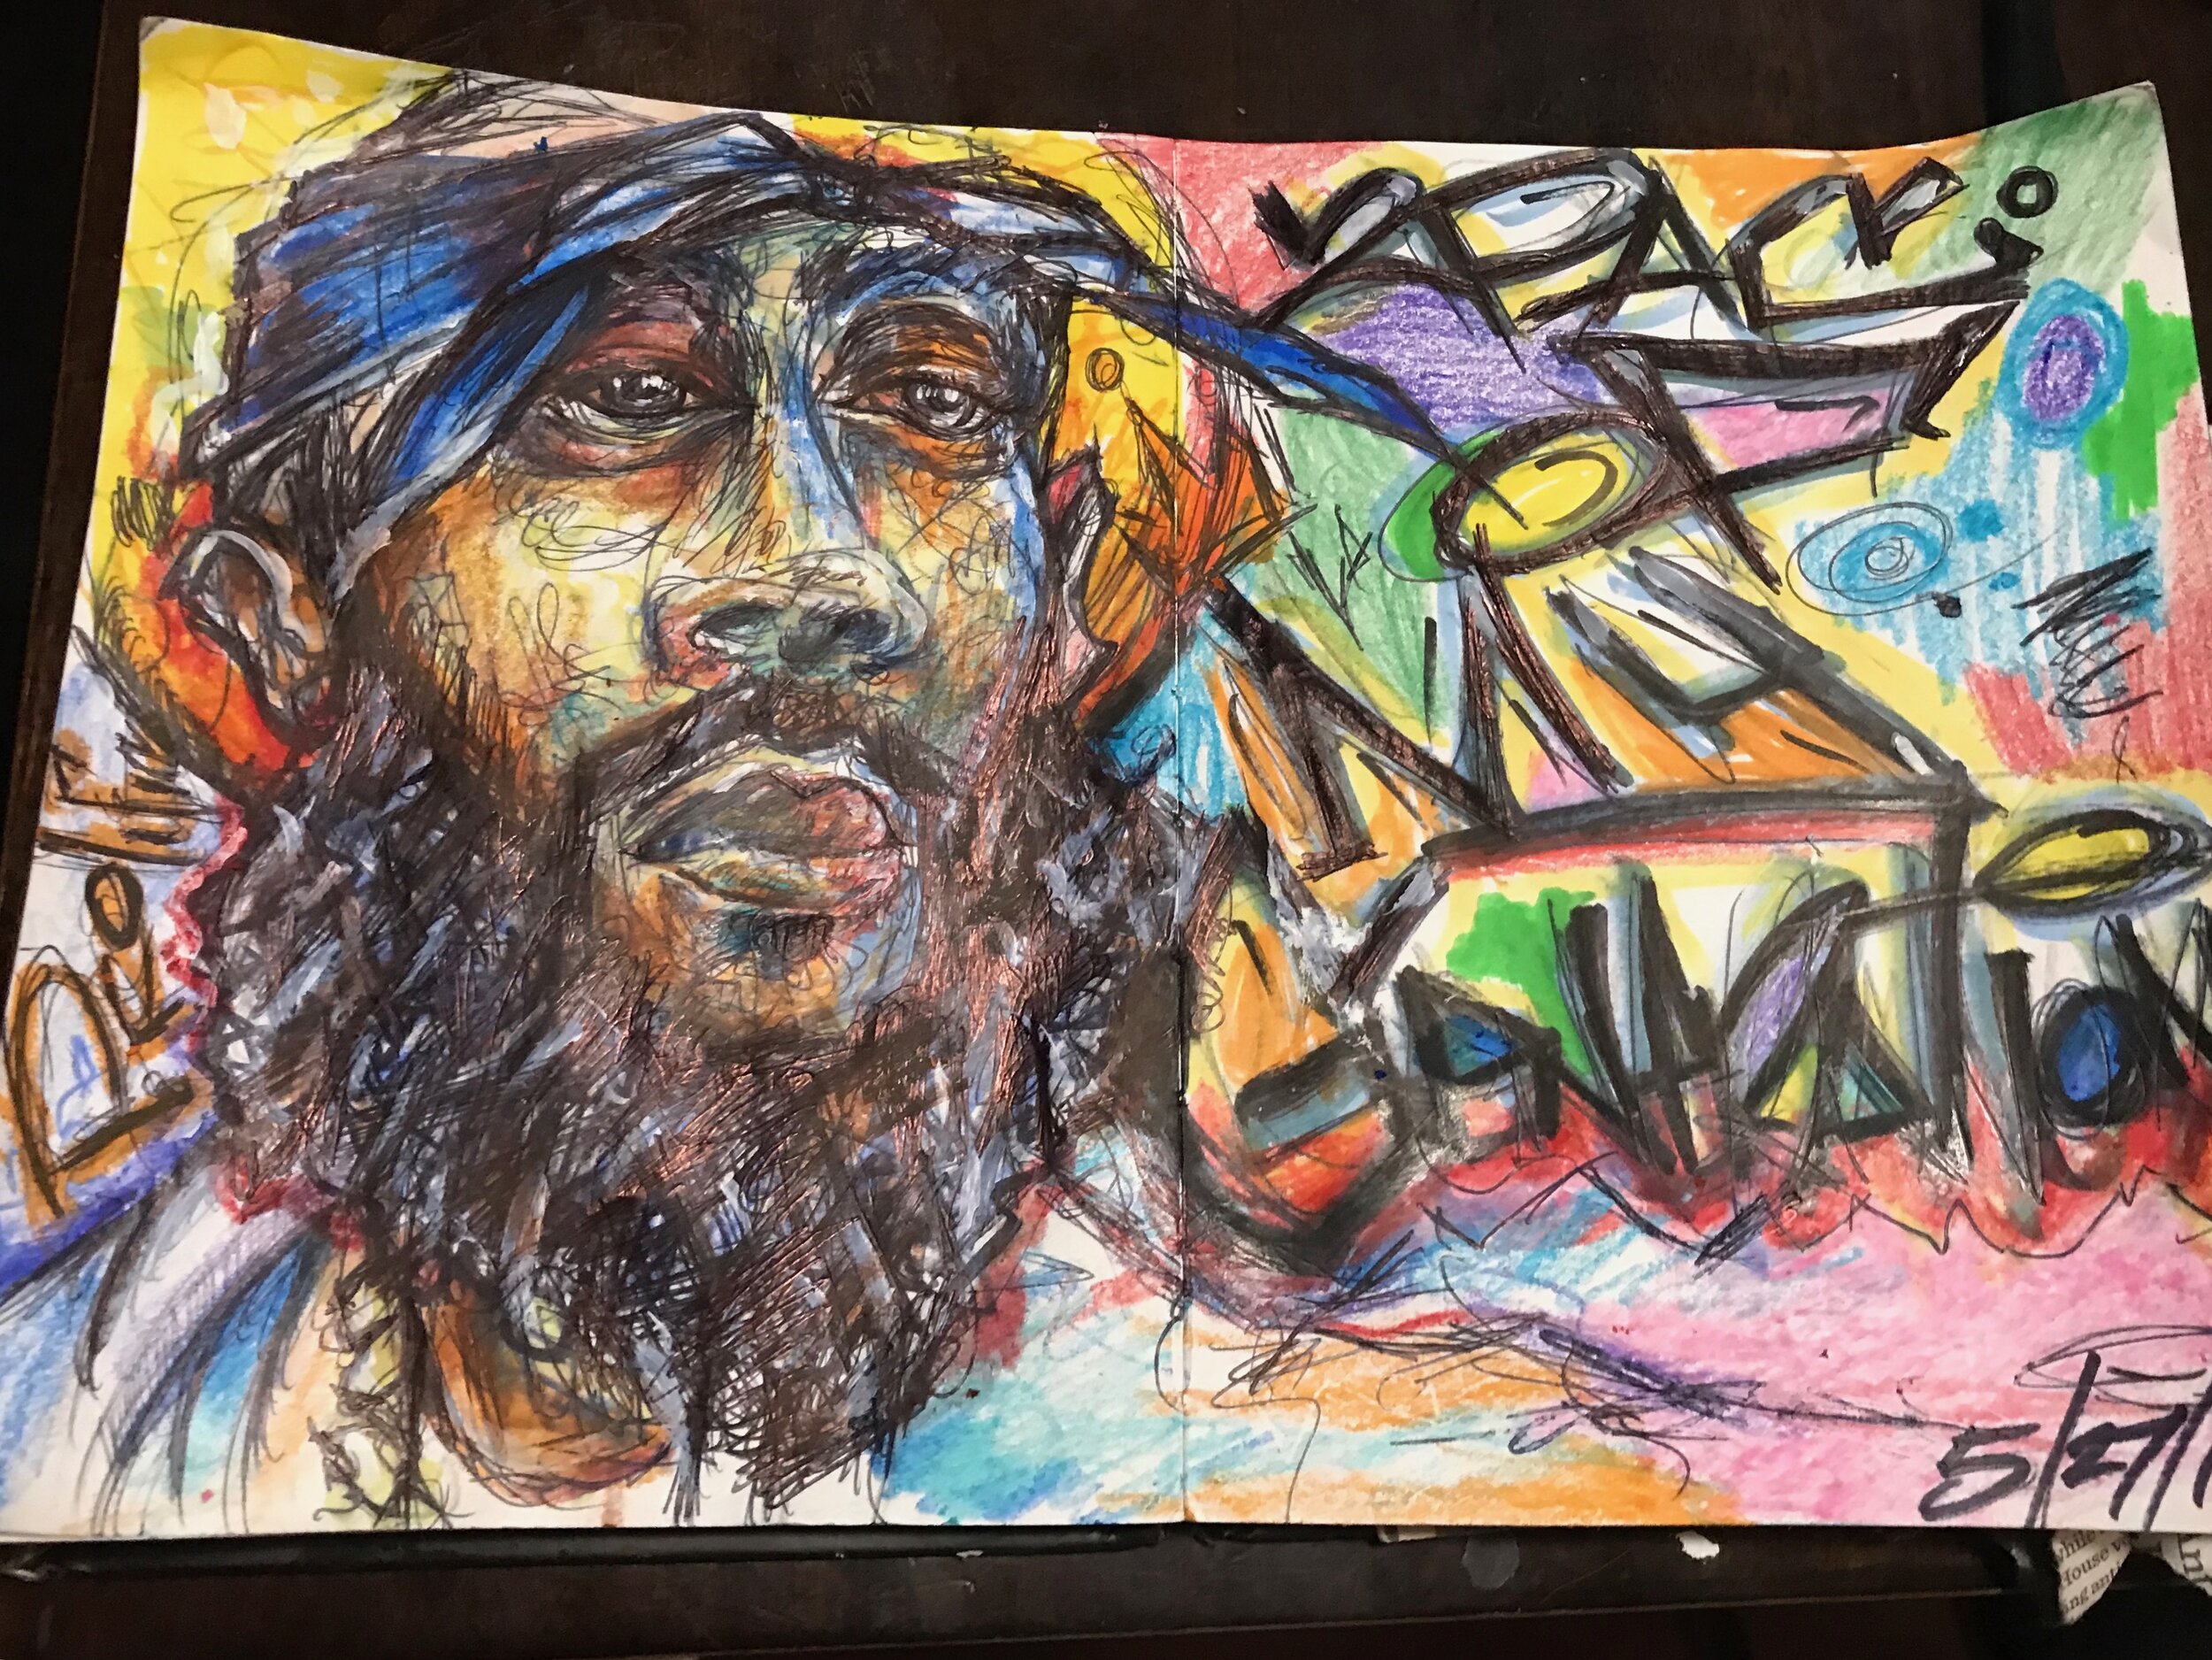
SketchBook Stage 1

SketchBook Stage 1

SketchBook Stage 2

SketchBook Stage 2

SketchBook Stage 3 #Ink #ColorPencil #Marker

SketchBook Stage 3 #Ink #ColorPencil #Marker

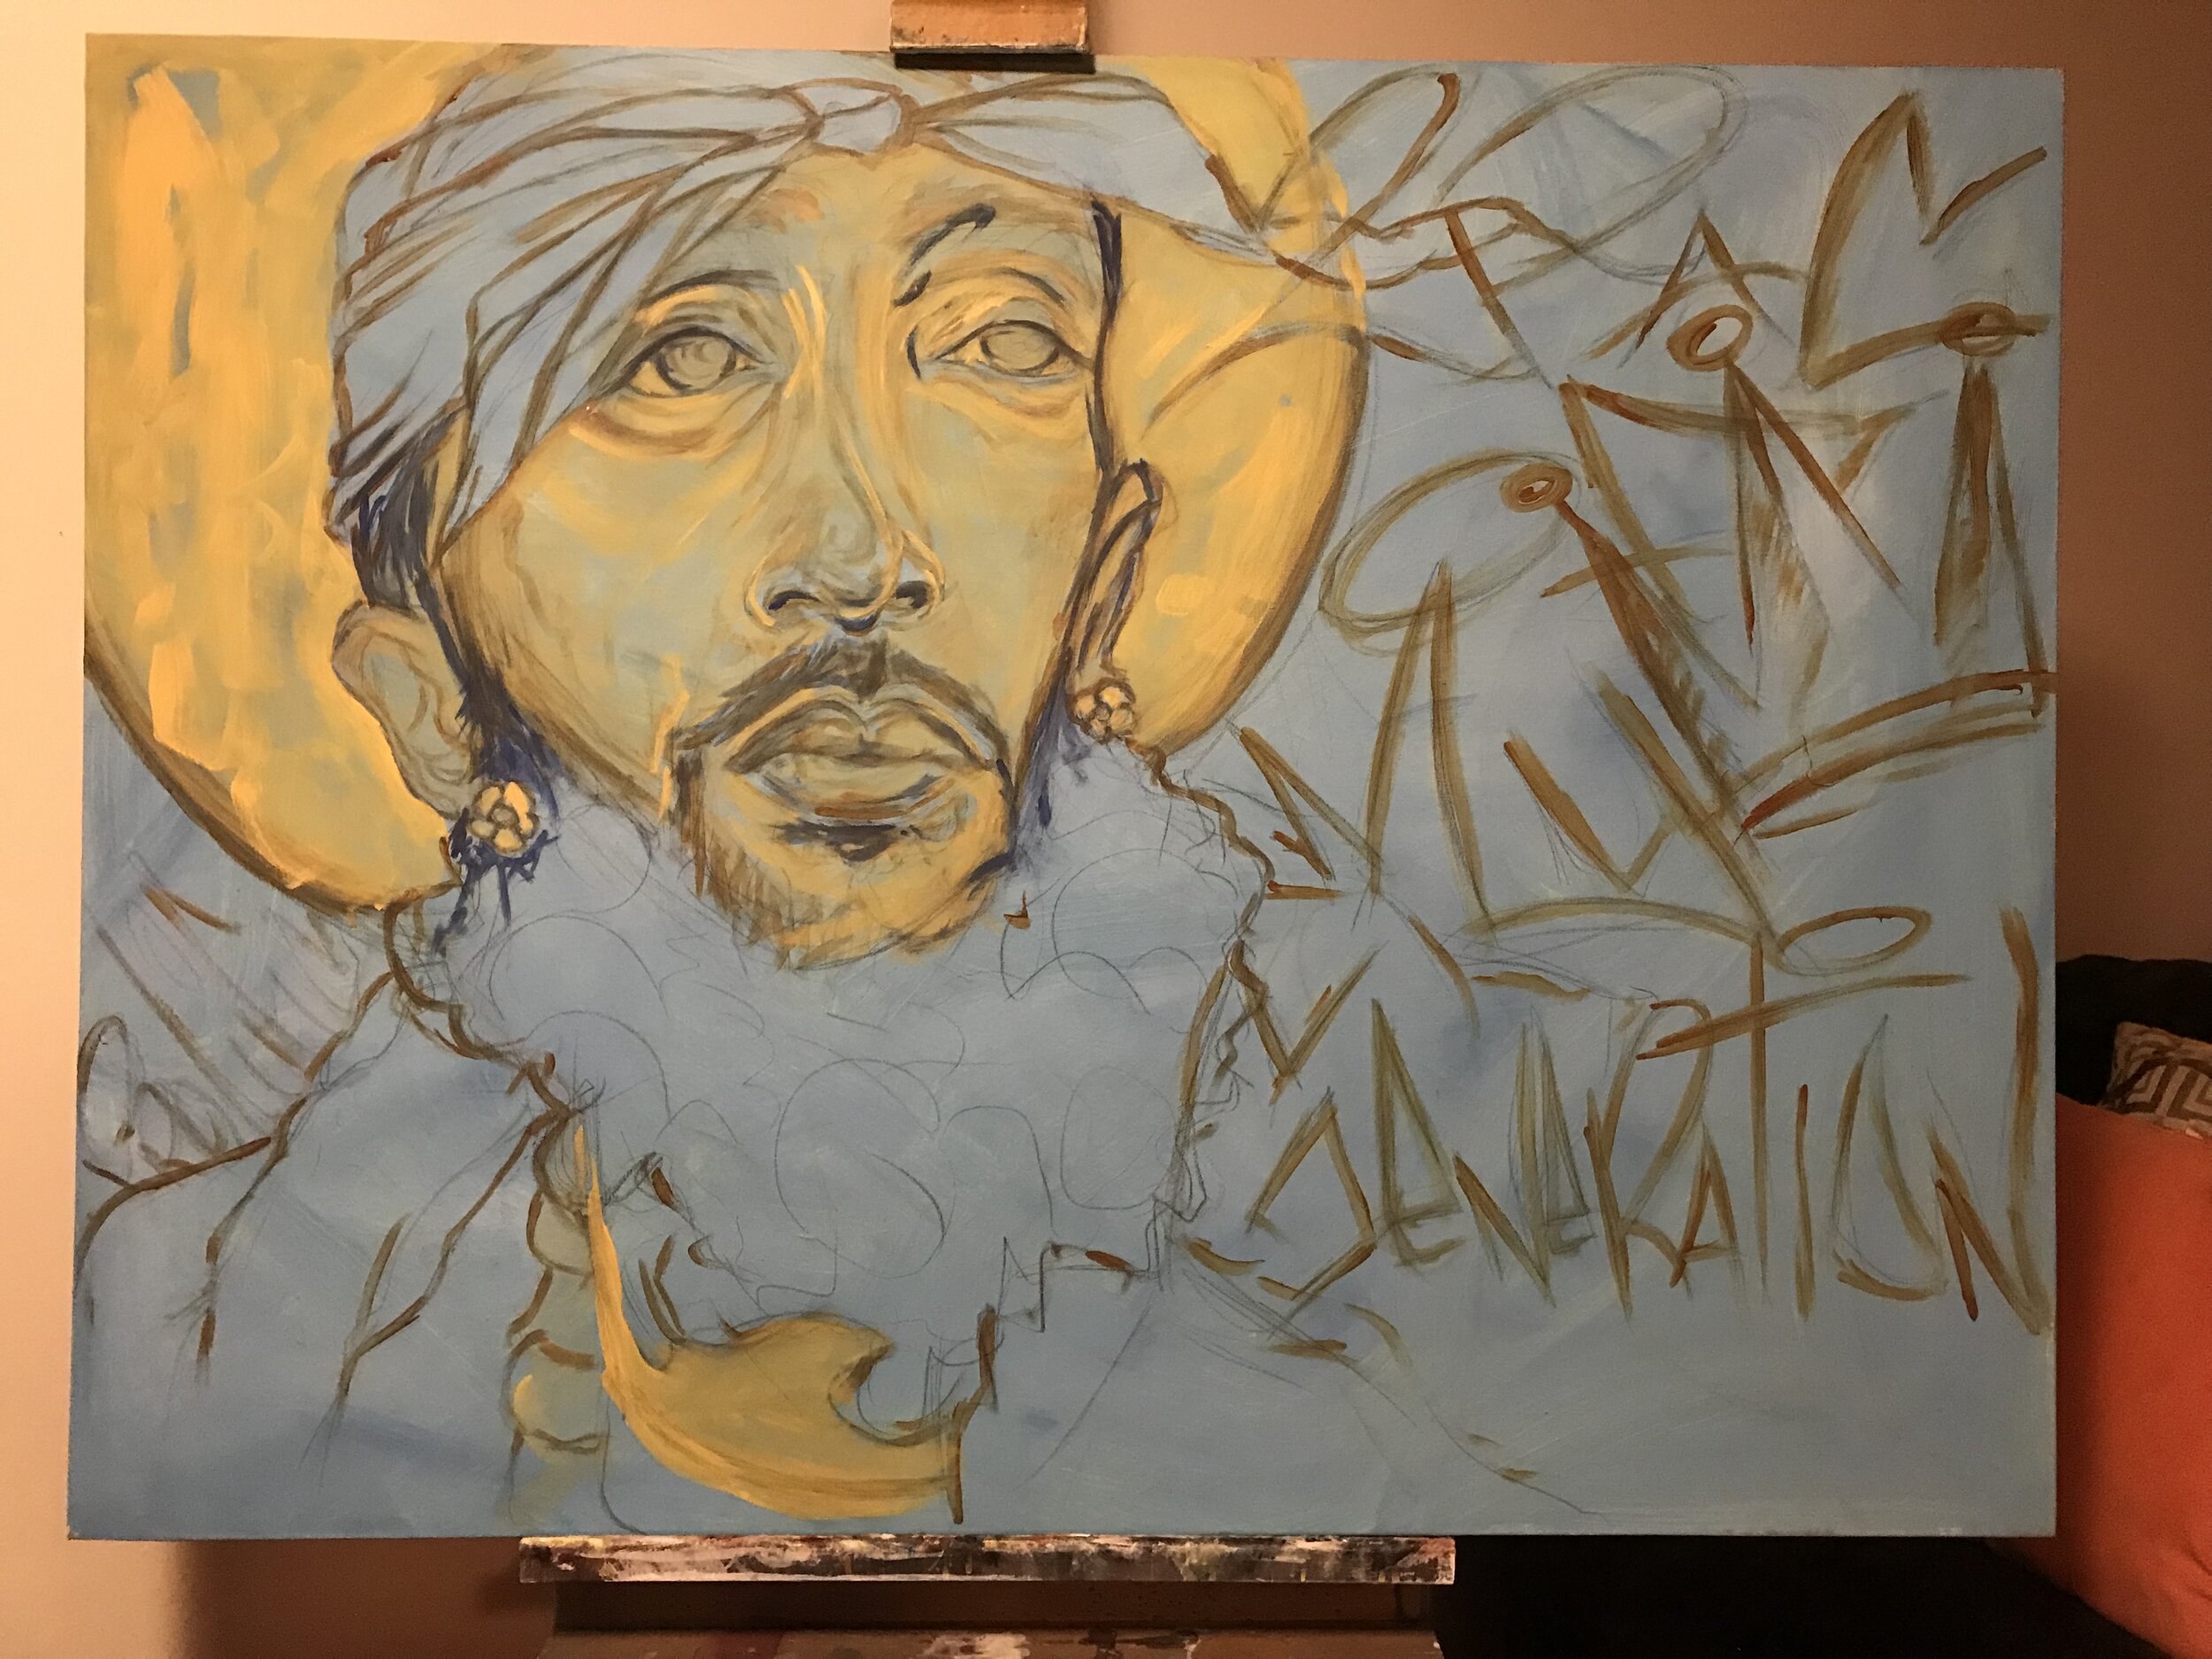
Transfer to Canvas #Sketch #Graphite

Transfer to Canvas #Sketch #Graphite

Canvas Painting Stage 1

Canvas Painting Stage 1

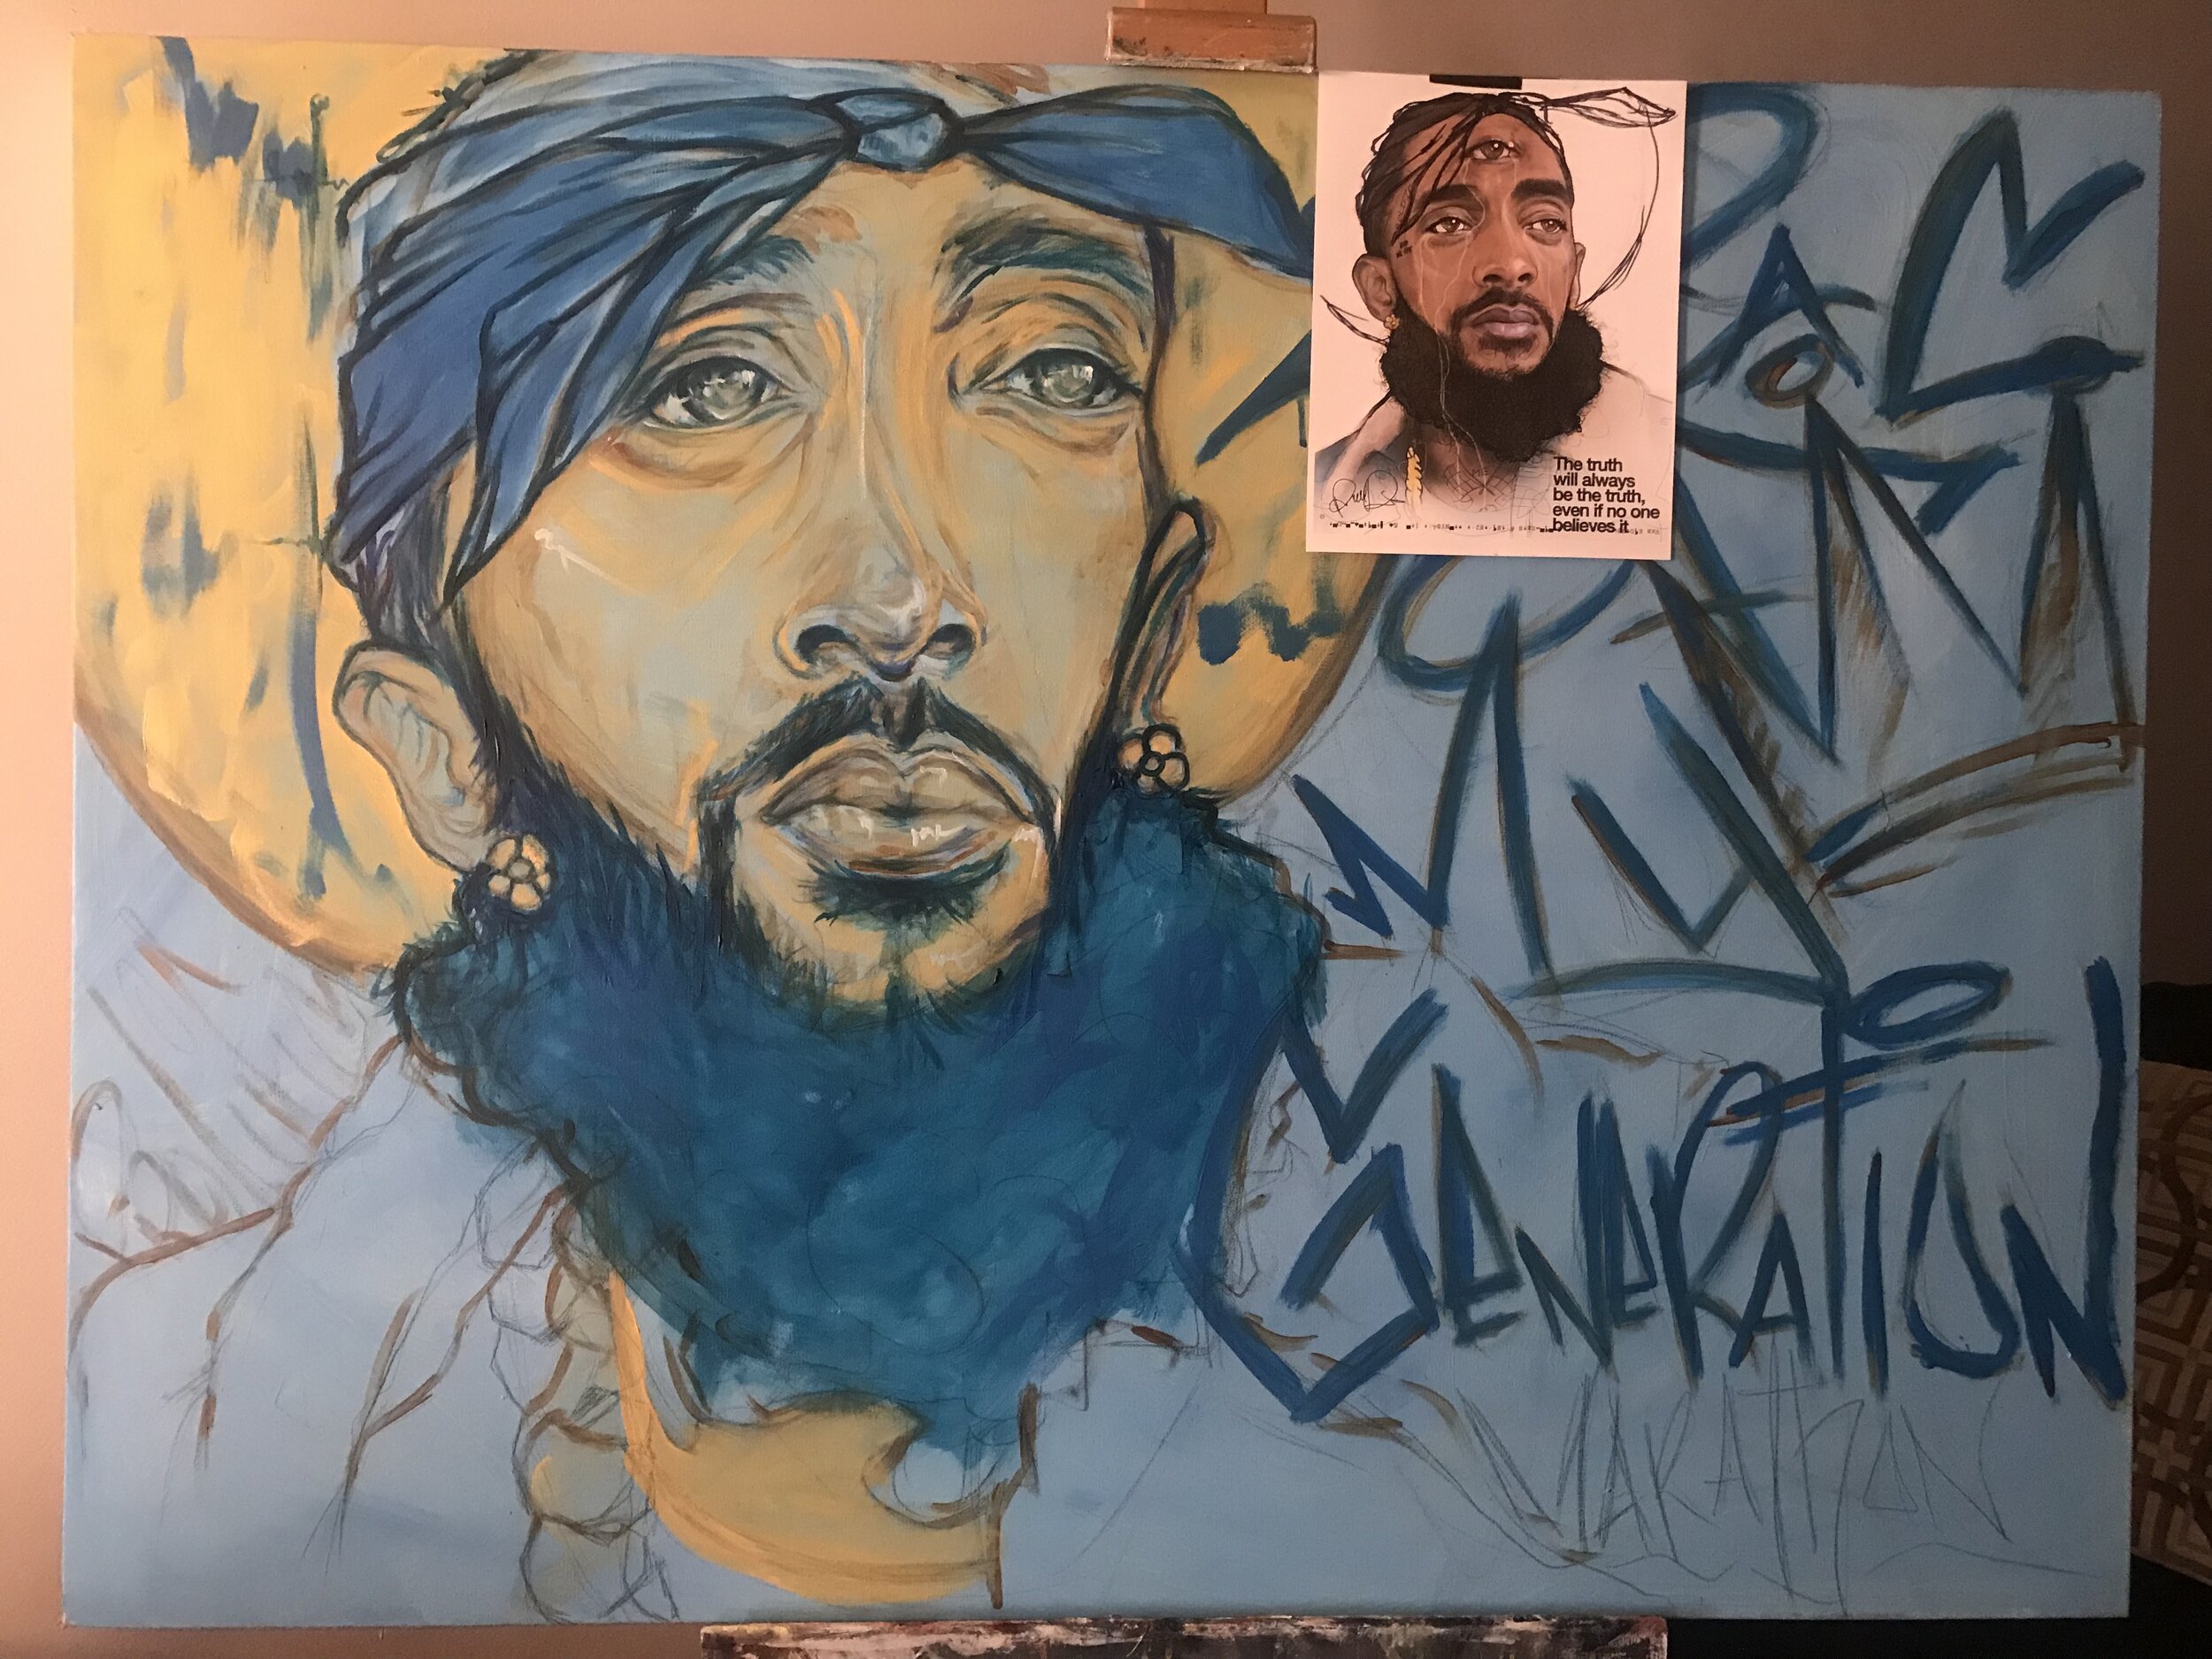
Canvas Painting Stage 2

Canvas Painting Stage 2

Canvas Painting Stage 3

Canvas Painting Stage 3

Canvas Painting Stage 4

Canvas Painting Stage 4

IMG_9559.jpeg
Mary McLeod Bethune Life Center, Jersey City, NJ.

Mary McLeod Bethune Life Center, Jersey City, NJ.

Artist Talk -Saint Peter’s University, Pope Hall, Jersey City, NJ.

Artist Talk -Saint Peter’s University, Pope Hall, Jersey City, NJ.

From Haiti to America

October 2018, I was heading home from work when I saw Jean walking in the direction of where I live. I quickly pulled my car over hopped out and proceeded to introduce myself. I saw potential and I did not want it to get away, I expressed my interest in shooting we then exchanged contacts. Months had passed before I heard from Jean I didn’t think he was interested in shooting until I received a text from him at the beginning of the year. He informed me he would be ready to shoot sometime in May, it couldn’t get here fast enough. Through texted we talked life, photography, modeling, shooting, etc, I told him I wanted to create something striking and he was sold. I took him over to one of my favorite places to create here in Lincoln Park and we made some magic happen. With the use of natural and strobe lighting we were able to create some stunning imagery.

To see more images from the shoot please visit http://lorenzopphotography.com/jean-mary/nso10xxqdbd3w50nbfehi1245relju

_JIMGL0667.jpg
_JIMGL0894.jpg

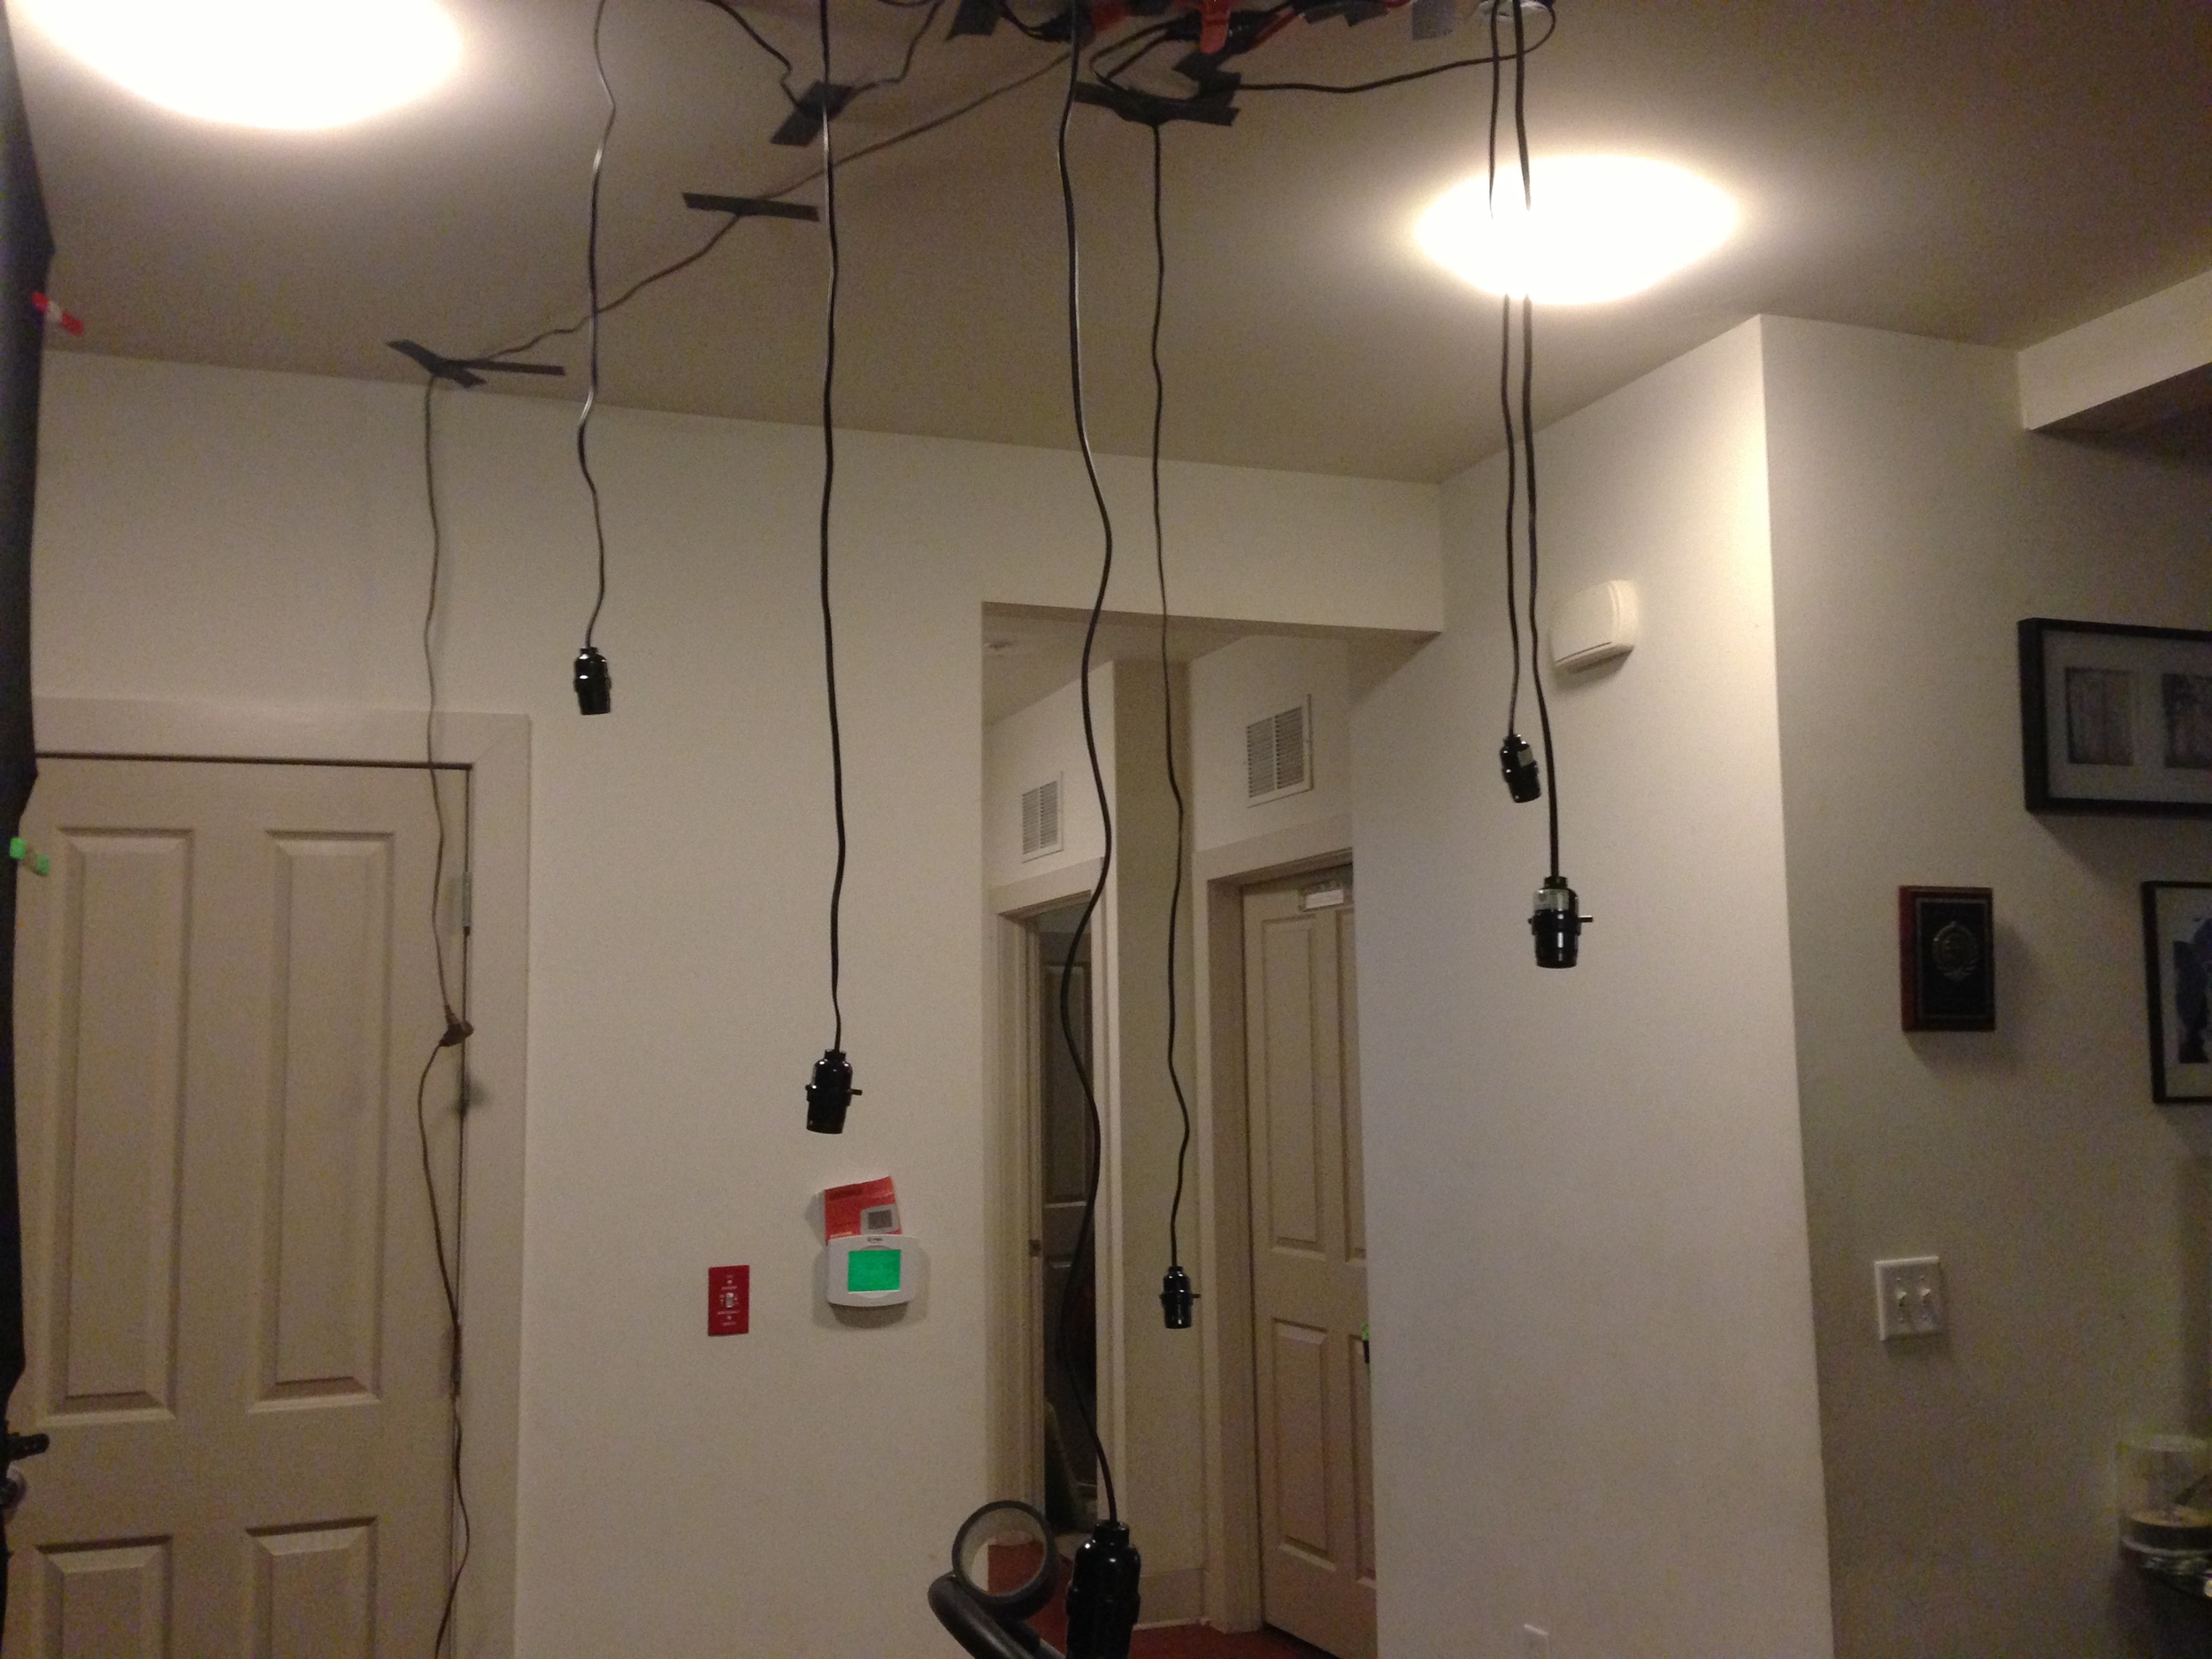
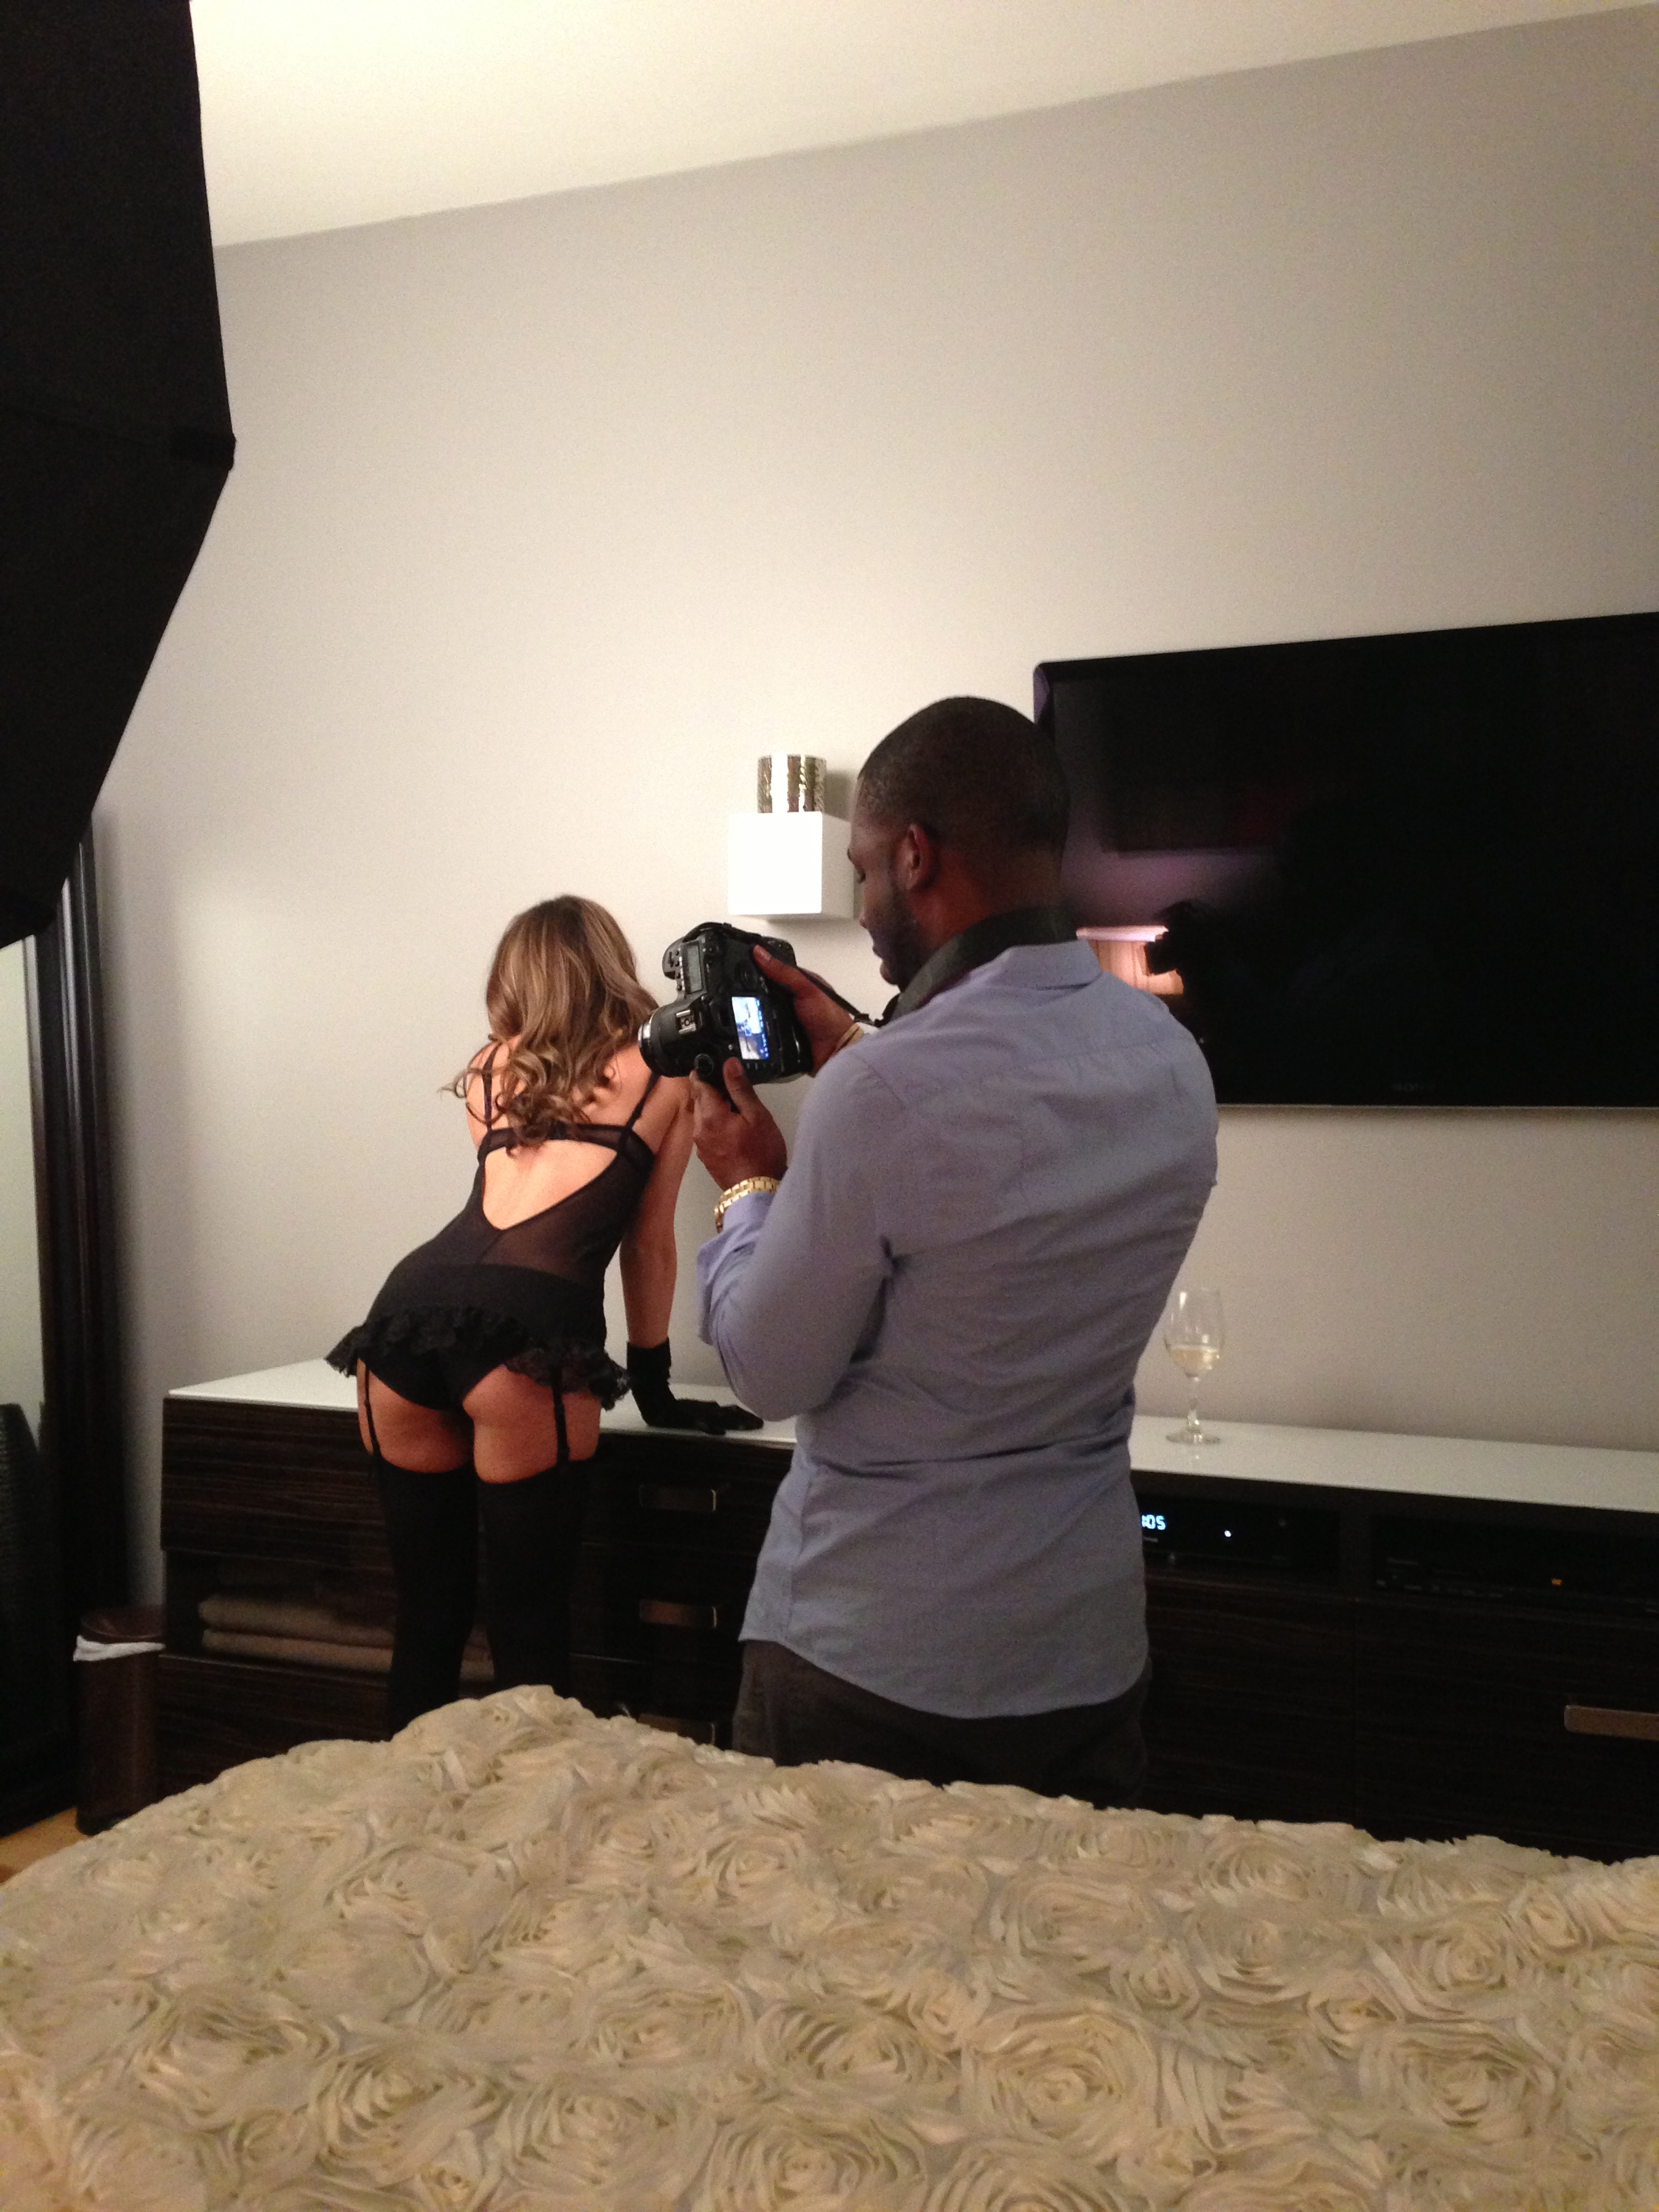
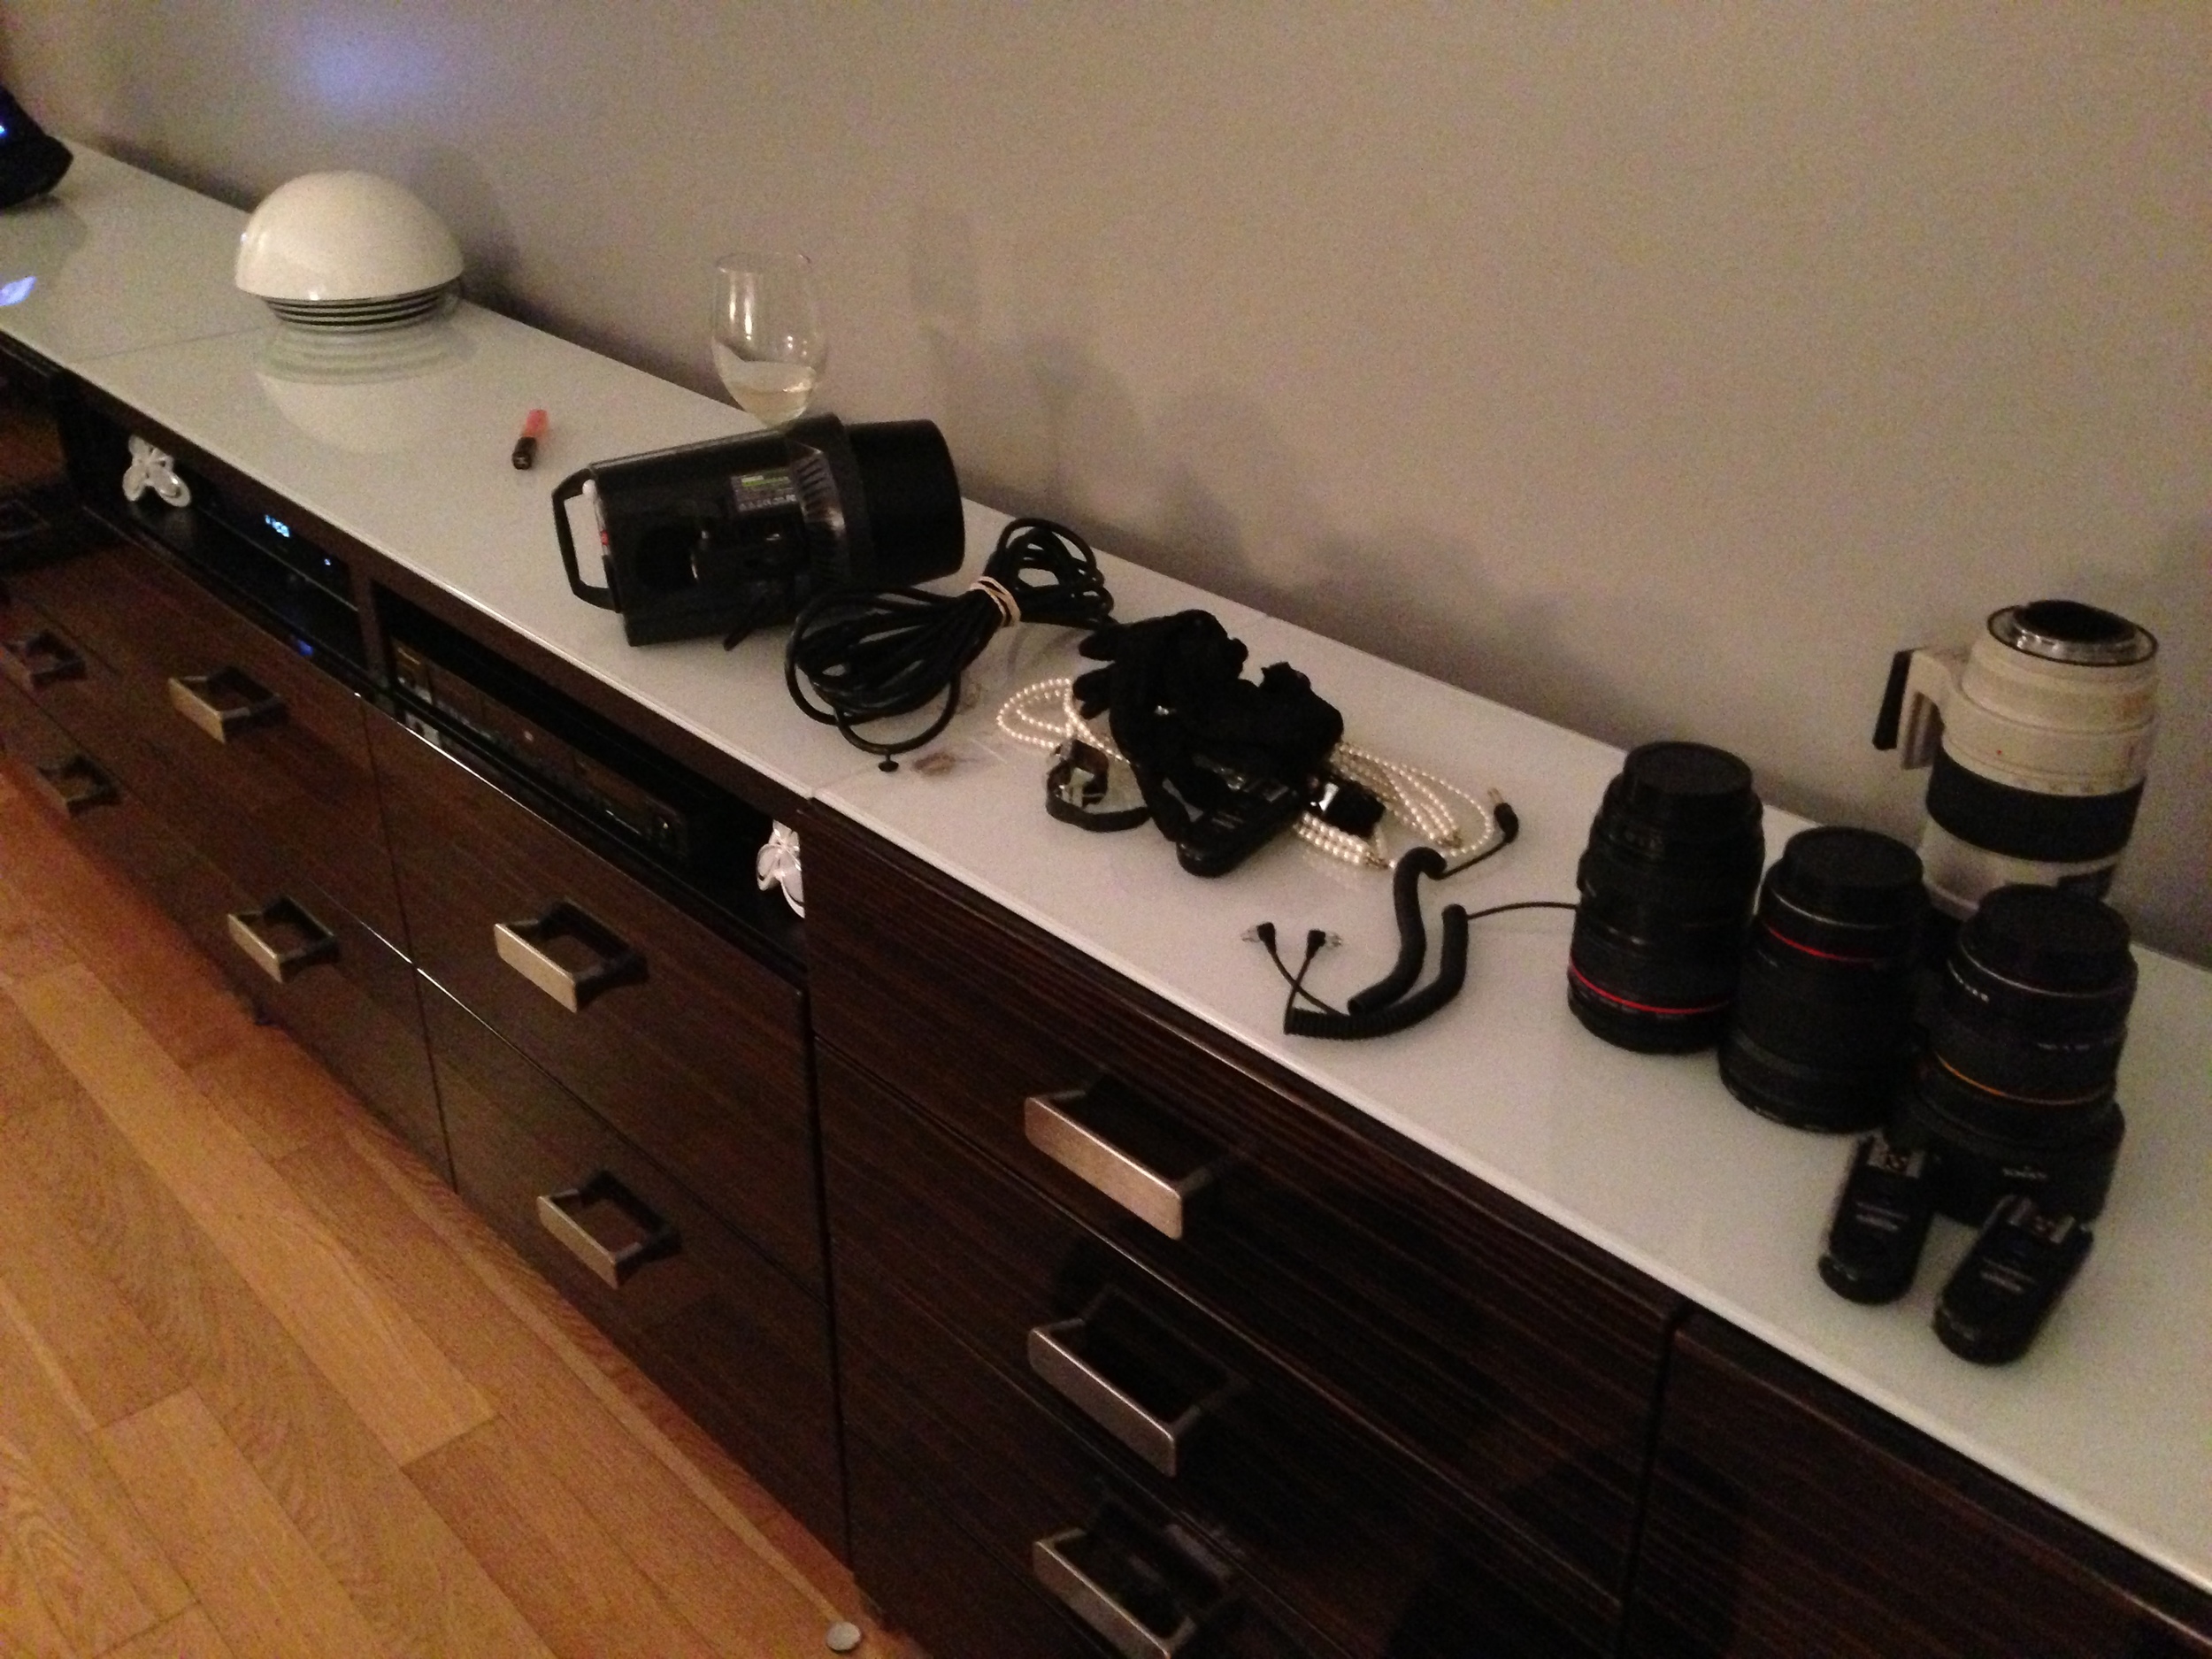
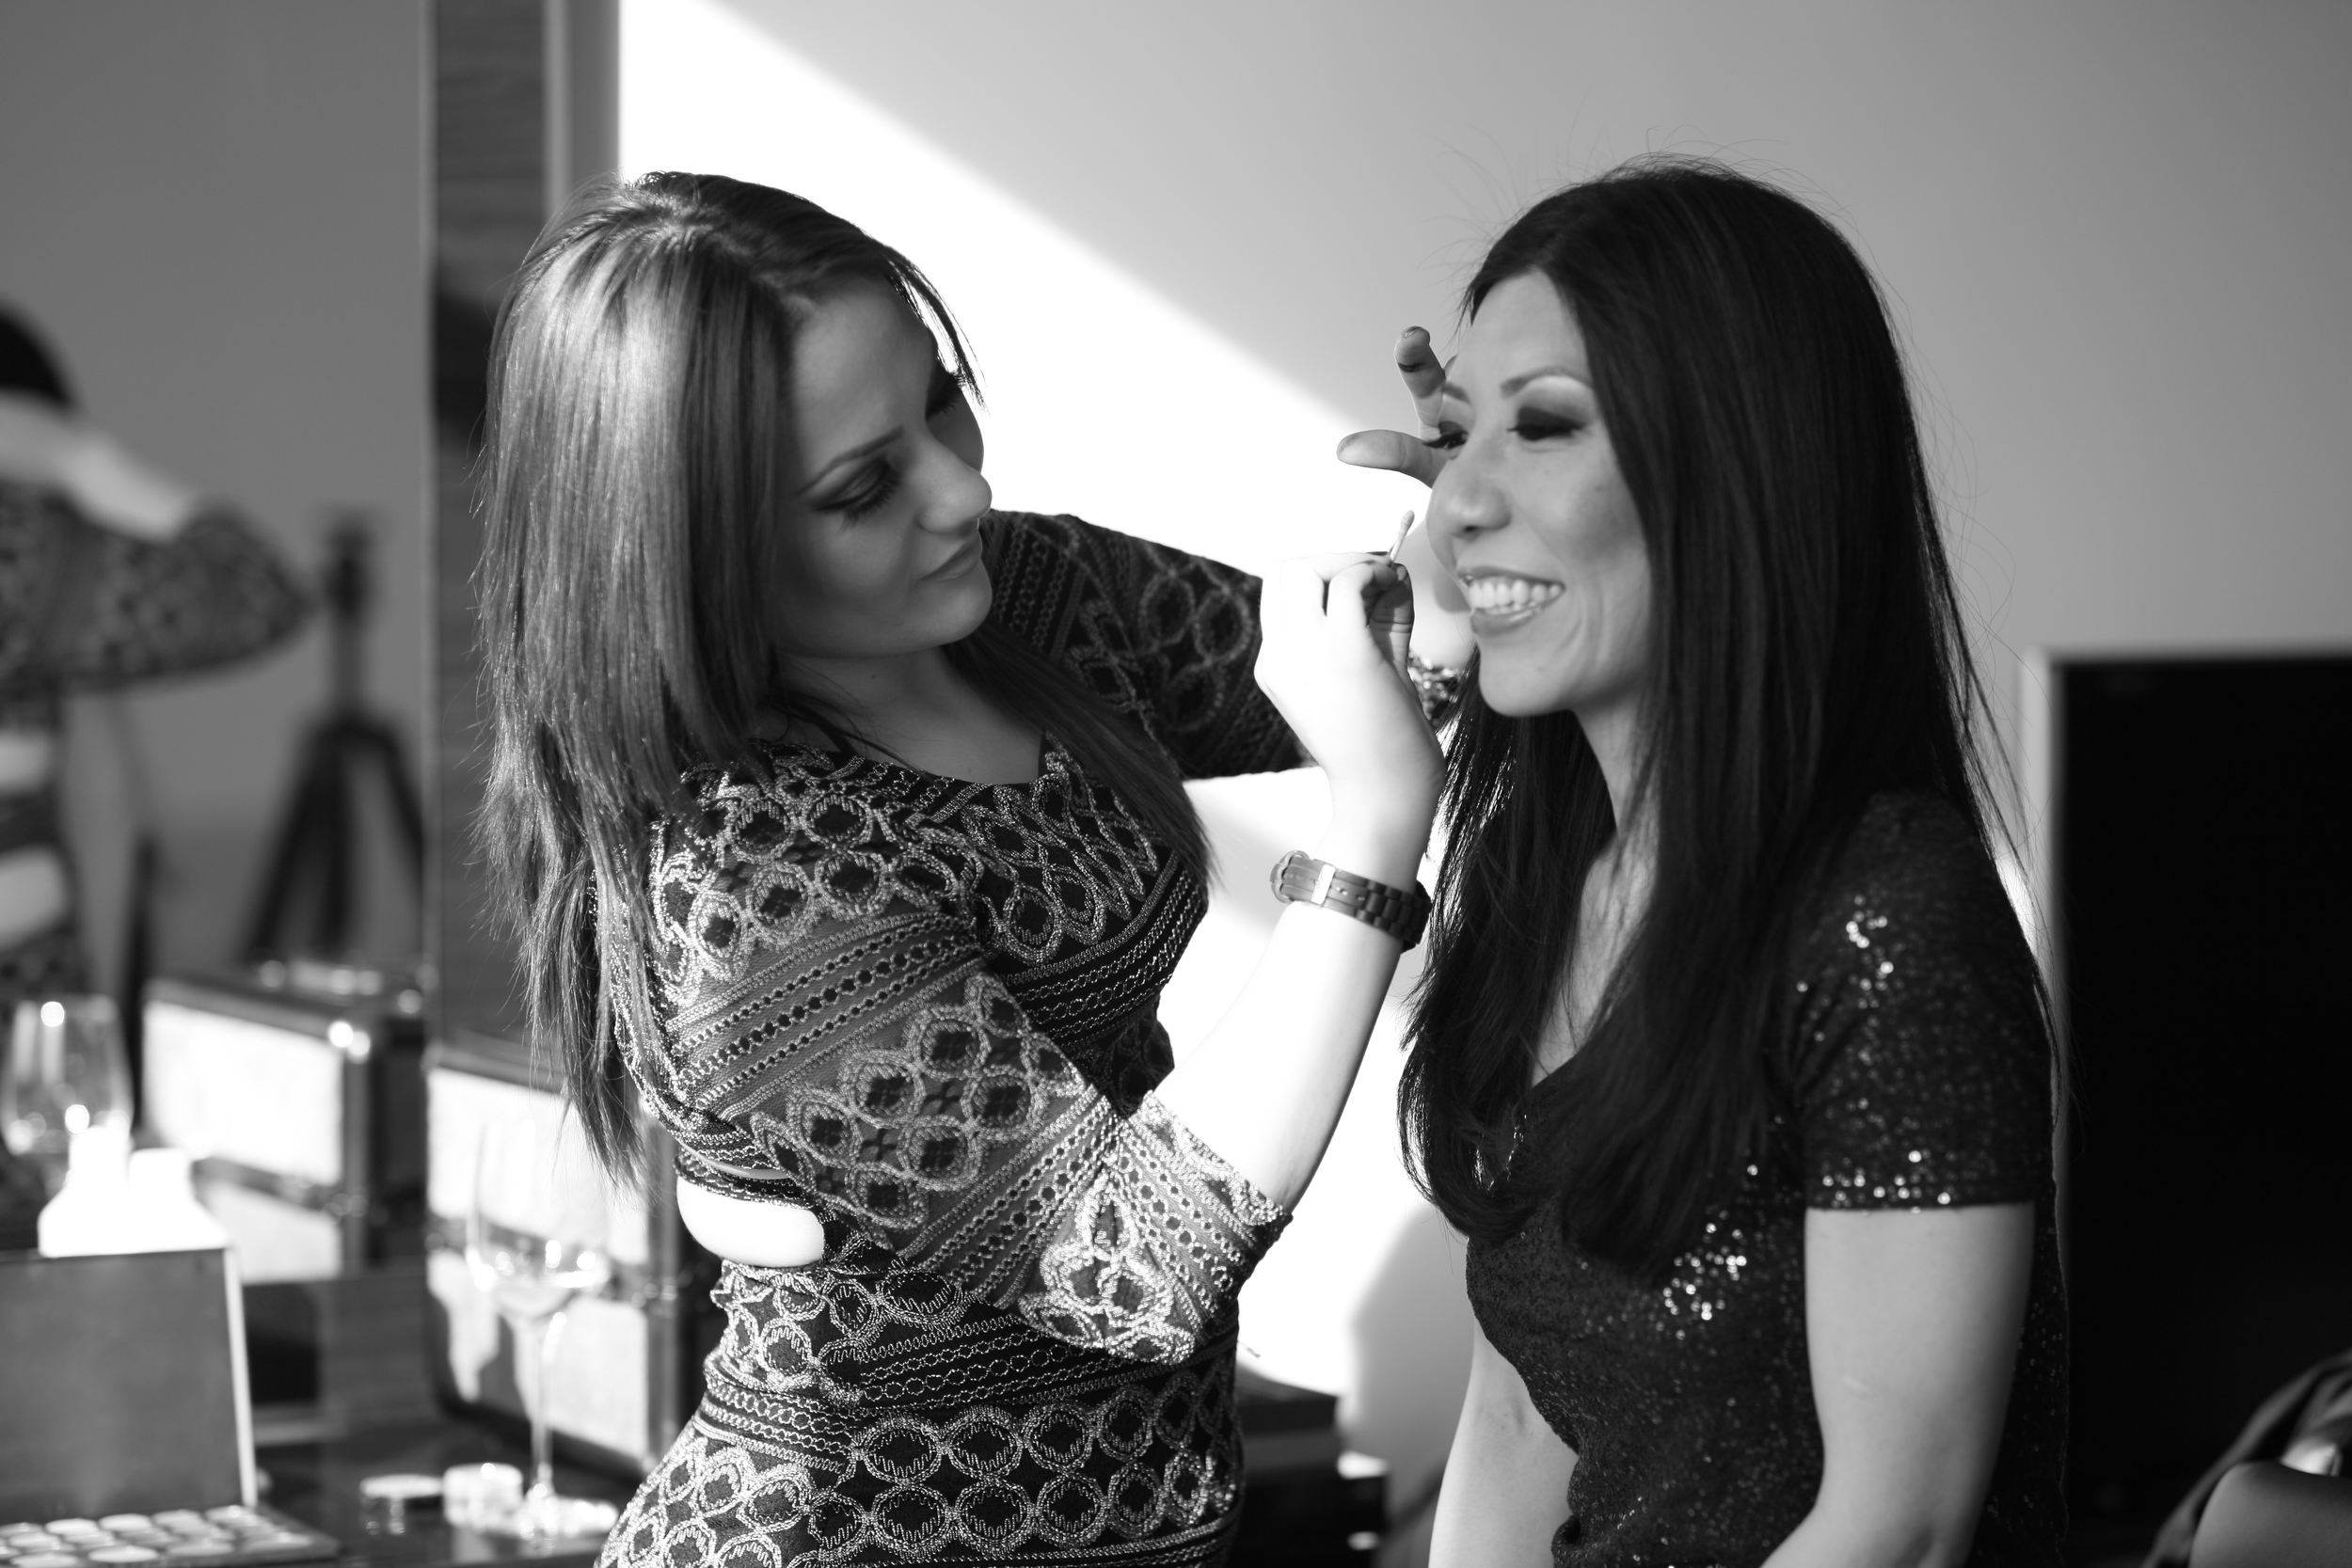
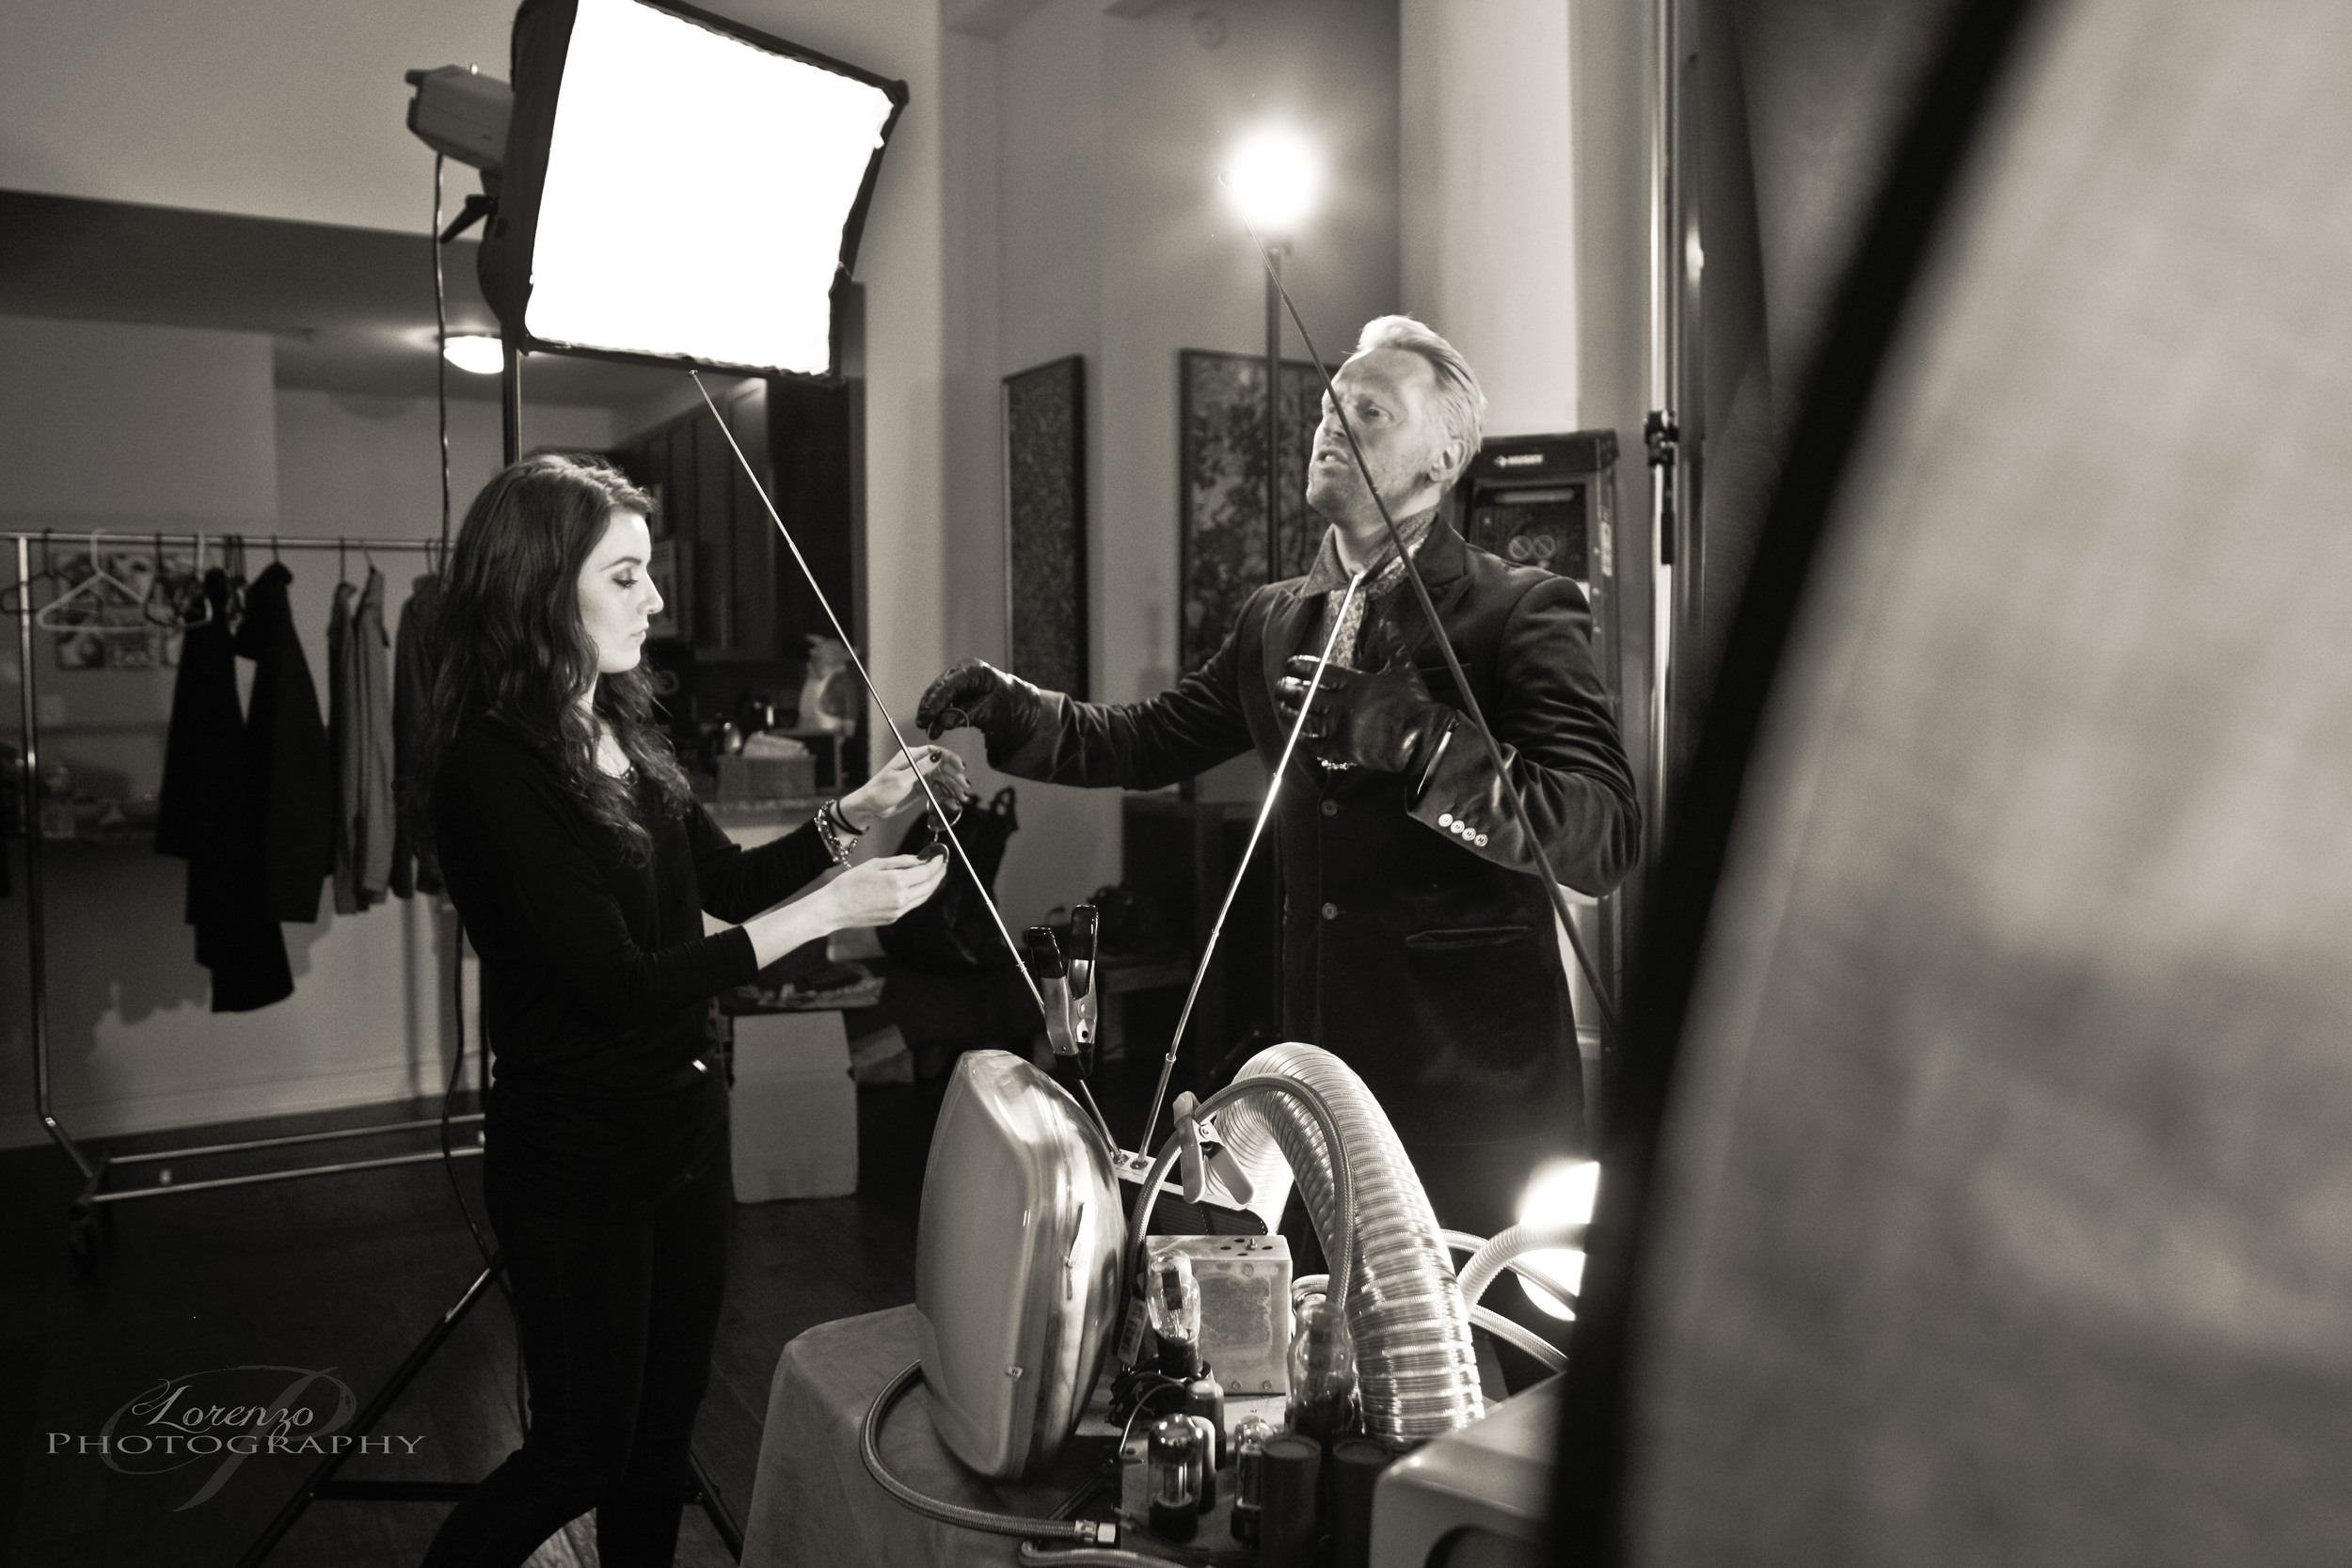
BTS "Behind The Scenes"

Here is a view into my world when I am working guys. Any questions in regards to gear, locations, talent, etc.. please feel free to ask!!!! 

Shoot with Serius Jones 

Shoot with Serius Jones 

IMG_1586.JPG
IMG_1716.JPG
IMG_1719.JPG
IMG_2257.JPG
IMG_2259.JPG
IMG_2264.JPG
IMG_2265.JPG
IMG_2270.JPG
IMG_2310.JPG
IMG_2311.JPG
IMG_2313.JPG
IMG_3580.JPG
IMG_3579.JPG
IMG_3584.JPG
IMG_3585.JPG
IMG_3592.JPG
IMG_3595.JPG
IMG_3600.JPG
IMG_5972.JPG
Its me!.jpg
38611_141189012579435_6409283_n.jpg
38638_141189165912753_3811206_n.jpg
38787_141189195912750_3368088_n.jpg
38868_141189255912744_7778001_n.jpg
image (5).jpeg
image (11).jpeg
image (14).jpeg
image (13).jpeg
_MG_0471.JPG
_MG_0883.JPG
_MG_1273.JPG
photo (9).JPG
_MG_0302-2.jpg
_MG_0276-2.jpg
_MG_0275-2.jpg
_MG_0295-2.jpg
_MG_0271-2.jpg
IMG_3856 (2).JPG
IMG_3857.JPG
IMG_3855.JPG
IMG_3812.JPG
image.jpg
image (17).jpeg
​BenroS4

​BenroS4

​BenroS4 Monopod, OptekaCXS-25 Rod System. Gini Rig Follow Focus. 

​BenroS4 Monopod, OptekaCXS-25 Rod System. Gini Rig Follow Focus. 

IMG_4844.JPG
IMG_5497.jpg
IMG_4581.JPG
IMG_5215.JPG
IMG_5216.JPG
IMG_5490.JPG
IMG_5536.JPG
IMG_5541.JPG
IMG_5517.JPG
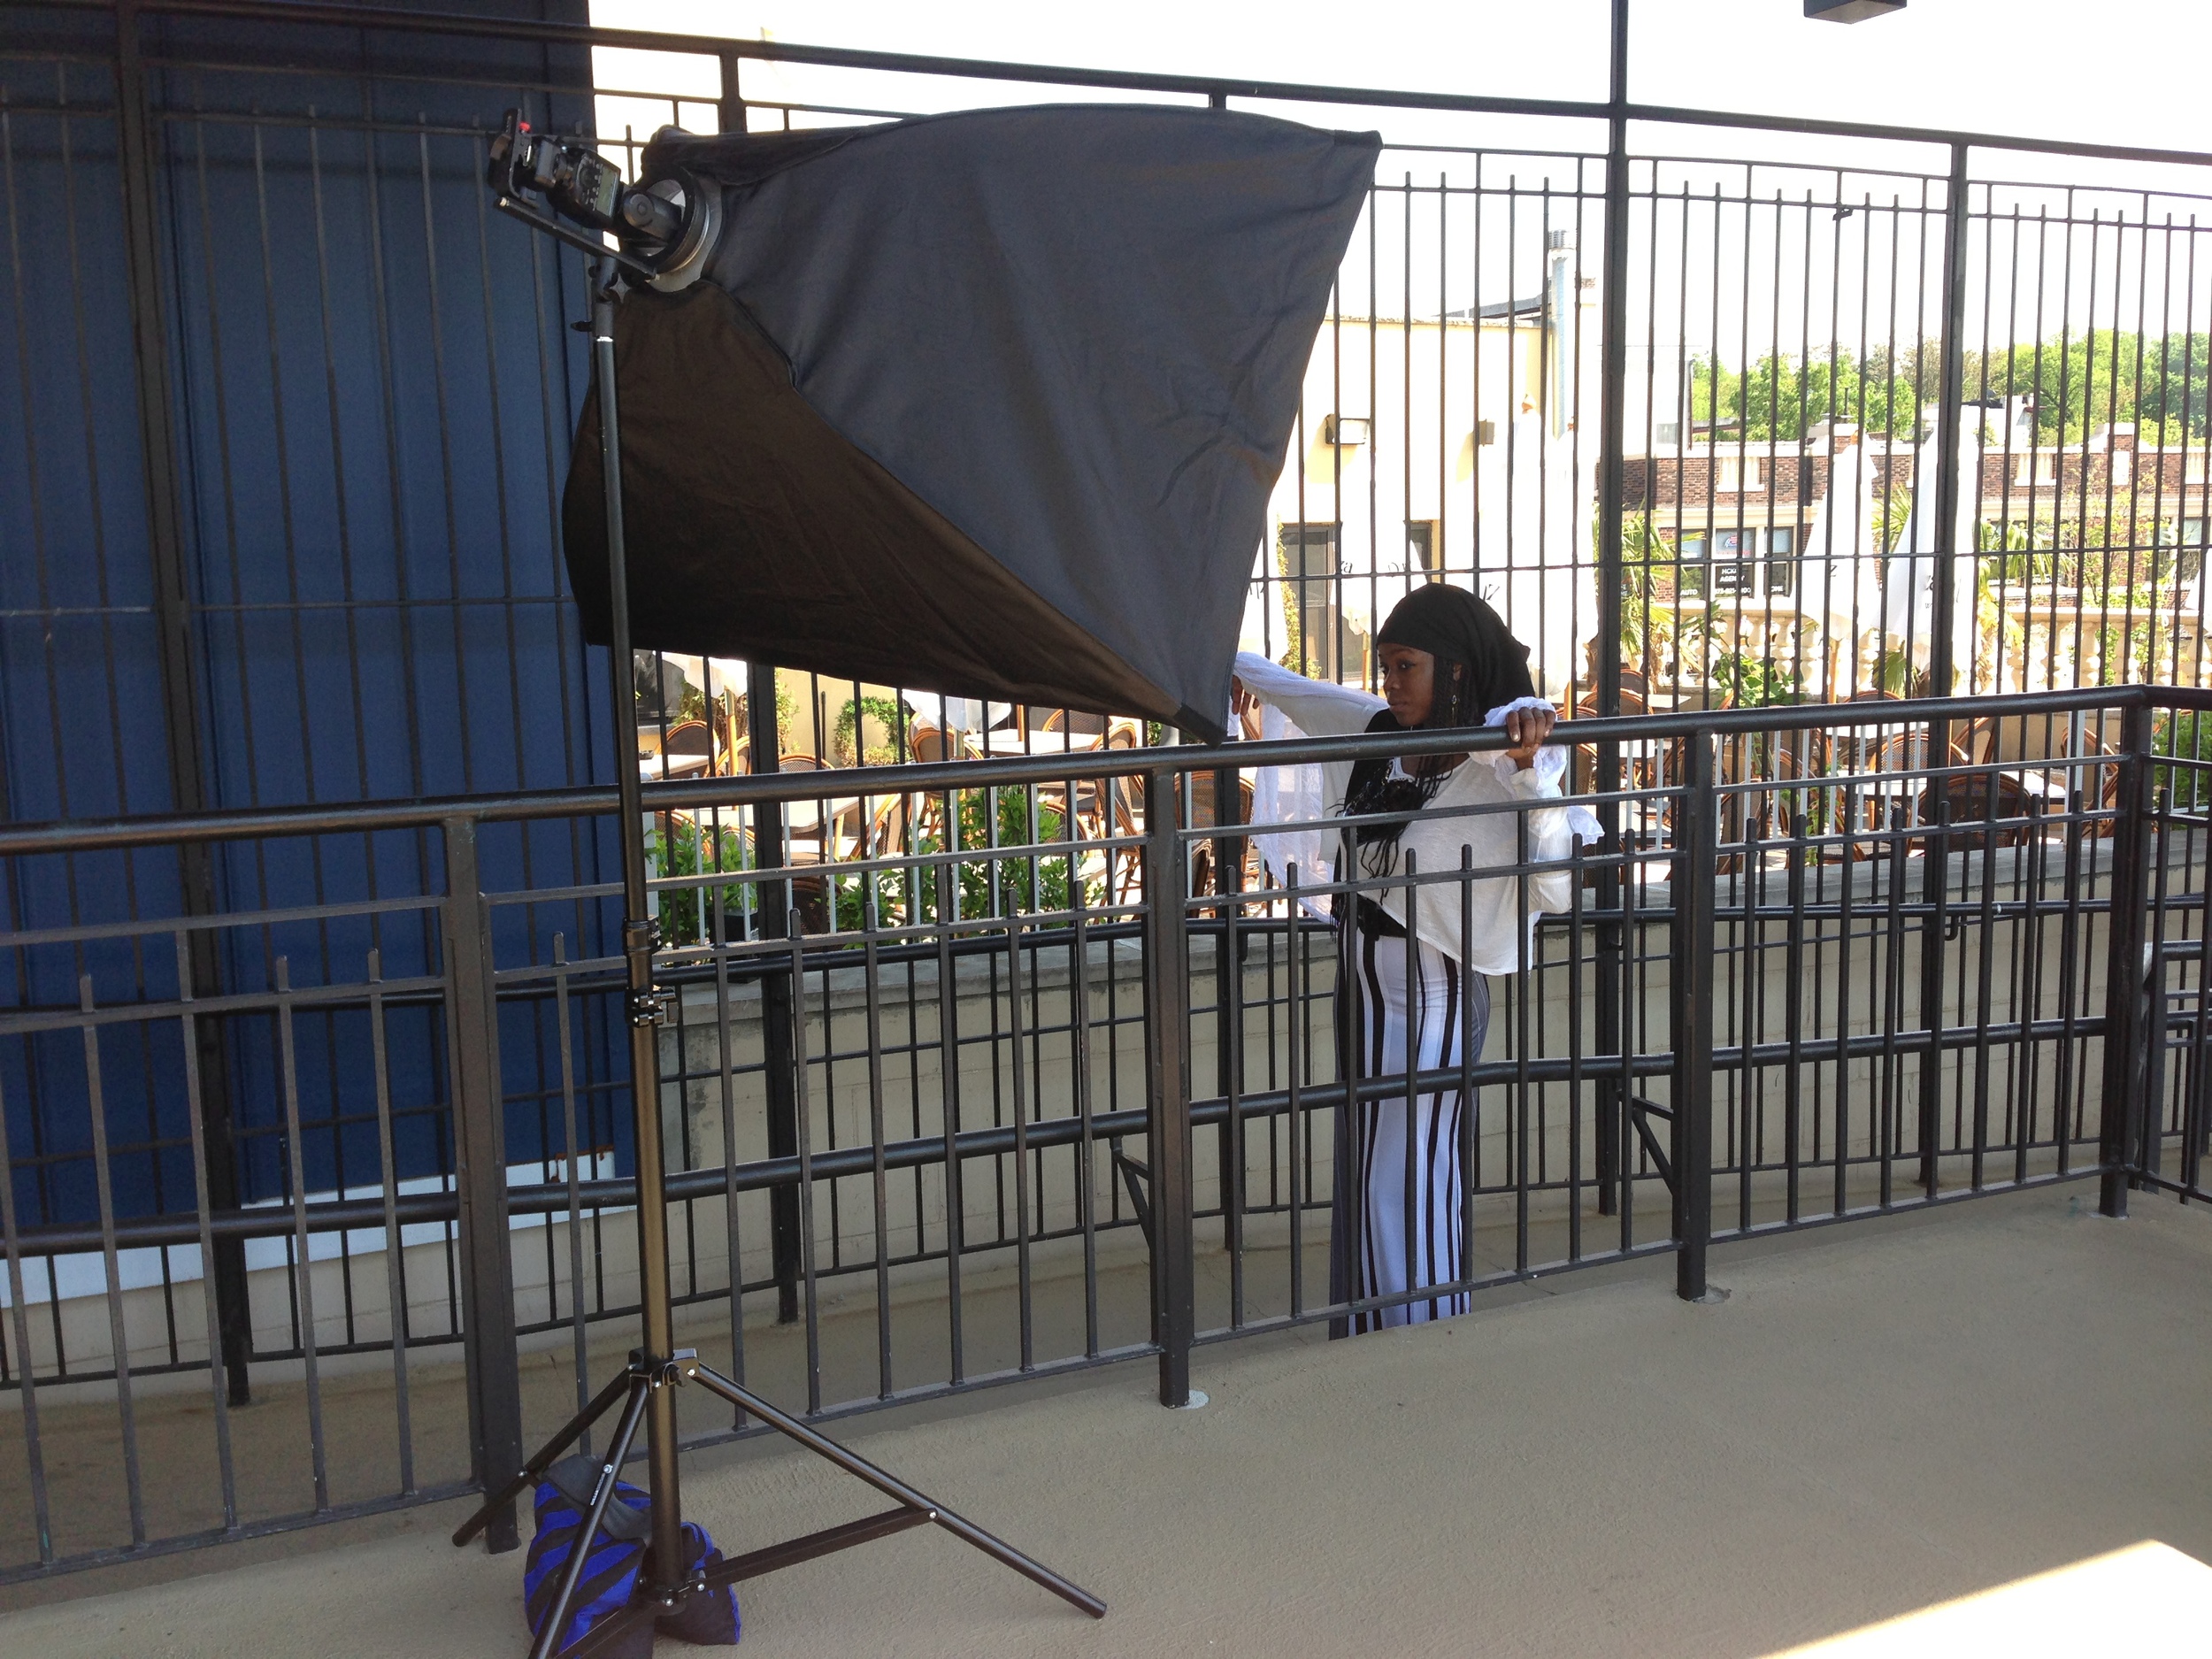
A little outdoor "BTS" on an engagement shoot. 

A little outdoor "BTS" on an engagement shoot. 

A little outdoor "BTS" on an engagement shoot. 

A little outdoor "BTS" on an engagement shoot. 

Here is one of the finalized images. 

Here is one of the finalized images. 

A little outdoor Fall action!! 

A little outdoor Fall action!! 

A little outdoor Fall action!!

A little outdoor Fall action!!

Here is one of the finalized images from the shoot. This shot was taken on the back porch in the models back yard.

Here is one of the finalized images from the shoot. This shot was taken on the back porch in the models back yard.

On the set of a family shoot. 

On the set of a family shoot. 

IMG_4135.JPG
IMG_4136.JPG
Final Product, Model: Sallie.

Final Product, Model: Sallie.

BTS. "How to achieve amazing catch lights in the eyes PT3"

BTS. "How to achieve amazing catch lights in the eyes PT3"

BTS. "How to achieve amazing catch lights in the eyes PT3"

BTS. "How to achieve amazing catch lights in the eyes PT3"

BTS. "How to achieve amazing catch lights in the eyes PT3"

BTS. "How to achieve amazing catch lights in the eyes PT3"

BTS. "How to achieve amazing catch lights in the eyes PT3"  Check me out people : )

BTS. "How to achieve amazing catch lights in the eyes PT3"  Check me out people : )

Double Deuces!!!!

Double Deuces!!!!

Portrait session with one of my best friends for his book cover. 

Portrait session with one of my best friends for his book cover. 

You may see my brother in a lot of my "BTS" material, hes my right hand lol. Setting up for the intro video of "How to achieve amazing catch lights in the eyes"

You may see my brother in a lot of my "BTS" material, hes my right hand lol. Setting up for the intro video of "How to achieve amazing catch lights in the eyes"

IMG_5005.JPG
Thanks bro!!

Thanks bro!!

My brother sitting in for me to adjust my lighting.

My brother sitting in for me to adjust my lighting.

Doing some voice over for my video, I had to bring my little audio setup to work, too anxious to finish : )   I had my little note card ready to go along with my ZoomH4N, Rode Video Mic Pro, and some Apple headphones for monitoring. 

Doing some voice over for my video, I had to bring my little audio setup to work, too anxious to finish : )   I had my little note card ready to go along with my ZoomH4N, Rode Video Mic Pro, and some Apple headphones for monitoring. 

A little BTS and finished product, Shot in Hoboken, New Jersey.

A little BTS and finished product, Shot in Hoboken, New Jersey.

A little BTS and finished product, Shot in Newark New Jersey.

A little BTS and finished product, Shot in Newark New Jersey.

Fun shoot with my girl Sofia, we go wayyyy back!! 

Fun shoot with my girl Sofia, we go wayyyy back!! 

My babies.

My babies.

Here they go again I love my Ootas, I am a sucker for circular catchlights.

Here they go again I love my Ootas, I am a sucker for circular catchlights.

On the set of a really big shoot : )

On the set of a really big shoot : )

"The Hallway Shoot" video on my Youtube go check it out people. 

"The Hallway Shoot" video on my Youtube go check it out people. 

The "V" shape setup

The "V" shape setup

Shooting with my man Jordan. 

Shooting with my man Jordan. 

A and I made some dope art this day.

A and I made some dope art this day.

This was a long but fun shoot : )

This was a long but fun shoot : )

I build my sets piece by piece. 

I build my sets piece by piece. 

Look at the cool set up we have going on!! 

Look at the cool set up we have going on!! 

Tas getting ready for some work. 

Tas getting ready for some work. 

Final Product, Model: Tas Aleeah.

Final Product, Model: Tas Aleeah.

I love this print and it looks like she does too!! : )

I love this print and it looks like she does too!! : )

Another portrait session with my friend Regina. 

Another portrait session with my friend Regina. 

Mola Setti VS the Beauty Dish

Mola Setti VS the Beauty Dish

Photo courtesy of my good friend Noel Clark. 

Photo courtesy of my good friend Noel Clark. 

Photo courtesy of my good friend Noel Clark. 

Photo courtesy of my good friend Noel Clark. 

Photo courtesy of my good friend Noel Clark. 

Photo courtesy of my good friend Noel Clark. 

Final Product, Model: Tas Aleeah.  

Final Product, Model: Tas Aleeah.  

Getting ready for the shoot, using some A clamps to hold down the balloons. 

Getting ready for the shoot, using some A clamps to hold down the balloons. 

Promo images for singer and songwriter Queenella.

Promo images for singer and songwriter Queenella.

Final Product, Big Shout out to RnB artist Queenella!

Final Product, Big Shout out to RnB artist Queenella!

This is a flower halo I designed. 

This is a flower halo I designed. 

Source: BTS Behind The Scenes

"Photography Business Pointers"

This is just a brief introduction addressing a few questions that I am often asked. I don't have all the answers and I am quite ok with that, what I do know is the knowledge I have acquired over the 8 years of shooting I want to share it! So let's jump into it, how many of you out there like photography, how many of you love photography? Photography comes seemingly easy, think about how inexpensive it is to go out and buy an entry level DSLR. Now that you have your new camera it is off to the races right? Well for some this maybe true however, it is one facet to get into photography and another to actually sustain it. I've learned this along my journey, speaking of journeys check out my blog post “The Journey” http://lorenzopphotography.com/new-blog/2014/4/28/8ai6utp1dzvk3w6p8l584wjz9690ri 

There is a lot of administrative work that goes into photography, there is what I consider to be an "80/20" rule here is a simple break down, 80% goes into managing what is you do if for example marketing, attracting clients, social media presence, email engagement, retouching, producing and selling products, there is a considerable amount of time that will be divided among these sectors. The other 20% goes into shooting. I know its sounds depressing especially for someone who loves to shoot. But if you really want to get a hand on things you need to understand and adopt this Concept. 

Photography is a vast market when I mean vast it’s big, here are a few categories.

  • Advertising

  • Commercial  

  • Directing

  • Lighting

  • Retouching

  • Editorial

  • Wedding

  • Portraiture

  • Sports

  • Landscape

  • Interior Design

  • Product

Identify what is appealing to you, where do you fall in line? Becoming familiar with the fundamentals is highly critical to your development. When you build on shaky grounds you are very likely to fall, when your foundation is strong you are able to withstand those challenging times. I want to share a few pointers!

  • Remind yourself of the "80/20" rule, and do not forget it. 

  • Invest more time and financing into studying & research.

  • Legal/Documentations- model releases, agreements, contracts.

  • Liability/protection- cover your clients & gear.

  • Accounting/Management- smart investing, keep track of billing & what you spend.

  • Diligence/Patients- consistently work on being the the best at what you do, keep in mind being great takes time.

  • Mastering- your style & workflow.

  • Anticipation- apart of being a great photographer is anticipating things that can potentially go wrong.

If you plan on turning your passion into a career I think a great starting place will be to:

1.Be passionate: When your passionate about something you are good at, it makes it that much more desirable to do.

2.Hone in on your niche: What is it that you do best?

3.Define who you are as a photographer: Establishment (be known for something)

5.Get familiar with your market: know who is doing what.

6.Build your network and use it: Always refer to the people who you can rely on and trust to give you honest feedback. Engage with your community (Your network is your net-worth)

7. Learn from the masters: I can not emphasize this enough!

Books I would strongly consider reading:

  • “ASMP Professional Business Practices in Photography”

  • “The Photographer’s Guide to Negotiating”

  • “The Photographer’s Survival Guide”

  • “The Digital Photography Book”

  • “The Moment it Clicks”

  • “Sketching Light”

  • “Creative 52”

There are a ton photography related books out there believe me some are captivating on the contrary, some are not the most exciting but you will ultimately gain a wealth of knowledge resulting in you being a well rounded photographer. If you can effectively manage to do these things I think you are on the right path. I hope this post serve as a reference point and a source of inspiration to make your passion consistent to what you want it to be.

If you find this material useful please share it with your family and friends, this helps us all out a great deal. God Bless and Good Luck!! 


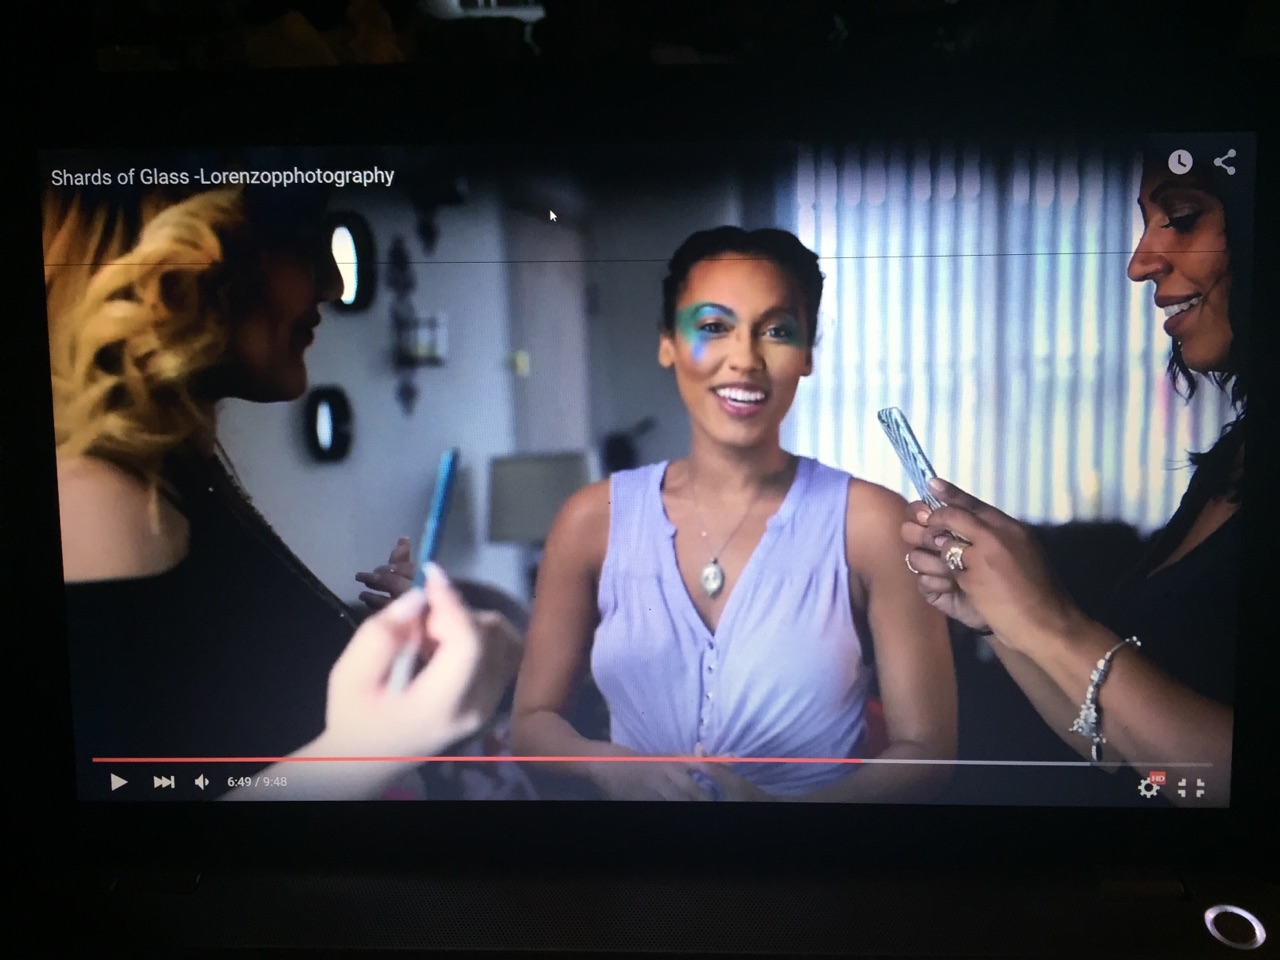
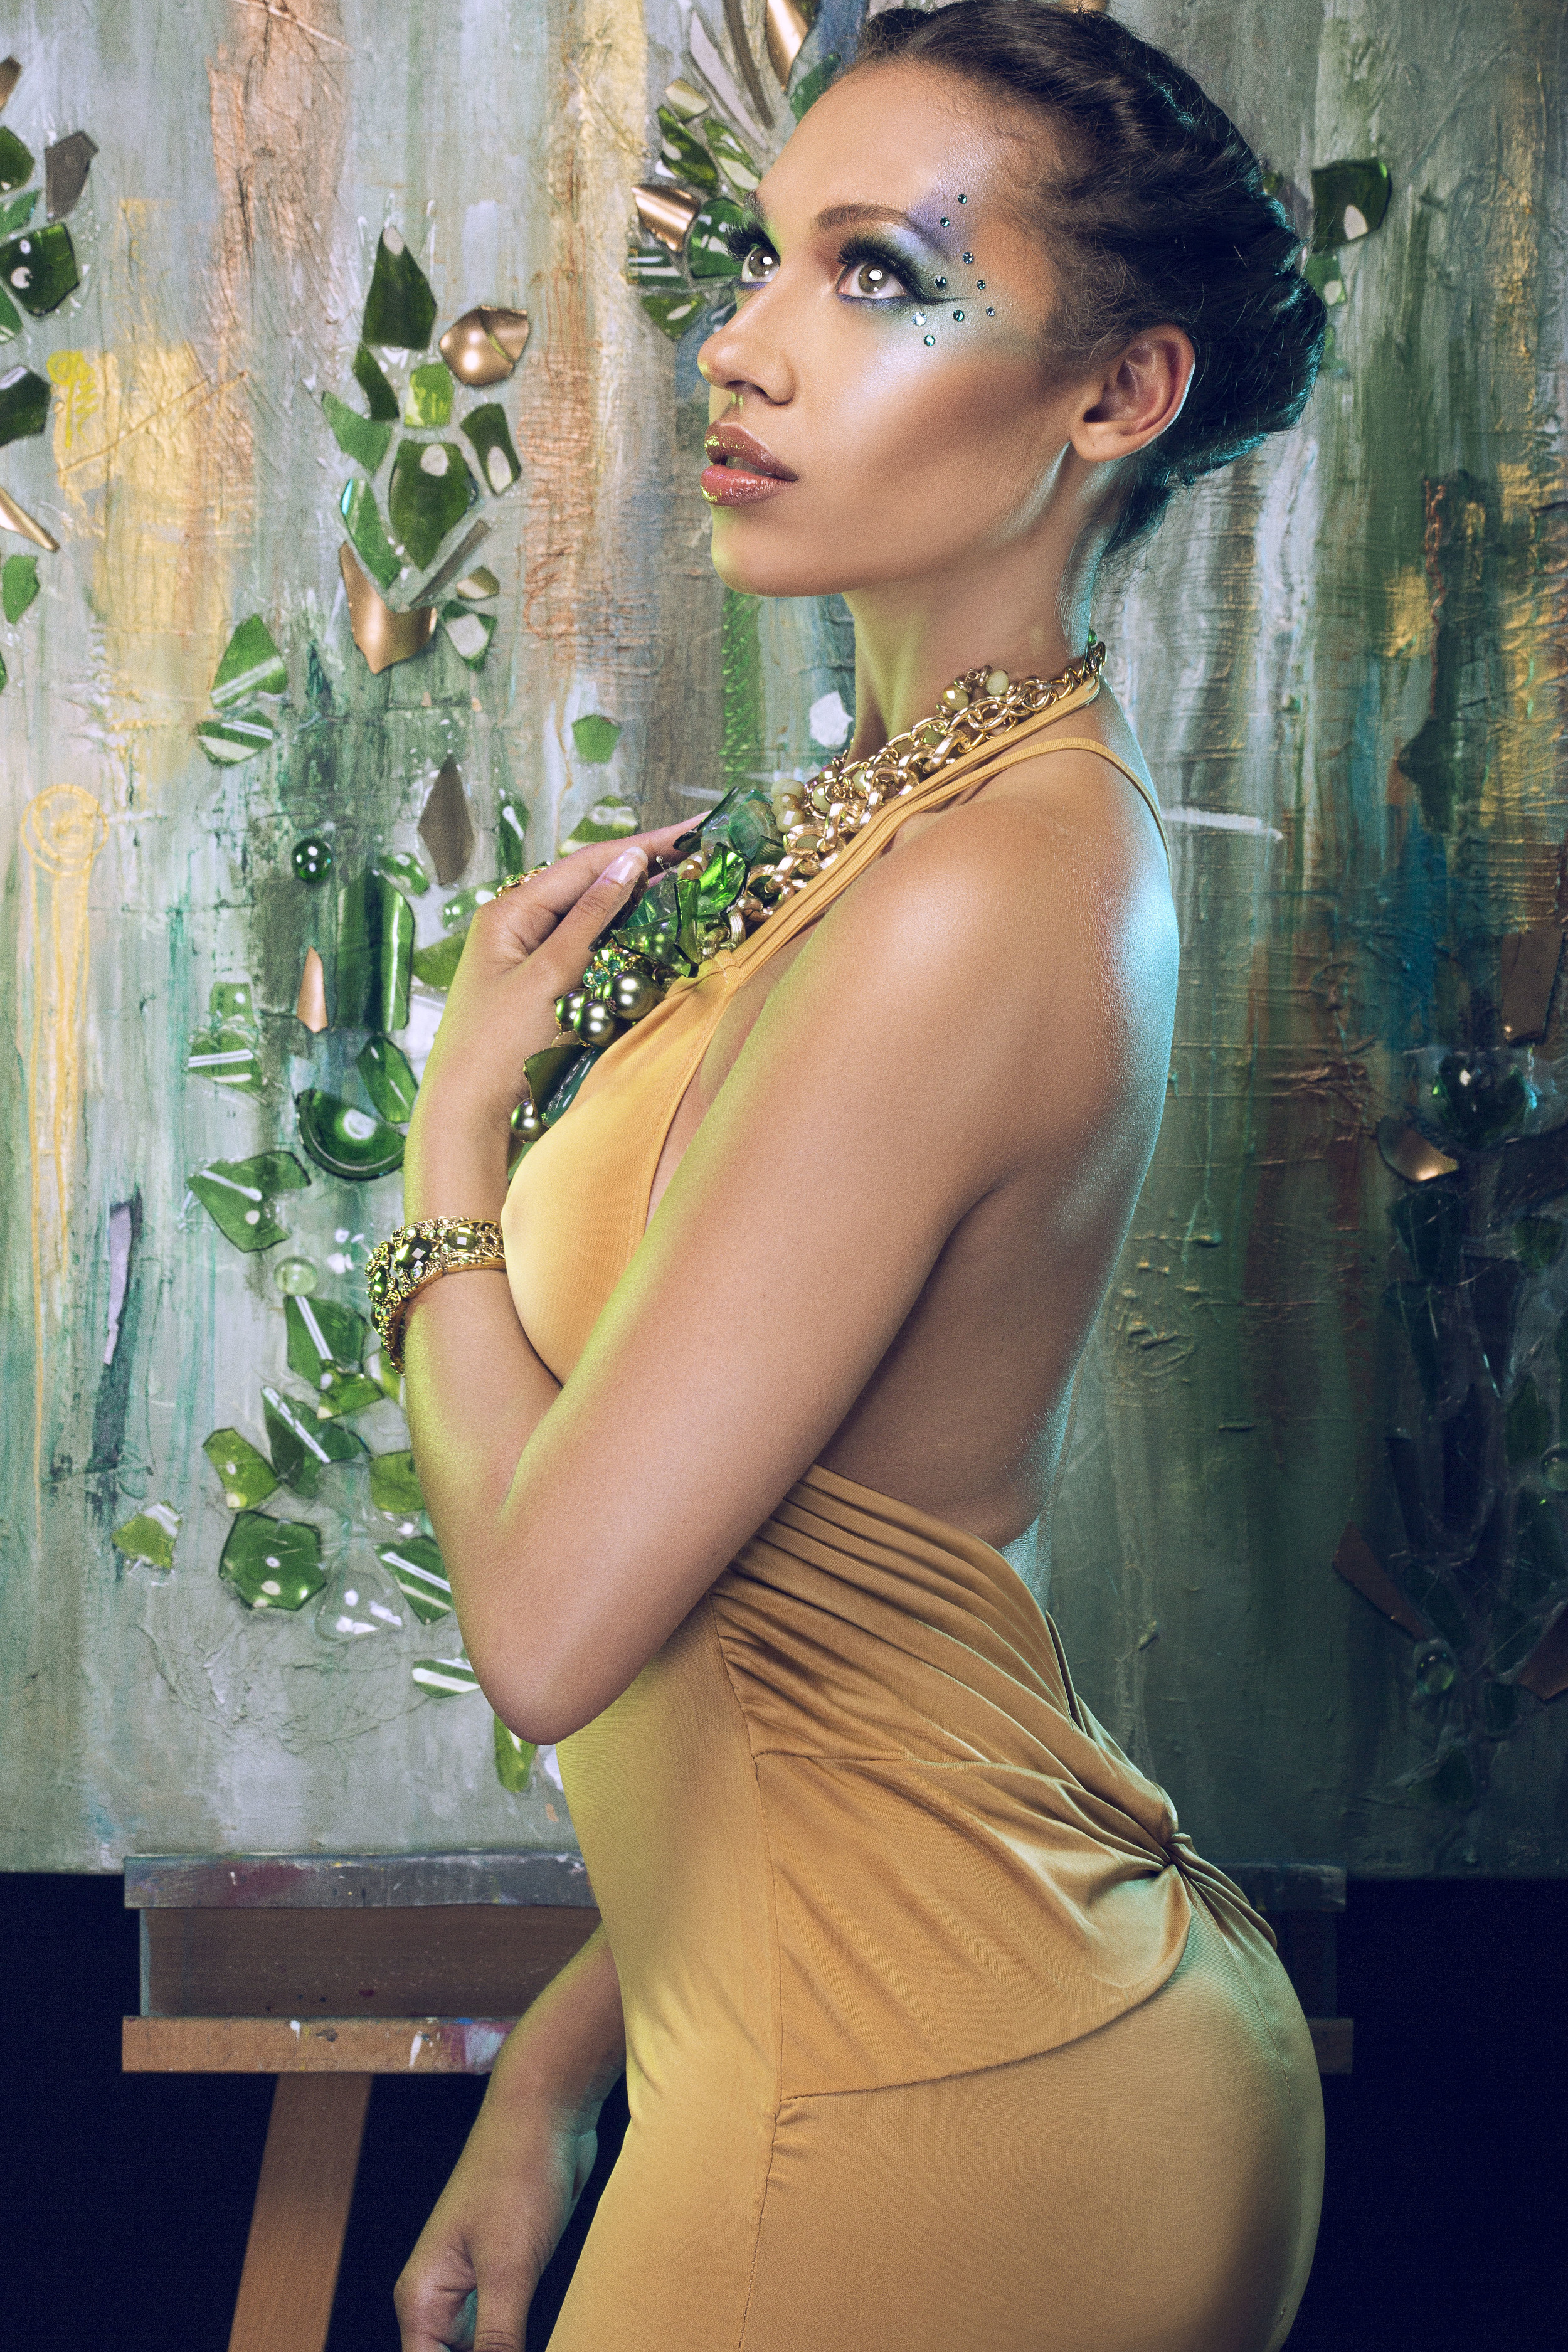
"Shards of Glass"

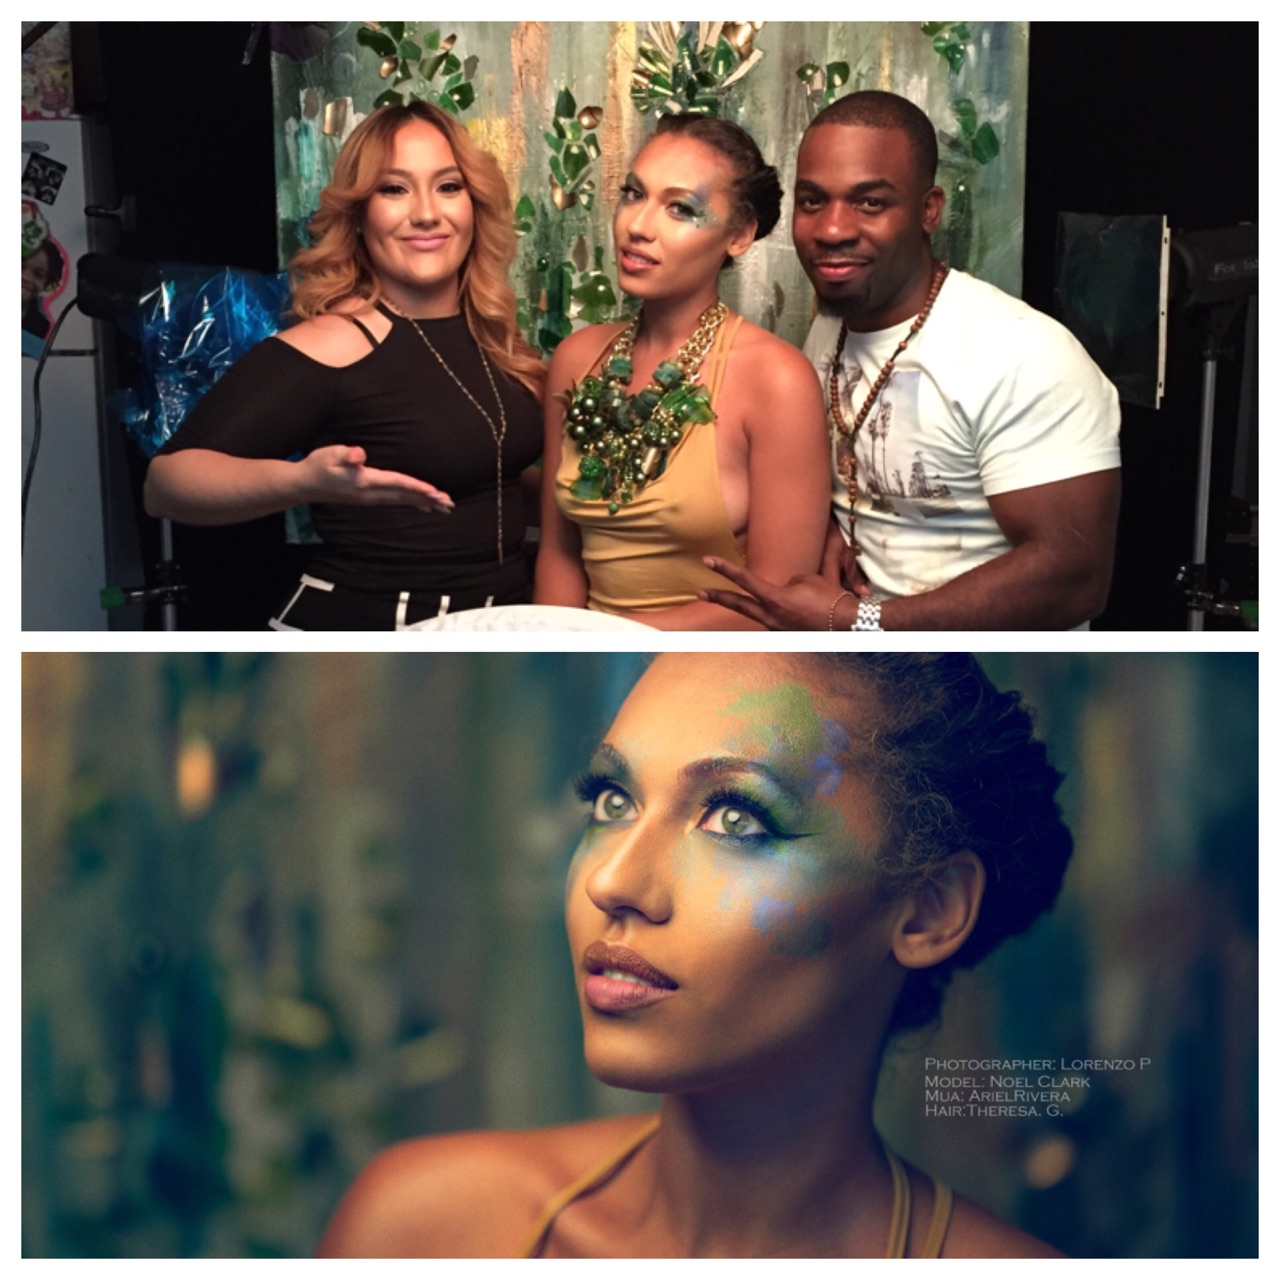
"Shards of Glass" post coming soon!!!! If you want to read the story and see more images from this amazing shoot please stay tuned. While you are waiting, please feel free to tell me what you liked most  about the "Shards of Glass" video?  Also tell me what inspires you comment below!!!!!!!!
To Be Continued......... #SOG

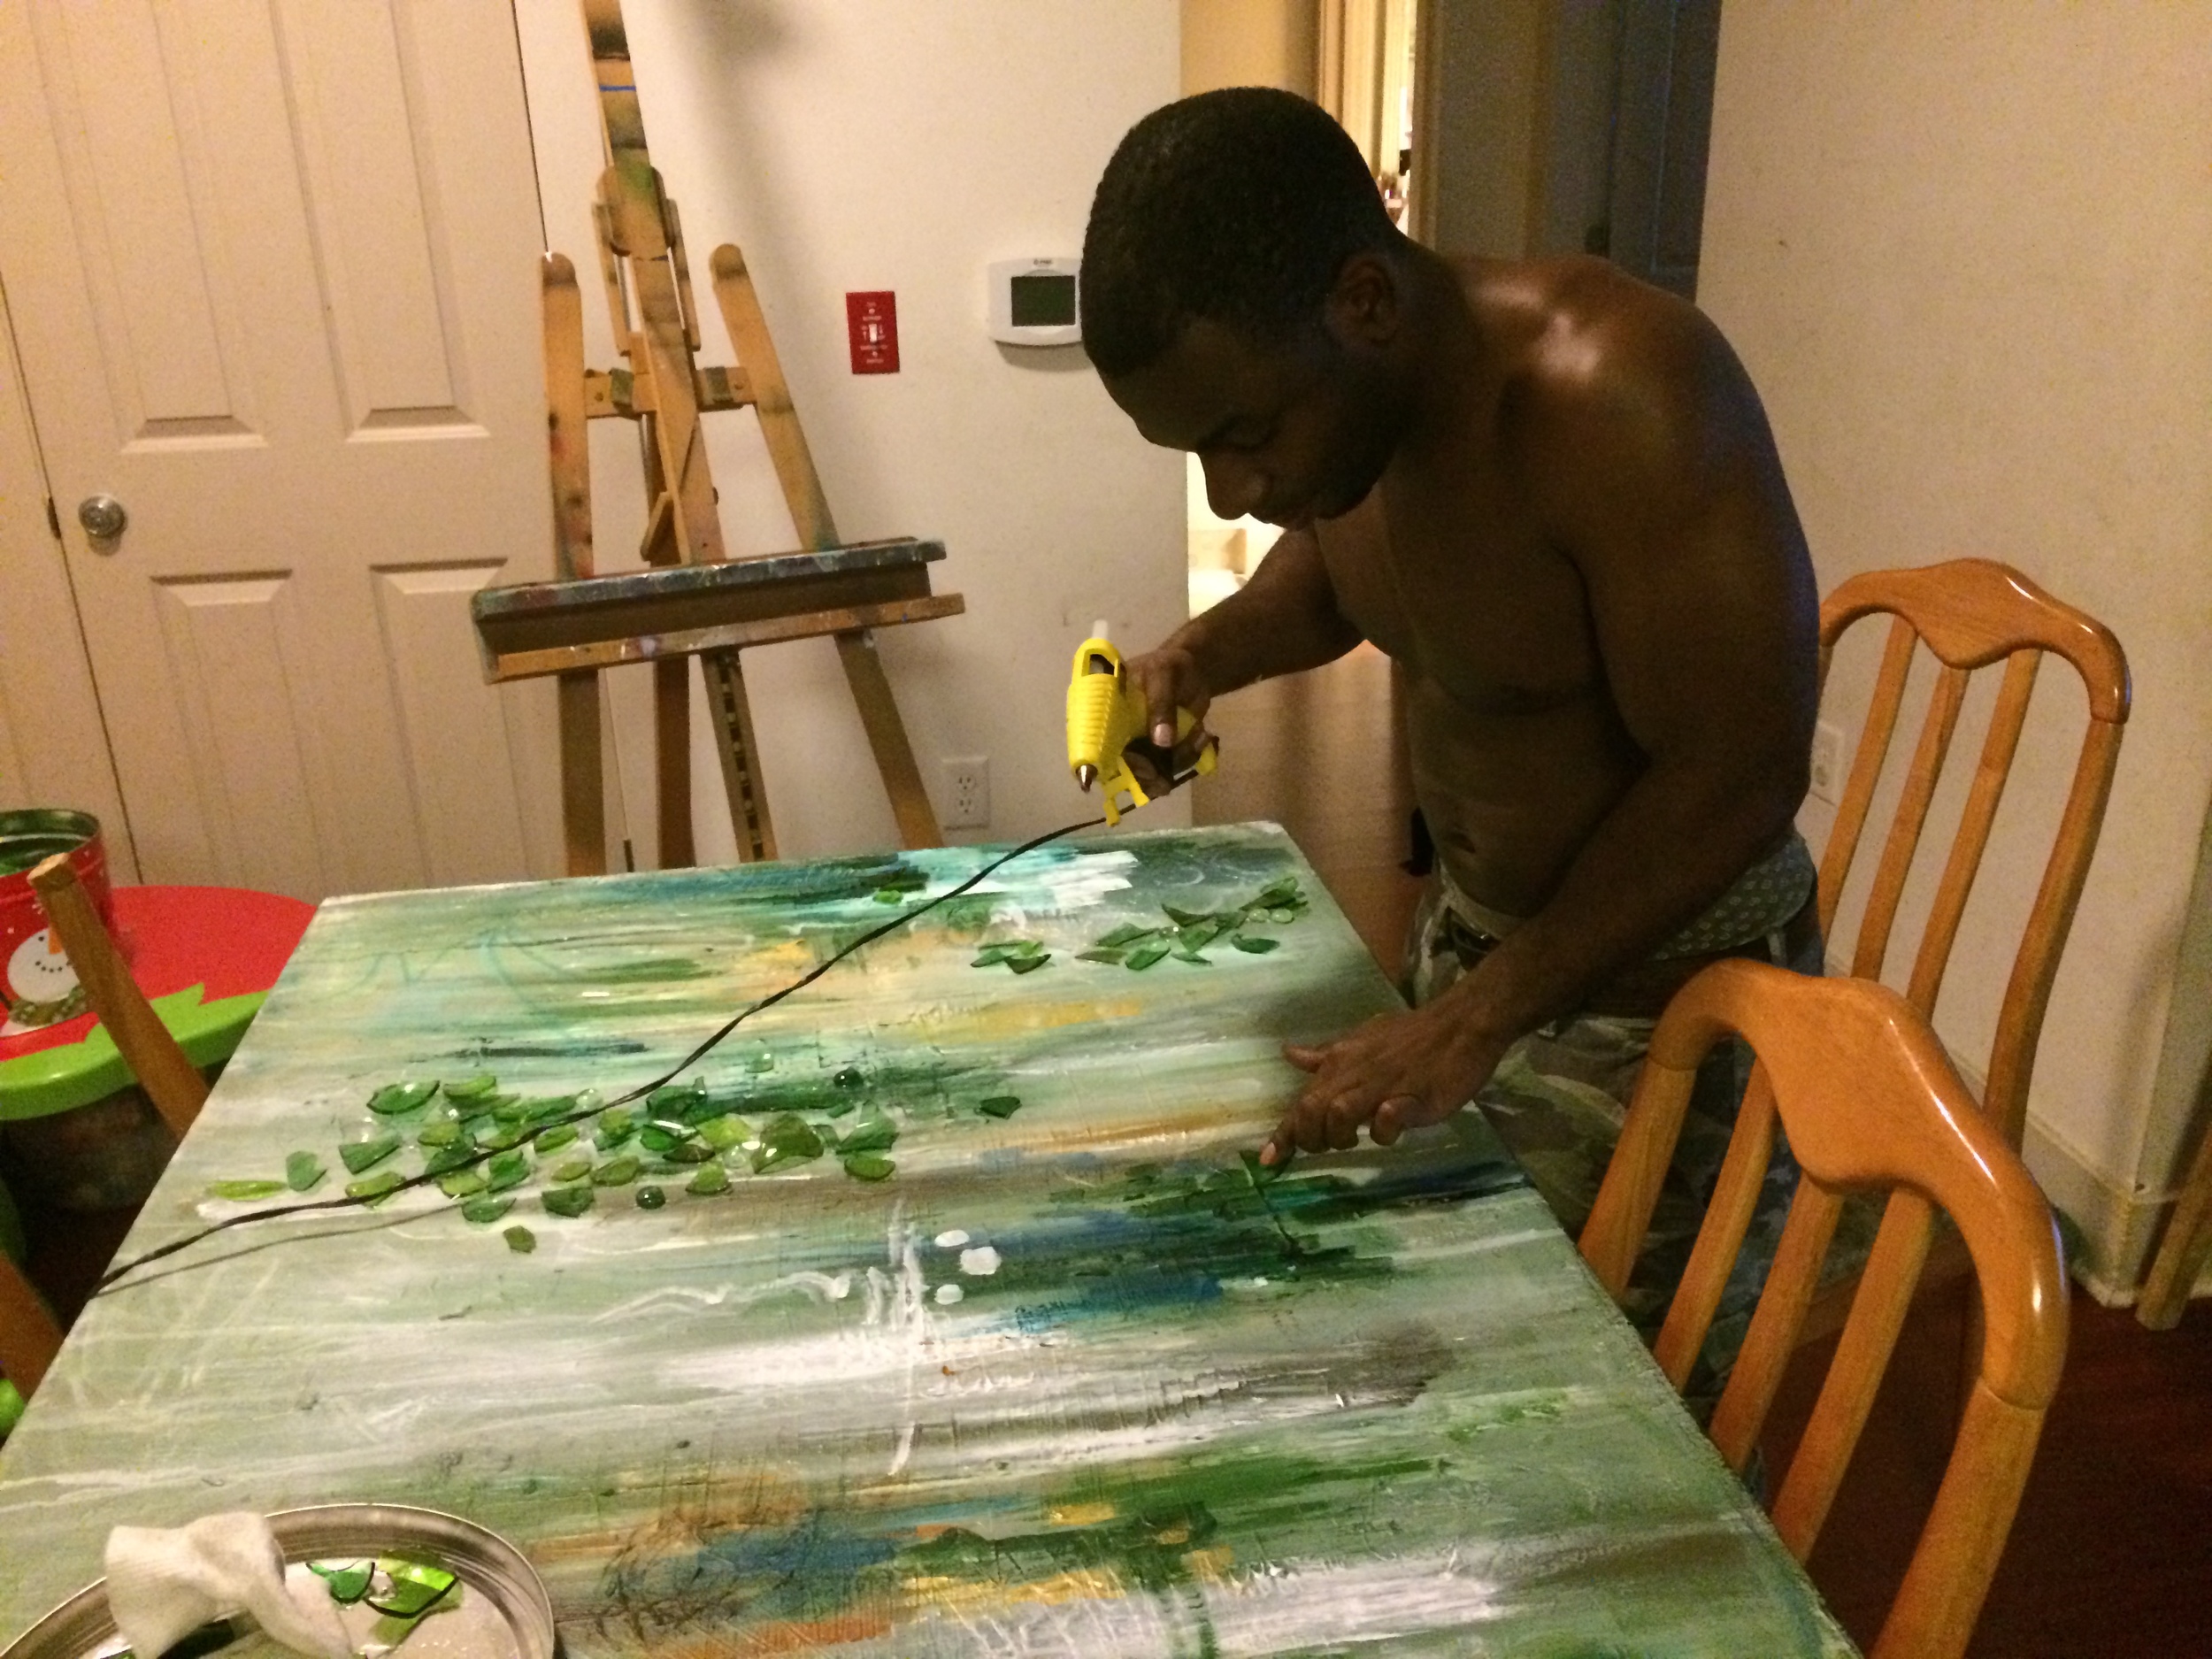
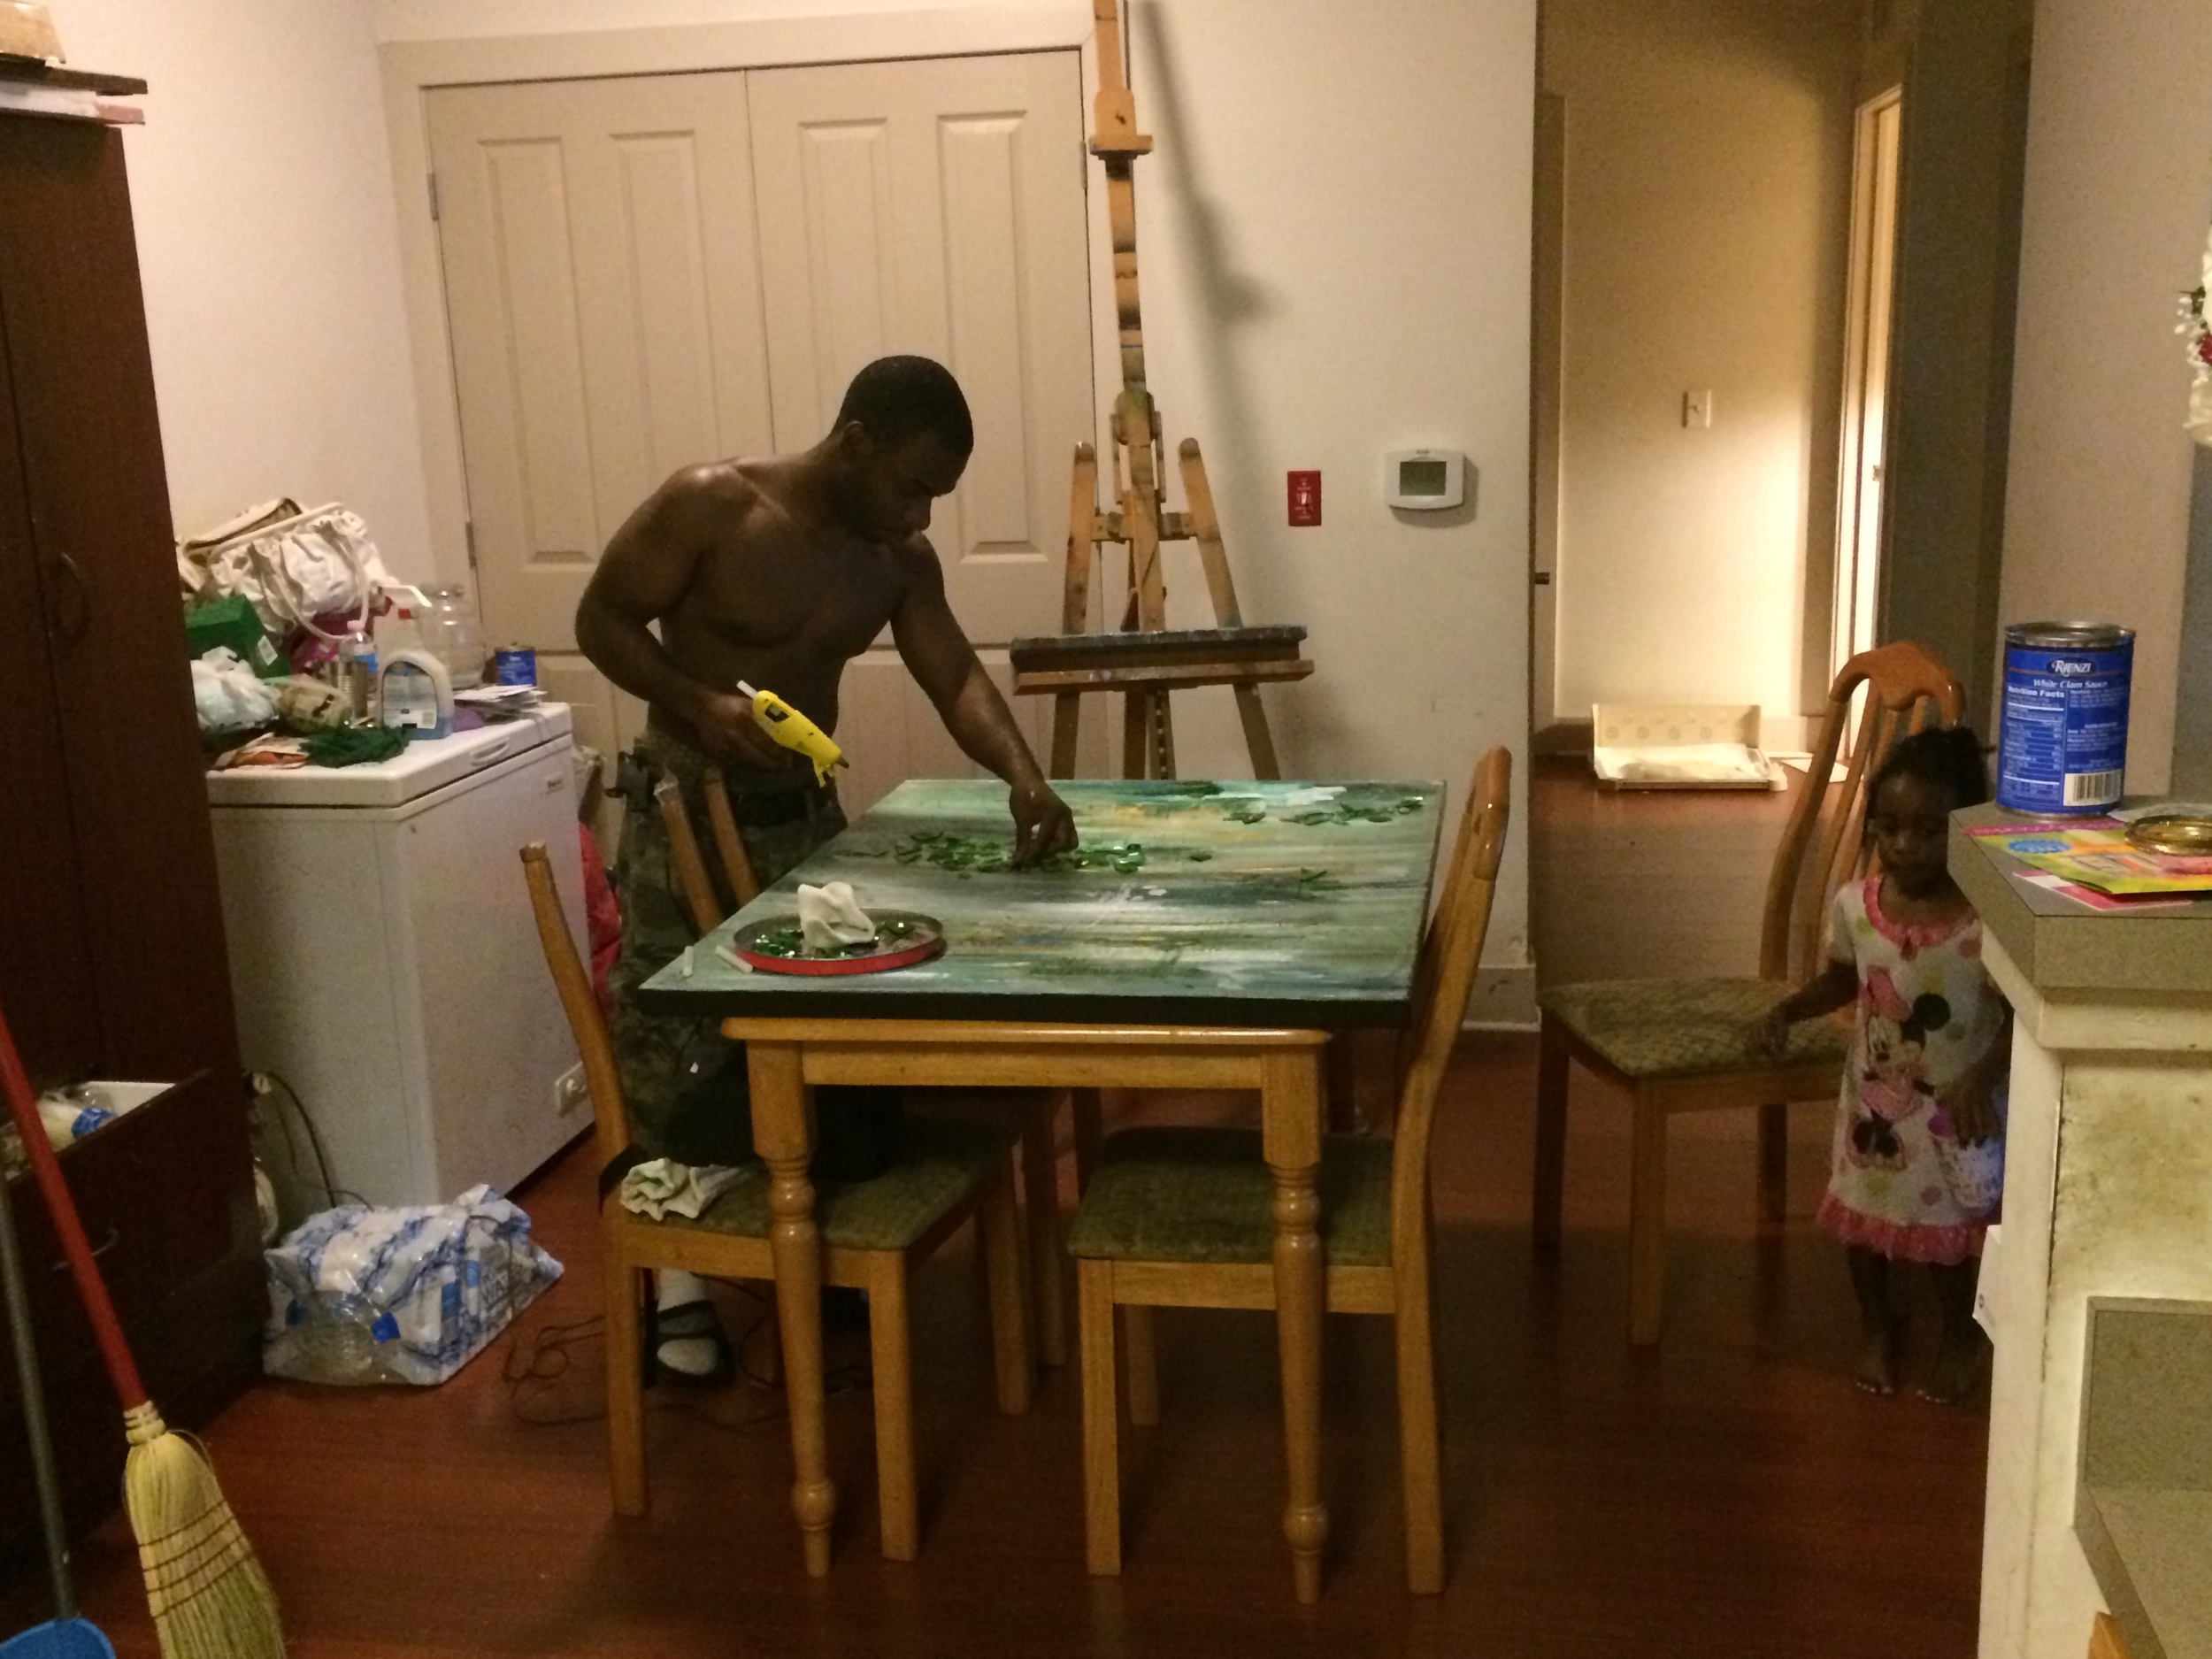
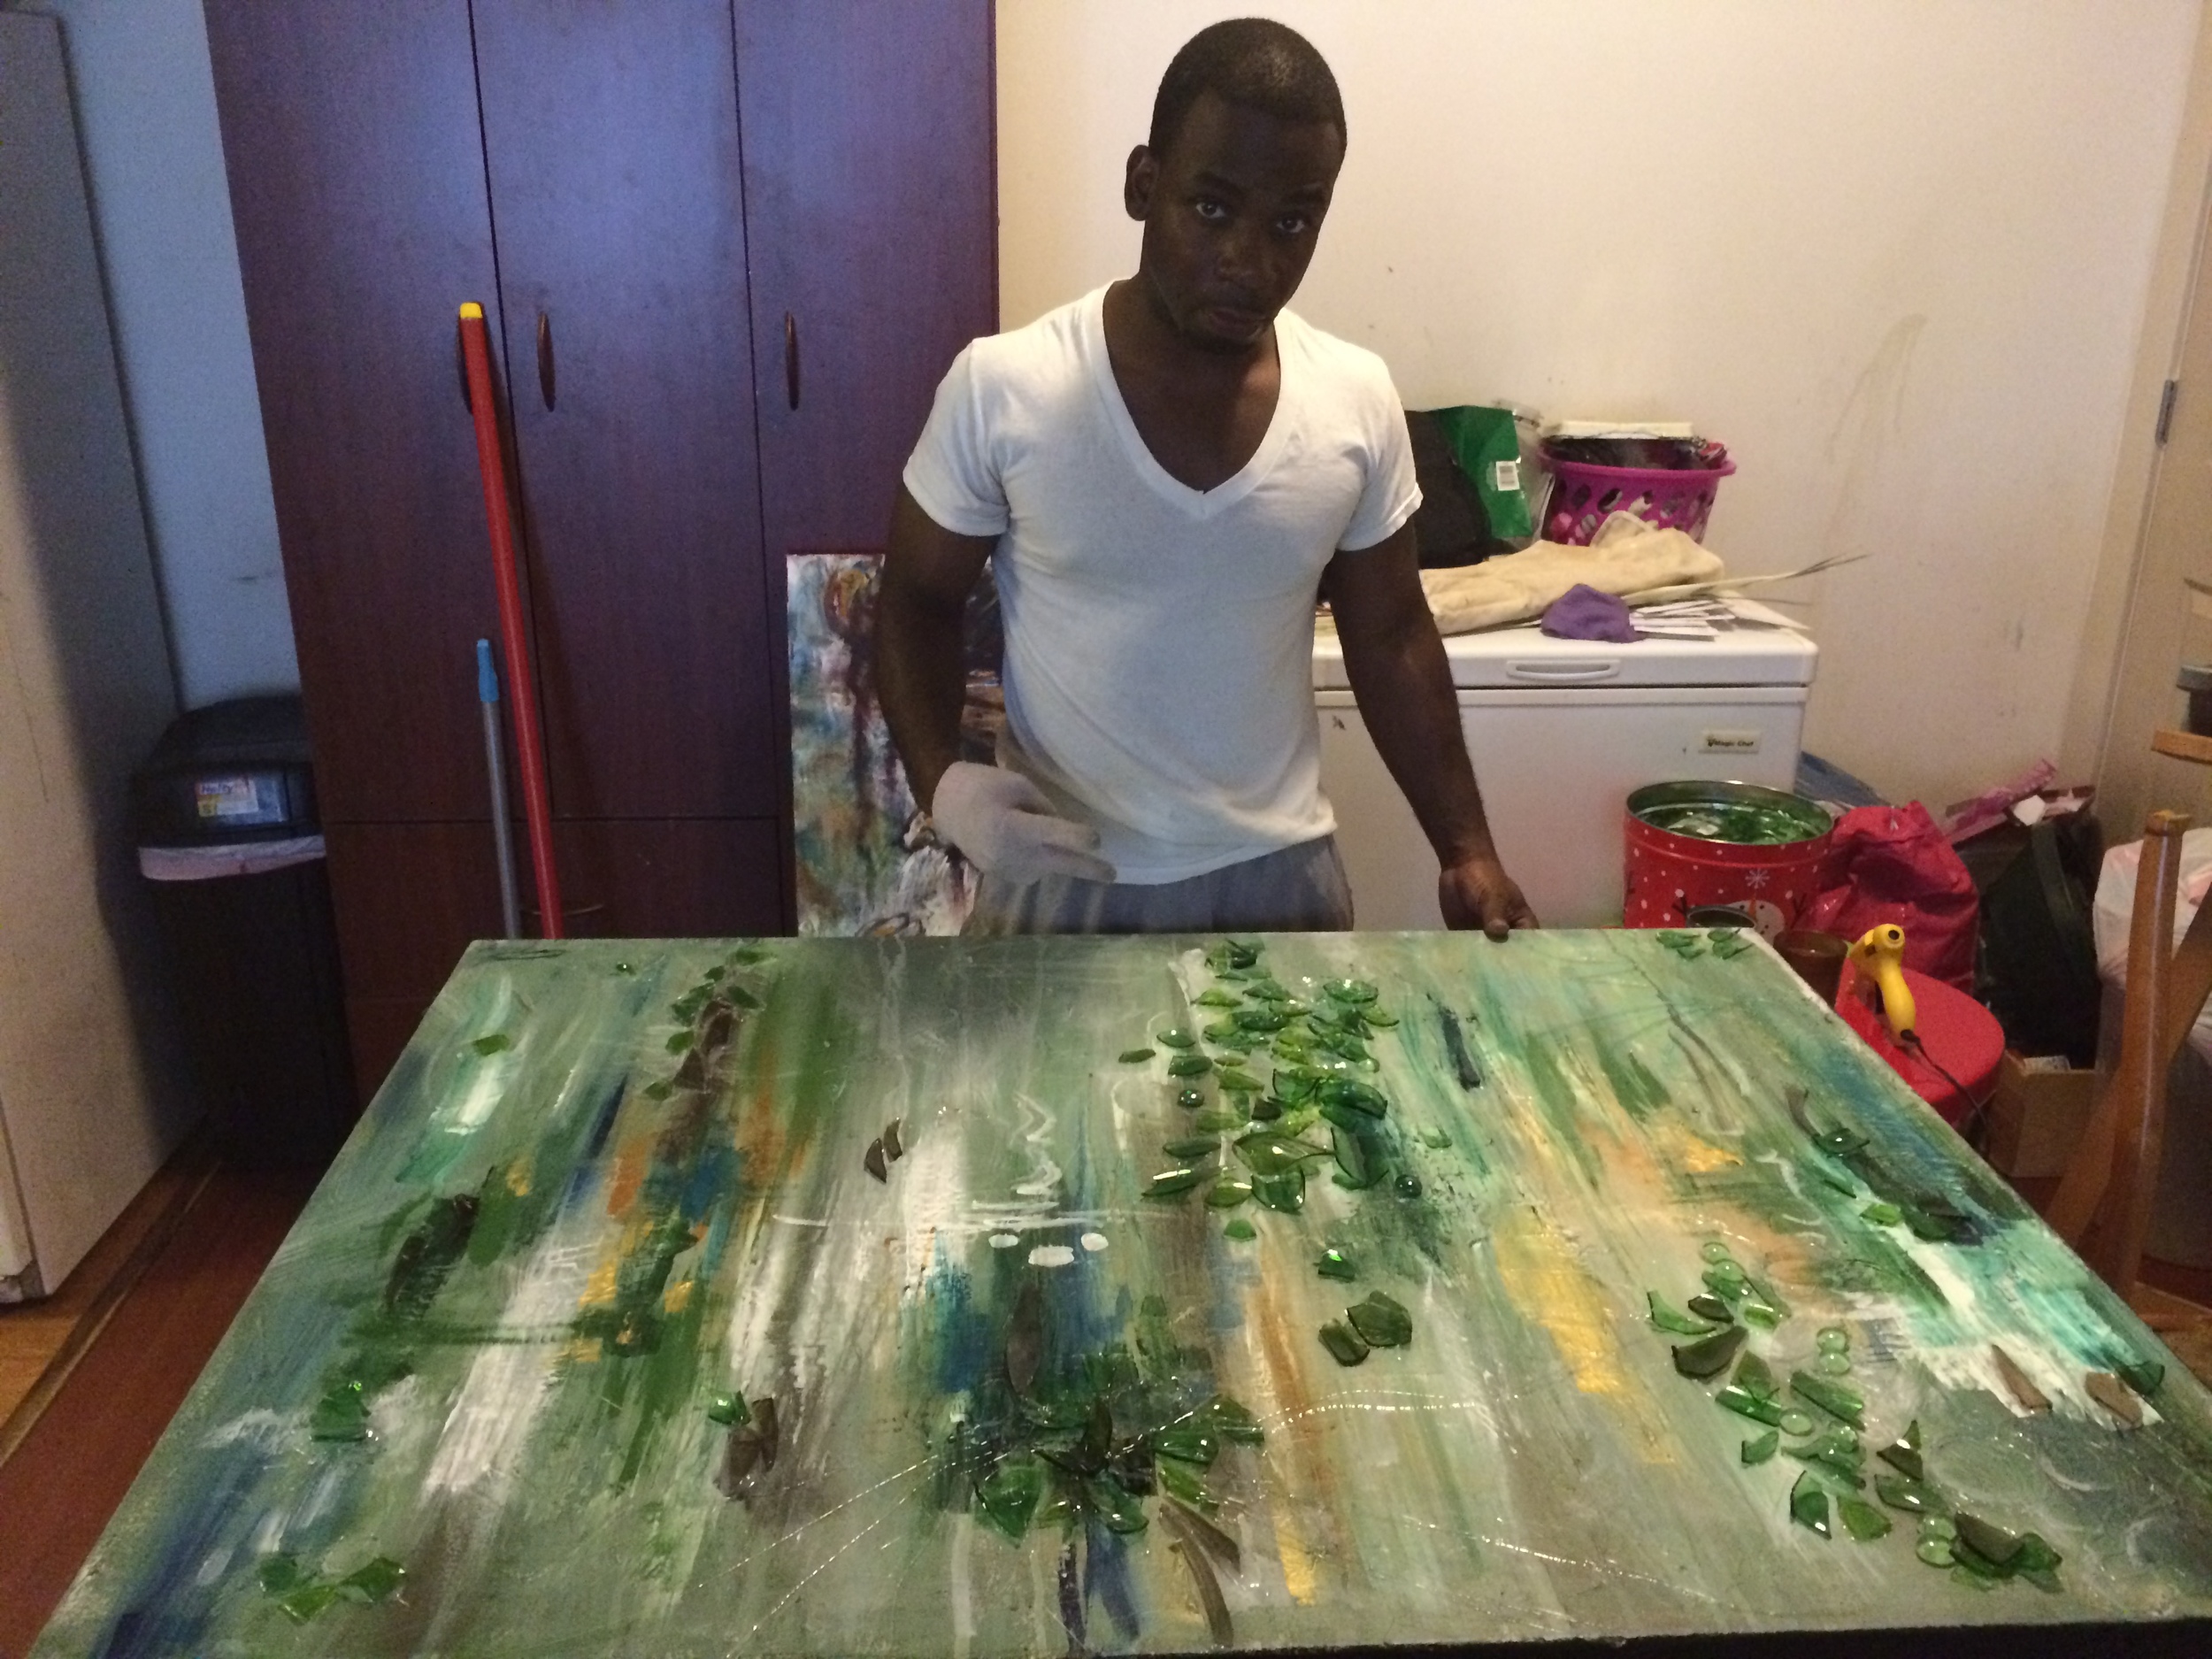
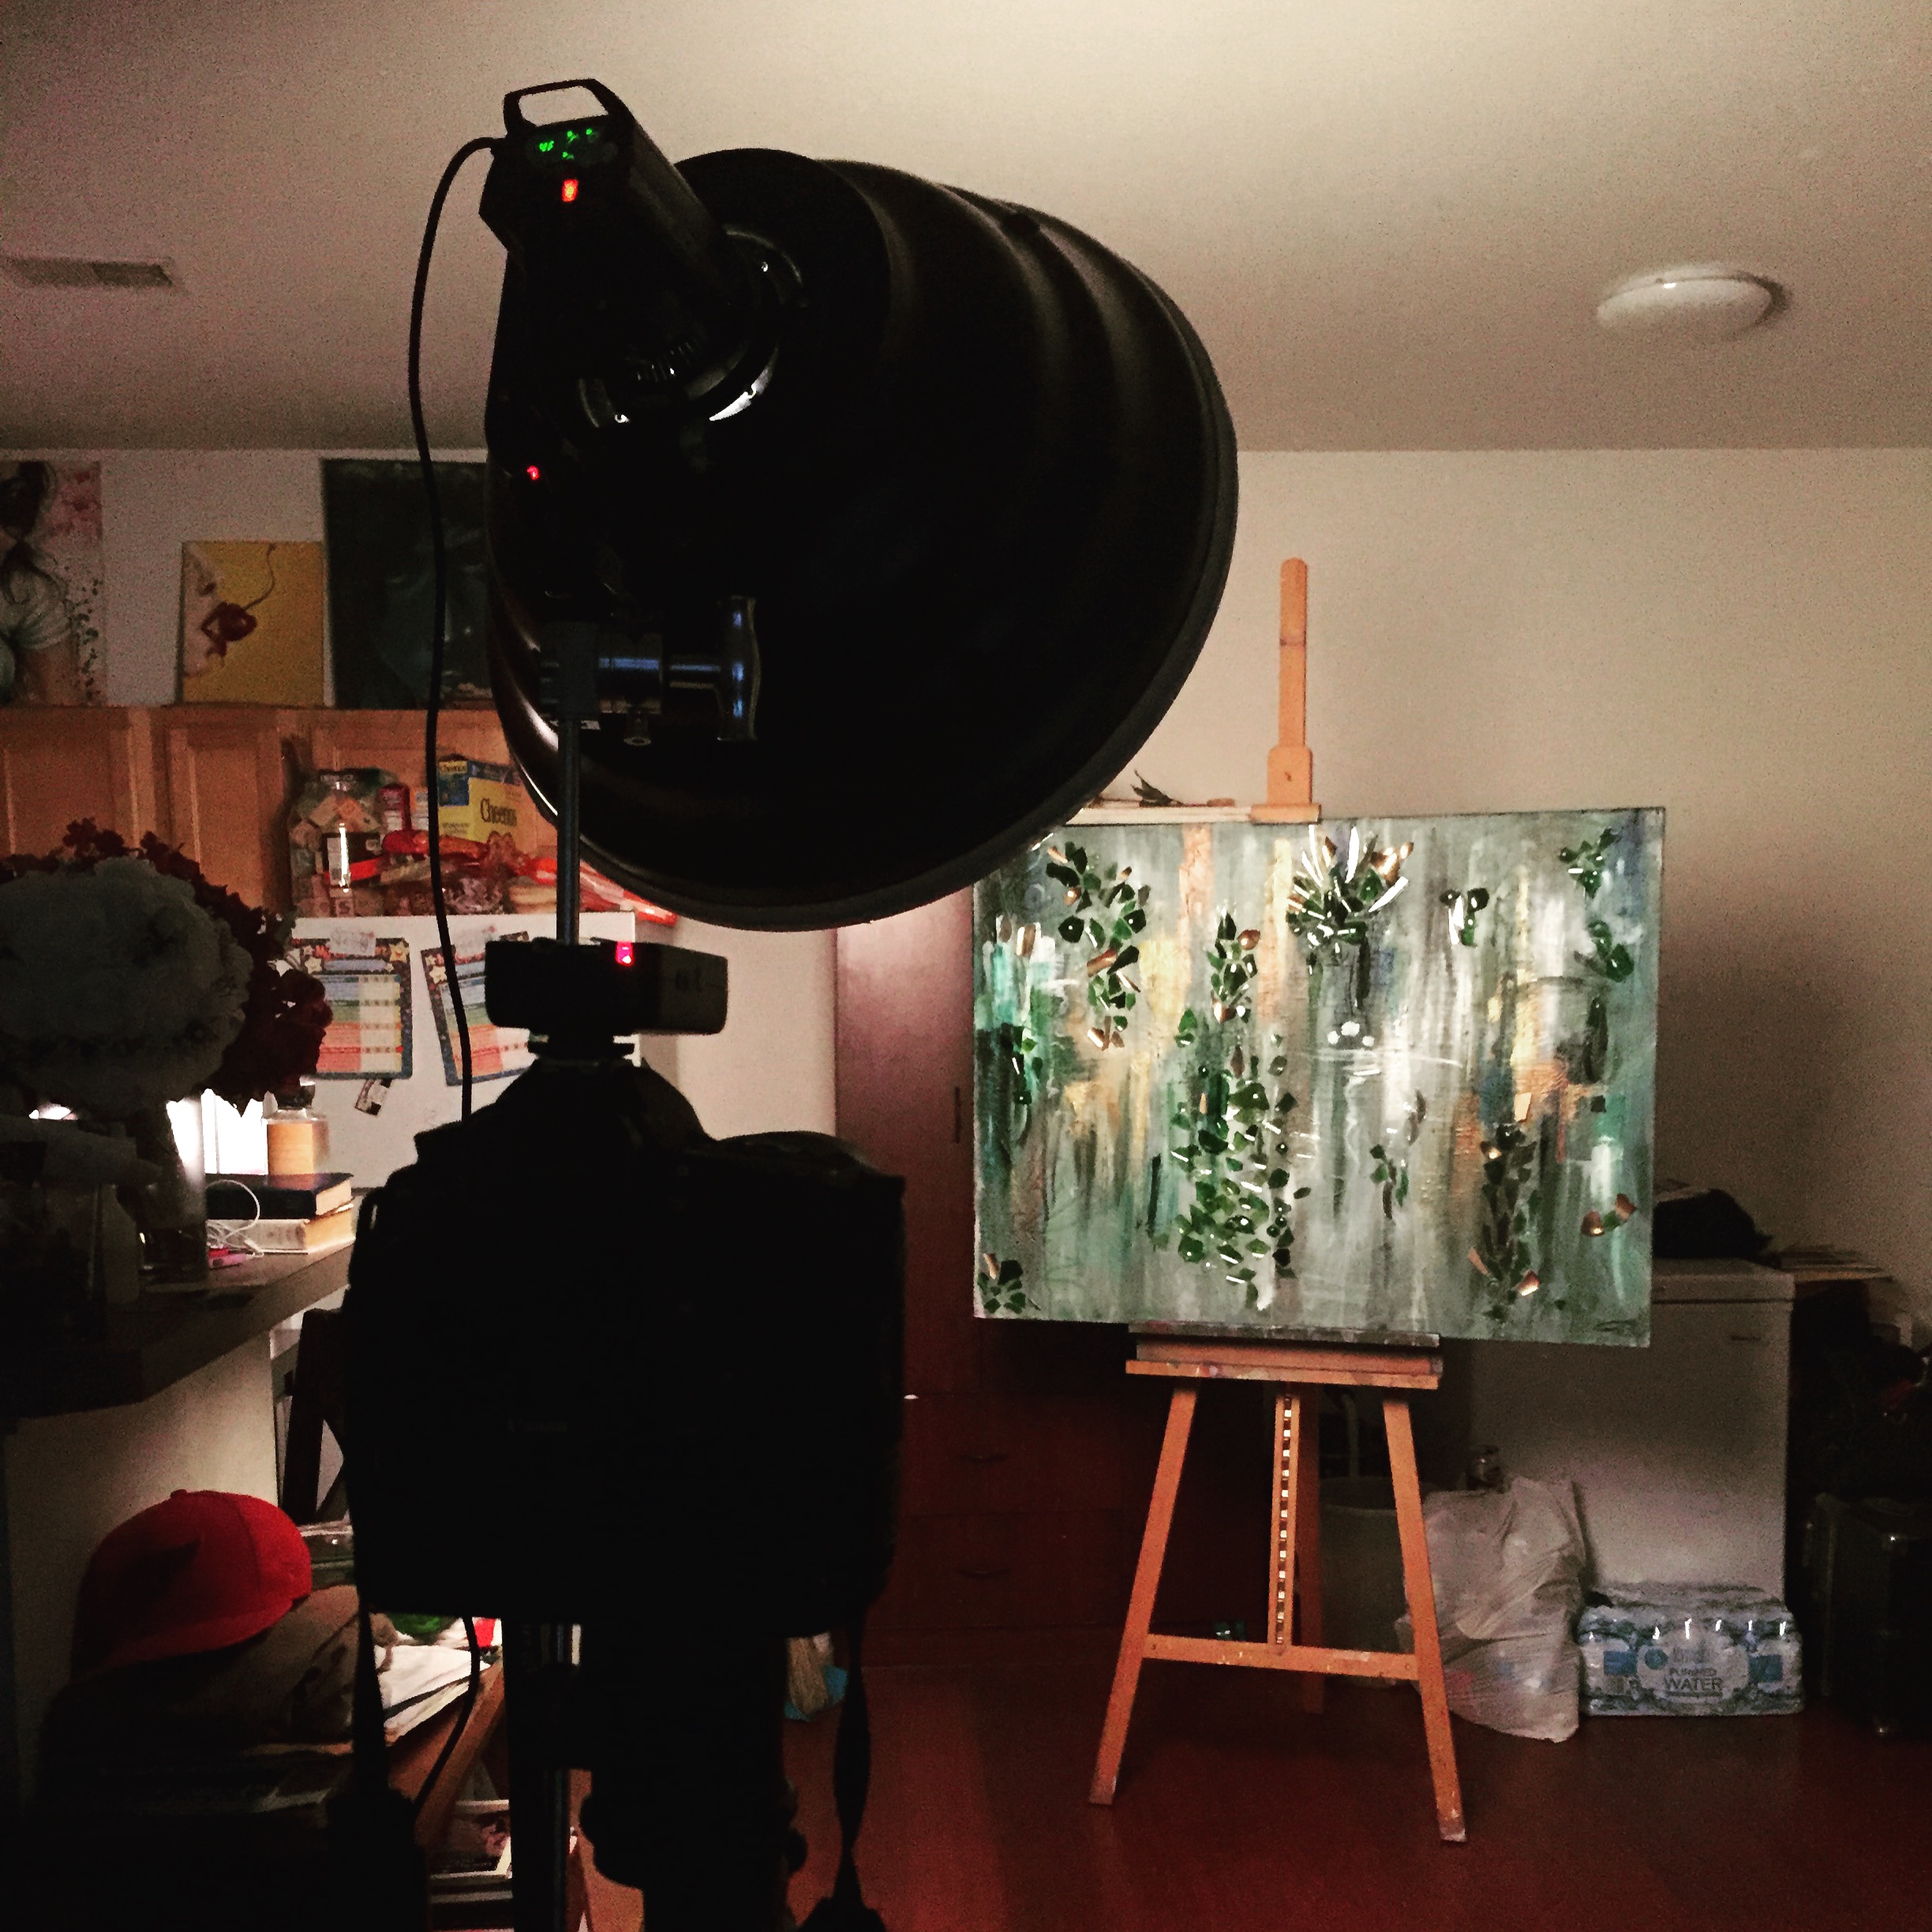
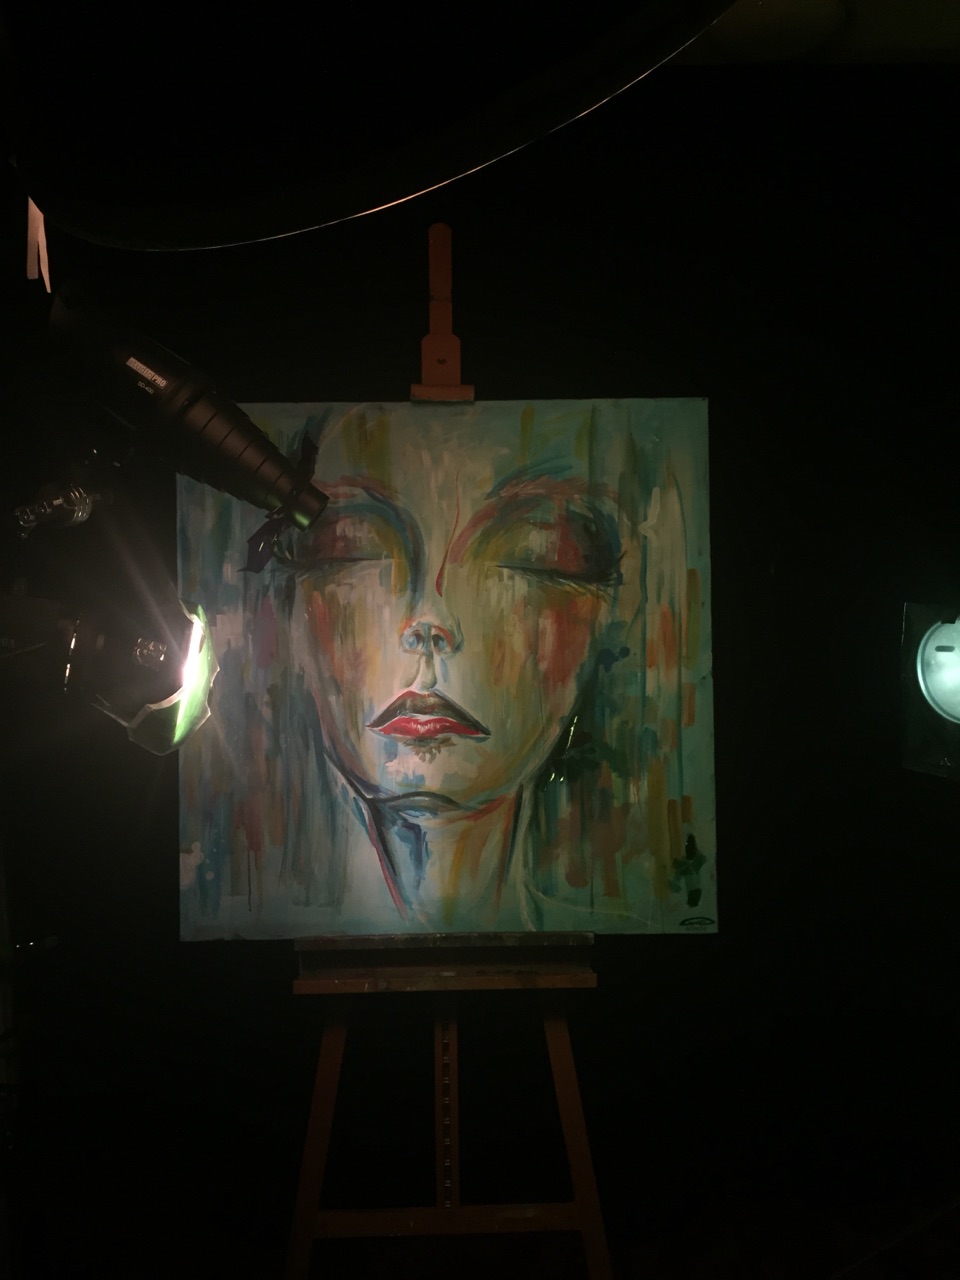
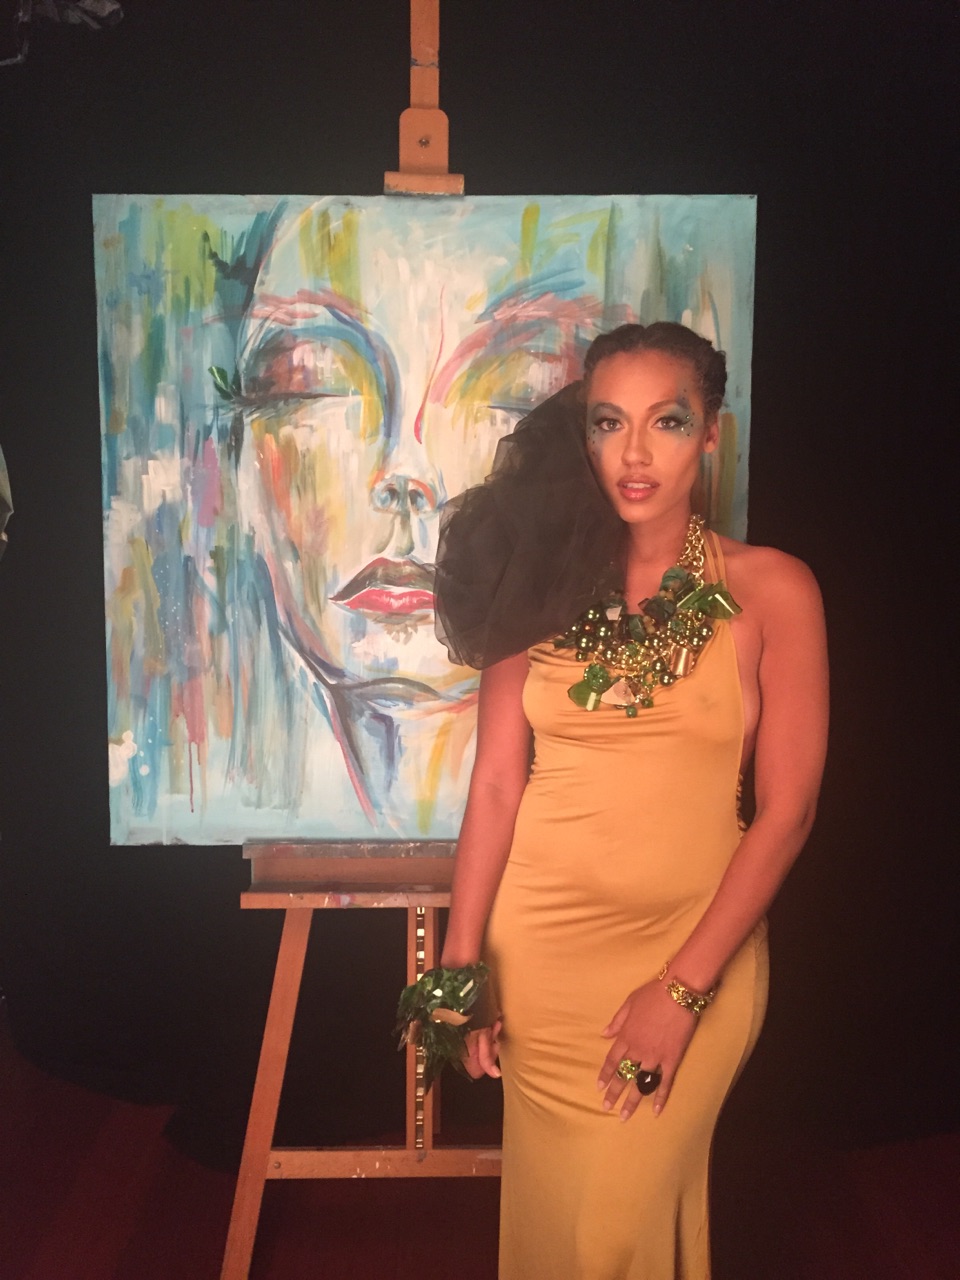
          How this all came together was simply magical. I have come to the realization it was on God's time, and it is my belief everything perfectly aligned so that this project could happen. A year ago I set out on a quest to creativity combine my "Art" with my “Photography” Initially, I had no direction but I knew I wanted to make something great. The more I pondered the more the visions started to manifest themselves. I started to scribble down little ideas as they came to me, then suddenly my attention shifted to creating a painting. I grabbed up a 30x48in sized canvas of old B&W abstract painting that I disliked and begun to work. It bothered me to even look at that painting, I was so eager to paint over I just threw anything on the canvas and of course that did not work either because I ultimately painted over that as well lol. So after two failed attempts, It was time to go back to the drawing board, the premise of this project was to be expressive and experimental at articulating my story so I wanted to create a mixed media abstract piece that would reflect that. In retrospect, looking back it is my interpretation the primary reason why those other painting I attempted to do on the same exact canvas did not work because the actual art was waiting to be used for something very special to come.

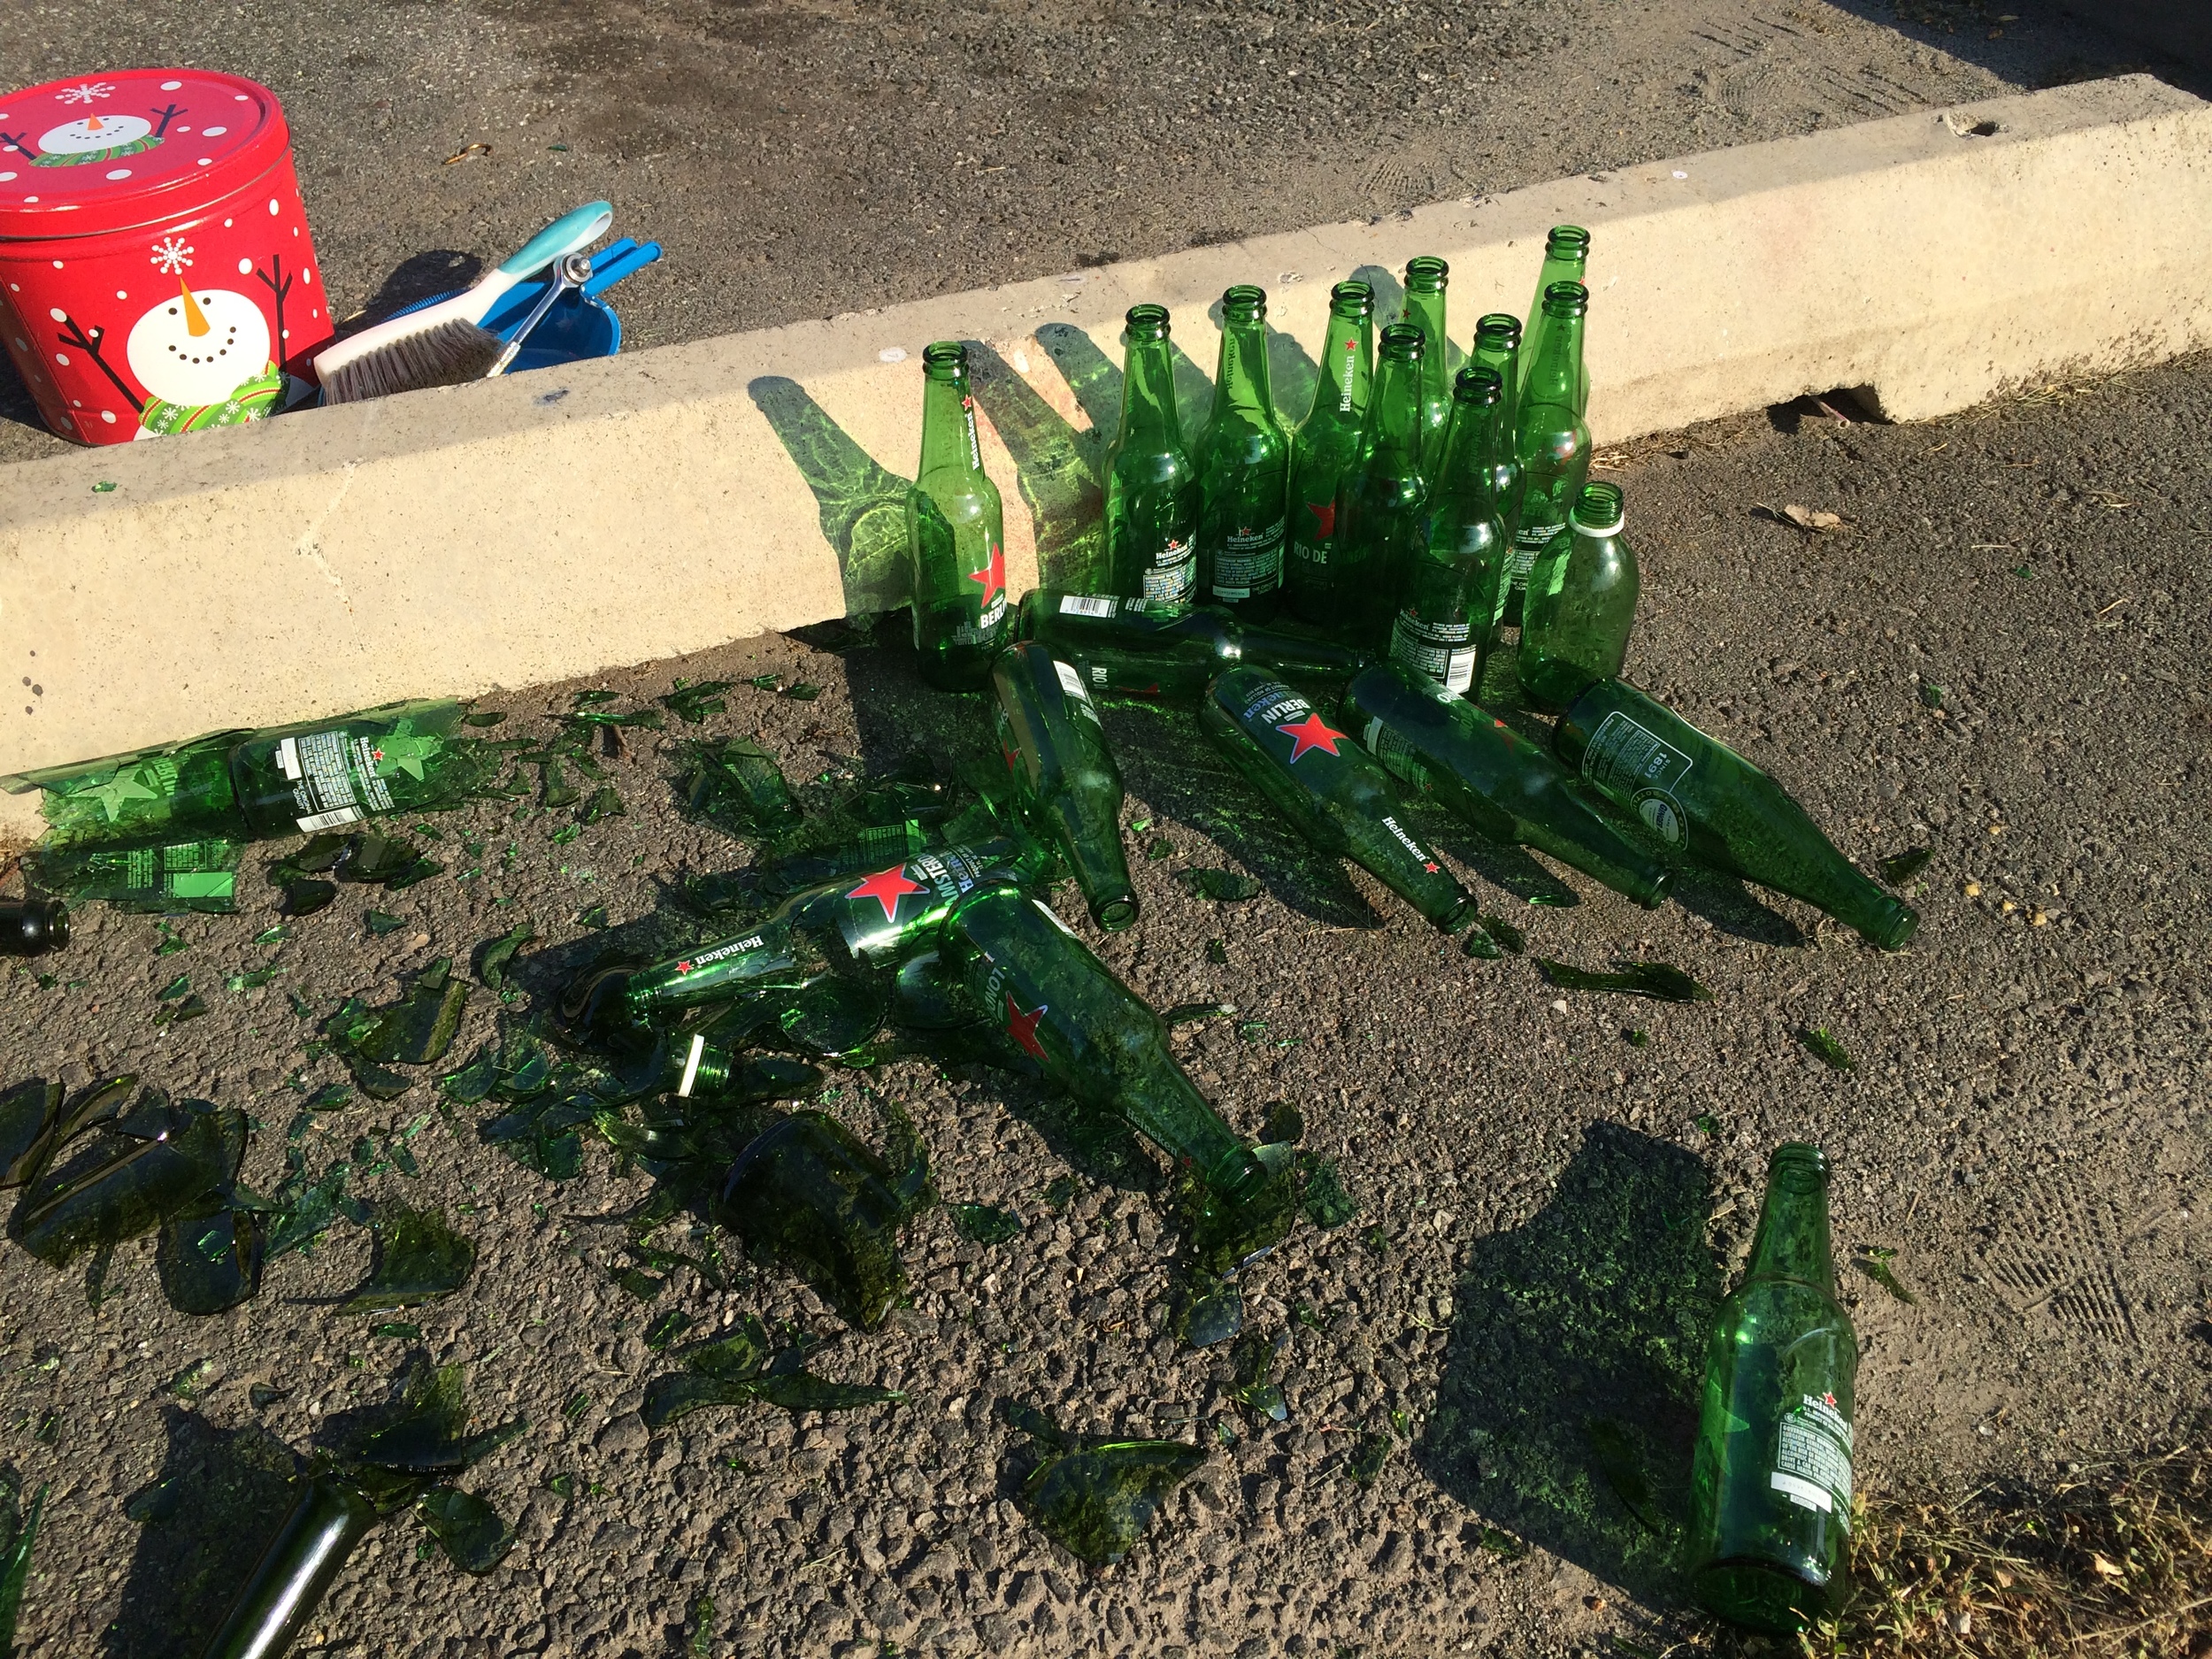
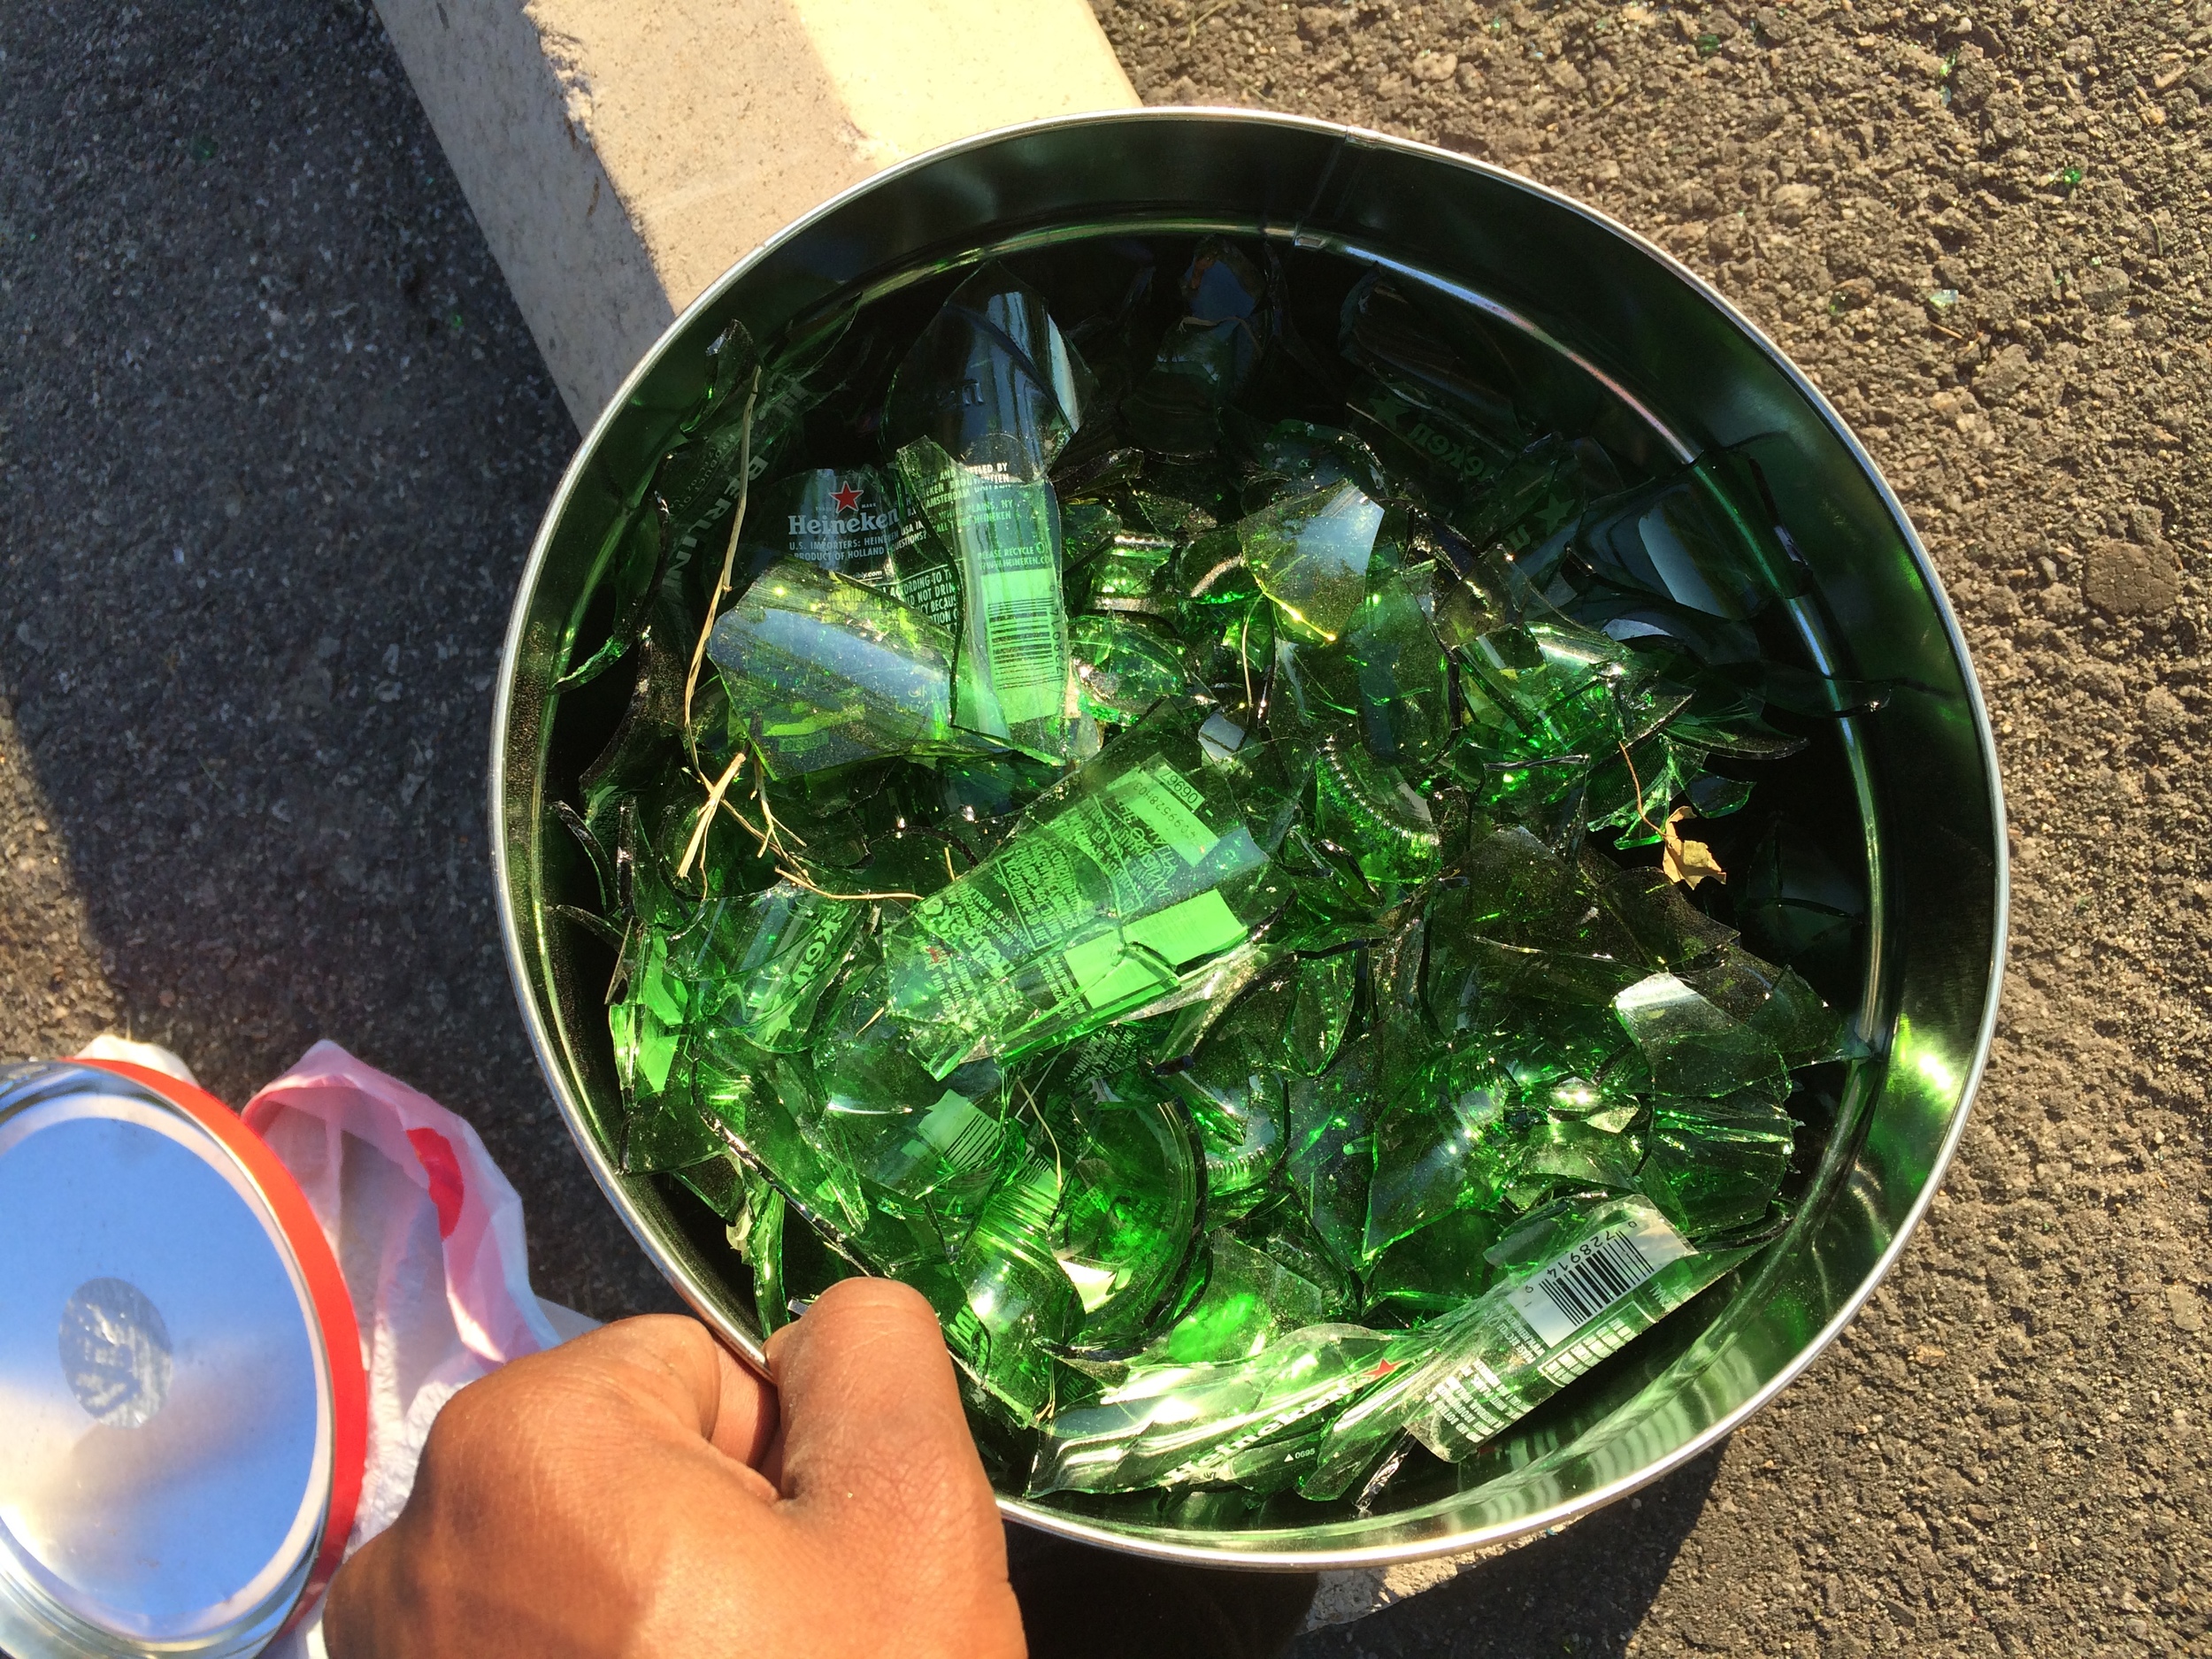
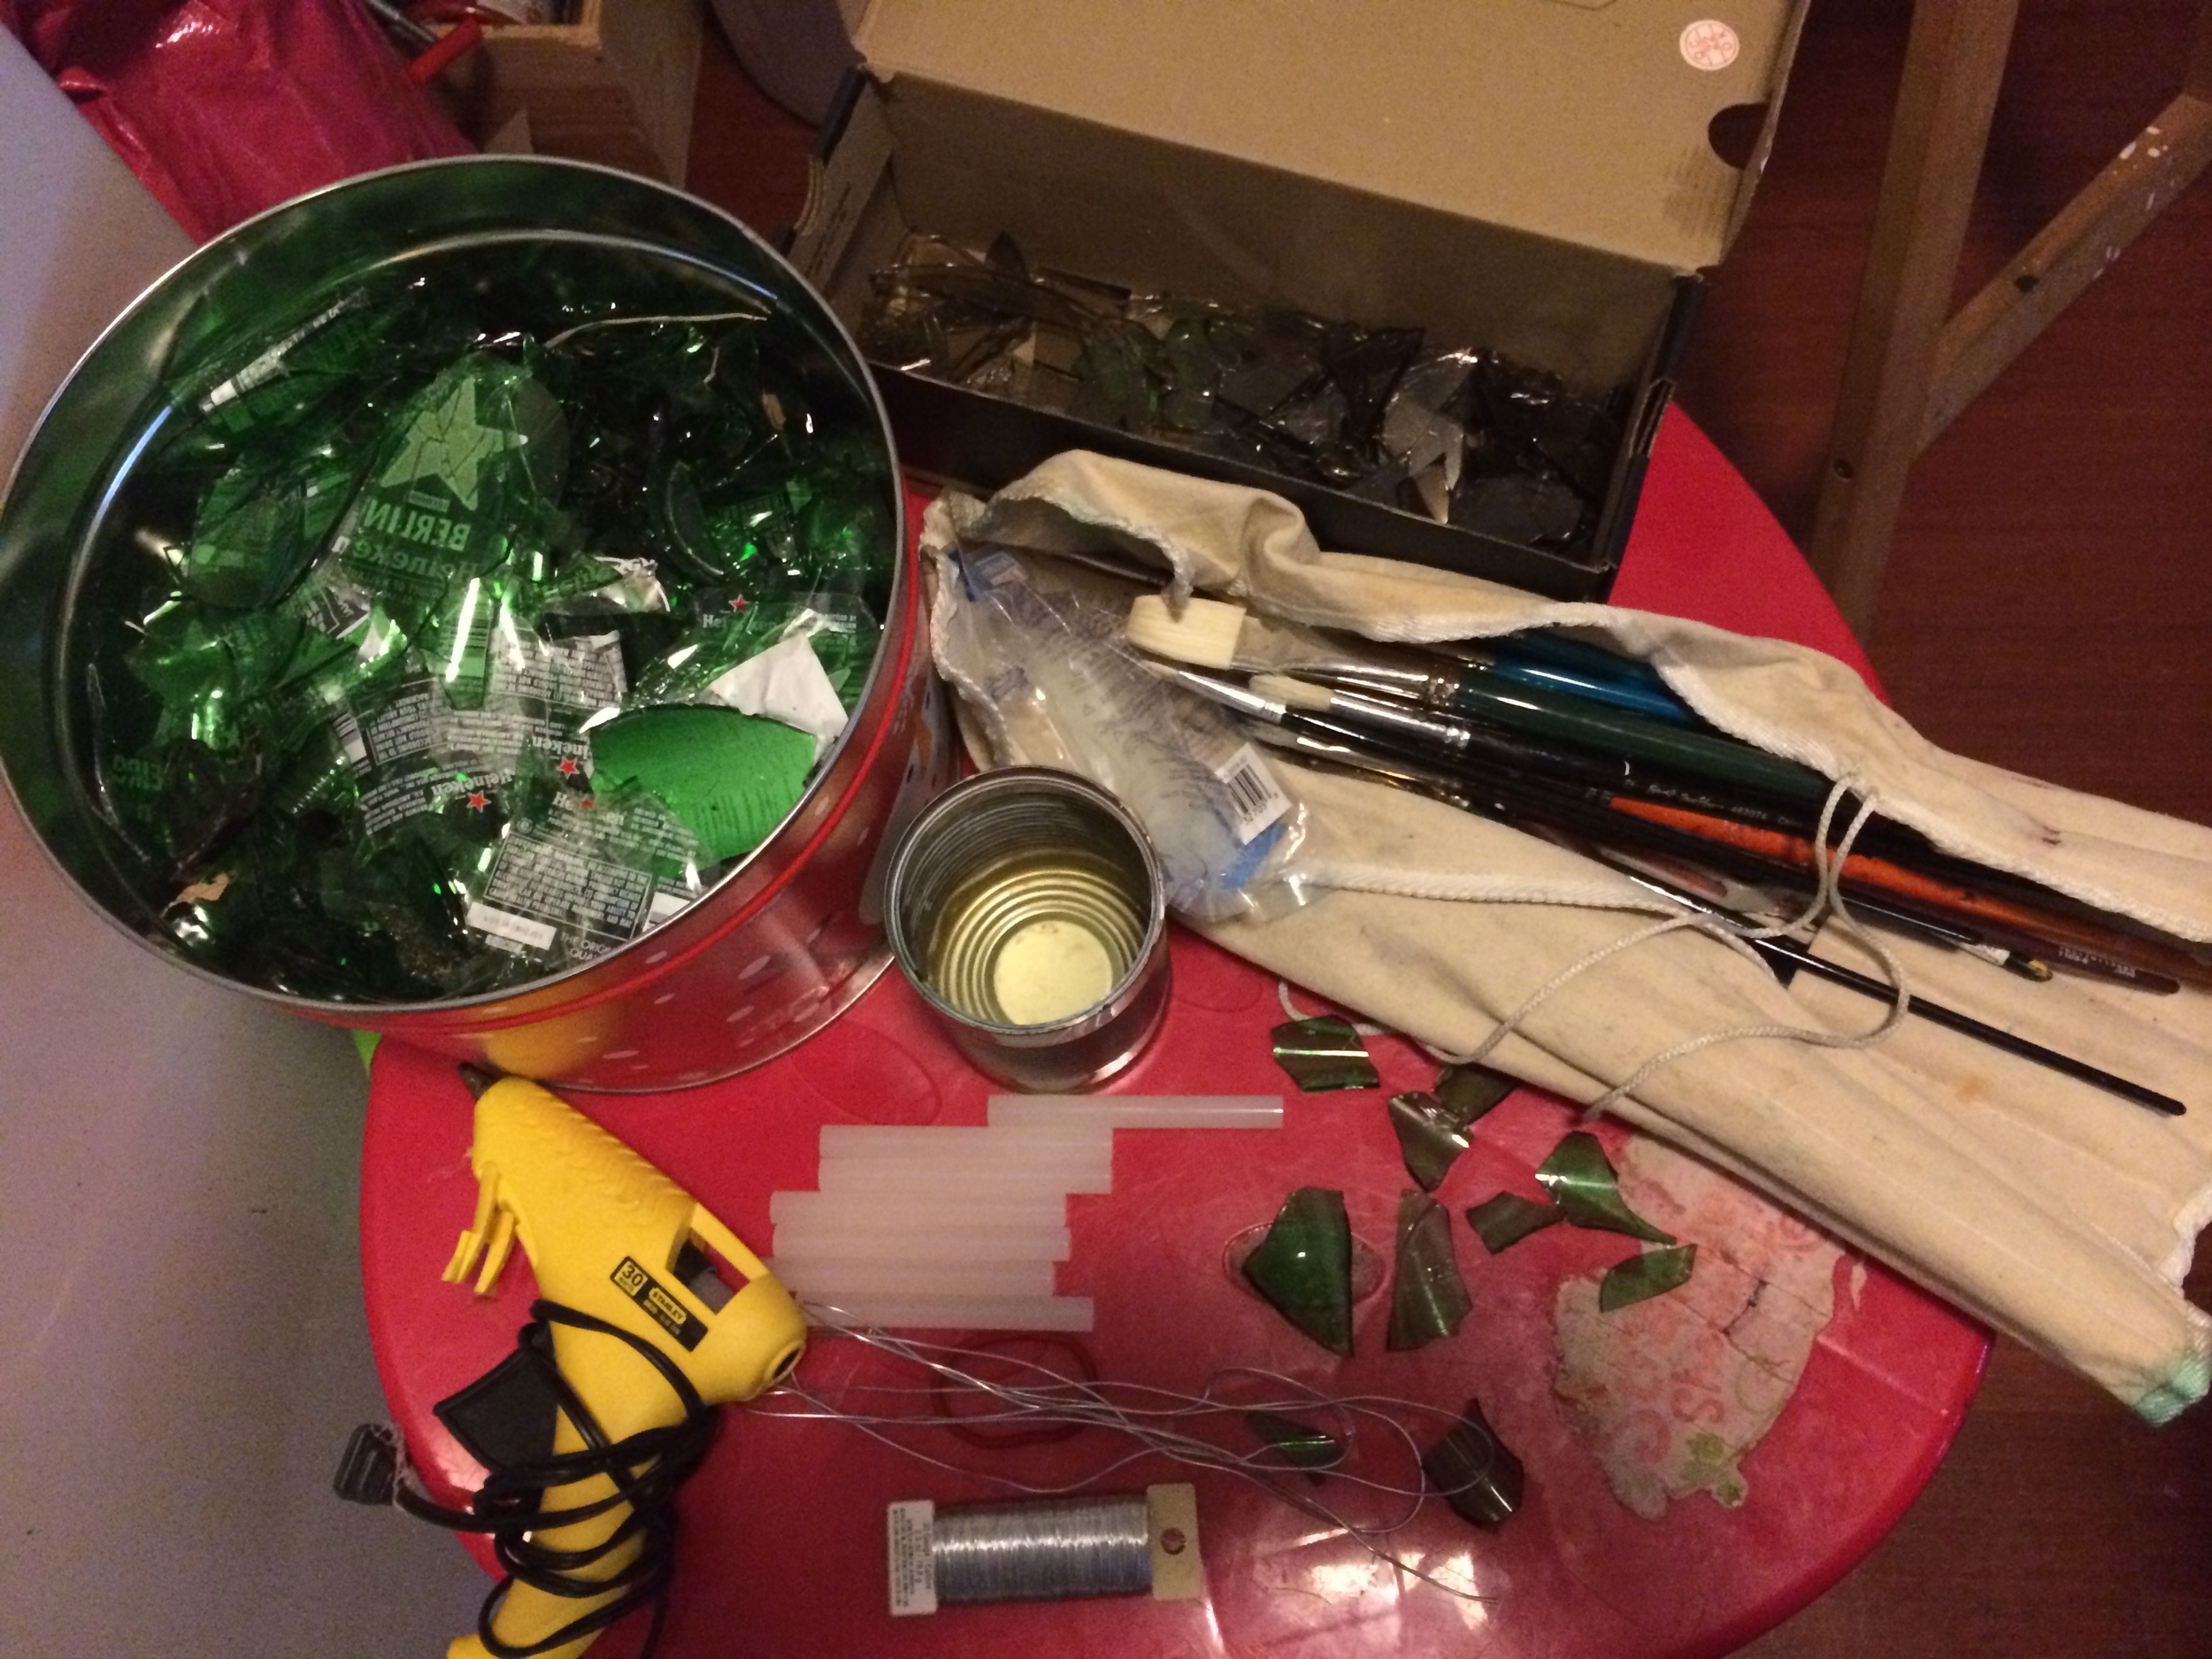
          I have never previously worked with glass, yet I sought it to be the appropriate medium for this piece. It was time to gather some bottles. I found it to be the most accessible ironically I kept coming across "Green" bottles. Boom there was the color scheme, green was also ideal because it is the color of the heart chakra, and it is said to be the color of balance harmony, and growth. Those were the exact qualities I was in search of in my life. I told myself I would take my time and I did just that tediously tinkering every rotating piece of glass. Weeks and weeks went by of me working and curiously scouring the streets for the green jewel. At least that is what I considered them to be mere trash became my treasure, it was such a vital element for the painting. I am sure my friends, family, and on lookers all thought I was going crazy picking up glass from the ground and putting it into my pocket, none the less the craziness served its purpose. Not that I used them all but I guesstimate I collected over 100 bottles for this piece all varying in size and shades of green. After I felt I had an abundance of glass it was time to break bread or glass I should say! The project was gradually coming together but I still had a long journey a head of me.

          It was time search for the jewelry that was a journey in itself. I would come across pieces I thought looked cool but it didn't strike me, and I wanted something that was striking. I visited many customs jewelry stores in the Chelsea area of Manhattan and to no avail. I took the initiative to make the jewelry myself, with that trusty ole bucket of glass and few pieces I somehow managed to gather POOF!!! like a magician waving his wand over a black upside down top hat the jewelry magically appeared. I was pretty satisfied how it turned out, it contained many layers and full of different textures much like the painting. At this point in the project I was feeling very confident because things were coming along smoothly. Being pleased with the progression of the many phases this project undertook, it was time to move on to the next stage, “The Model” And just when I thought things were going to be a walk in the park it all came to a screeching halt! I have to be quite honest this is where I became discourage, If you could see my face it was screaming the word “Nooooooooo” it bothered me because I was so emotionally invested. Instead of going in a dark corner in sobbing over my frustrations, I made a conscious decision to literally put my best foot forward, put my emotions aside and reluctantly work on other projects while I waited I often remind myself that this had to get done.  
          Although I encountered many discouraging setbacks along my journey I remained persistent. Foiled by my failed attempts I reached out to my trusty and most amazing MUA Ariel to give me a hand at casting a model she knew exactly what I was looking for so she was more than eager to assist. Weeks went by and to my surprise she came up empty handed as well. I started to question myself, “What is going on, what am I doing wrong” It felt as if the only people invested in this project was Ariel and myself, no one gave “SOG” a chance, but I believed in it. I could have easily reached out to a modeling agency but I wanted this to be authentic, I was in search of a connection. Moving forward, I can vividly remember being on Instagram one day posting pictures, I noticed this particular user liking a lot of my photos it caught my attention and I wanted to investigate. Immediately upon skimming through her feed, I excitedly blurted out “She’s the girl” At that very moment I intuitively knew I was looking at my muse for the project, she ideally fit every criteria. I tell you this girl was gifted wrapped and handed to me from the universe. The only thing that stood between us was a simple direct message, and boy I was not trying hesitate! I sent her a message that basically said “I would love to make some magic with you, she replied “I love your work, let’s do it”

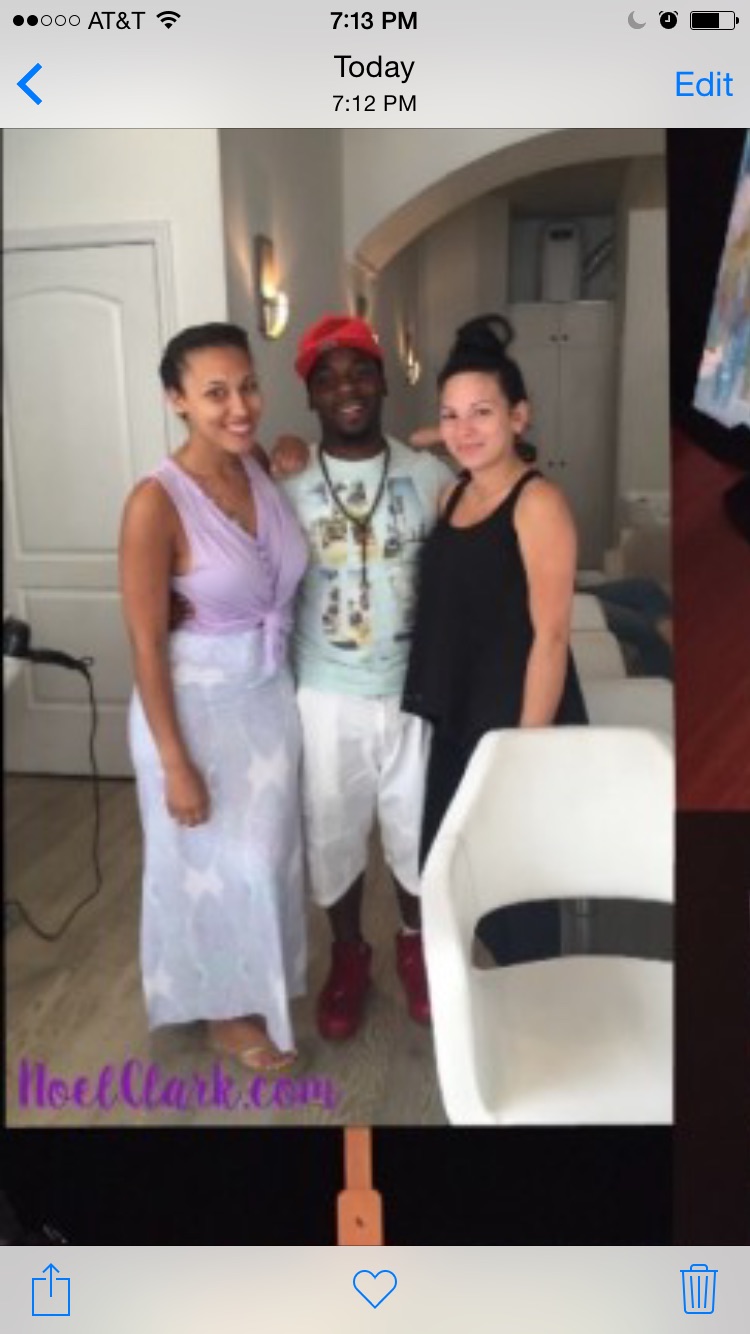
          I am thinking to myself no way, this is a joke, is she serious, is she going to flake like all of the previous models!!!???? These were some of the many fears that stalked my mind upon conversing with her via Instagram. In the weeks following we communicated more and more through email. Although she showed some interest I still did not feel fully secure on the deal, all that change the moment I sent the Photo Treatment of the shoot to her, that changed everything! After reading the treatment not only did she have a new appreciation for “SOG” it resonated with her so much she felt compelled to participate. I want to add that I am not a believer in coincidence, this is just a term we use to describe the strange occurrences. Ironically, she revealed to me that her dad passed on in 2010, my dad passed in 1995, 15 years prior to her tragic experience, she also told me of a poem she wrote 5 years prior to “SOG” titled “Stained Glass” I do not know if you guys see it, but there was definitely a connection there. She believed in me, and in my vision, she handed over her trust and I can not thank her enough. During the shoot I can recall on a few occasions Noel state "Everything happens on God's time" there was a quiescence in those words that perpetuated in my head.

          In closing,  this photo shoot wildly exceeded any and all expectation I had. I am truly humbled by this entire experience, all of the disappointments, mishaps, what seemed to be failures, were all in preparation for what was to come. All of the indifferent things that took place meant absolutely nothing in comparison to the day of this shoot, it was nothing short of utter bless. I am proof that through undoubtedly believing, hard work, and just being plan old persistent you can reap the fruits of your labor and man did I reap them abundantly!!!!! 

NoelClarkIMG_8278.jpg
NoelClarkIMG_8415.jpg

"Here is a list of my favorite photographers"

Here is a list of my absolute favorite photographers the list is in no particular order, and it continues to grow. These are the very photographers whom I  draw inspiration from, each photographer inspires me in their own individual way. They are considered to be masters of their craft. 

Joe McNally http://portfolio.joemcnally.com/
Scott Kelby http://portfolio.scottkelby.com/
Jeremy Cowart http://jeremycowart.com/
Dave hill http://www.davehillphoto.com/
Bruno Dayan http://www.brunodayan.com/
Jaime Ibrarra http://ibarraphoto.com/
Baldomero Fernandez http://baldomero.com/
Frank Doorhof http://frankdoorhof.smugmug.com/
Dave black http://www.daveblackphotography.com/
Joel grimes http://joelgrimes.com/
Christophe Gilbert http://www.christophegilbert.com/
Lindsay Adler http://www.lindsayadlerphotography.com/
Aaron Nace http://aaron-nace.com/
Brooke Shaden http://brookeshaden.com/gallery/
Gregory Heslier http://www.gregoryheisler.com/
Joey L https://www.joeyl.com/
Joel Robinson http://joelrobisonphoto.wordpress.com/
Mark Sacro http://marksacrophotography.com/#/
Angela Marklew http://www.krop.com/fstopinertia/#/
Bill Jones http://billjonesphotography.tumblr.com/
Sue Brice http://www.inbedwithsue.com/
Bruce Weber http://www.bruceweber.com/#/
Julia Kuzmenko http://www.juliakuzmenko.com/
Alexia Sinclair https://alexiasinclair.com/
Oleg Tityaev http://www.tityaev.ru/beauty.htm
Glenn Prasetya http://www.glennprasetya.com/
Richard Dubois http://www.duboisphotography.com/index.html


"How to achieve amazing catch lights in the eyes Pt 1, 2, & 3"

Want to know what inspired it all?
A Little over two years ago I came across photographer Peter Hurley, whom I've fell in love with. He is arguably one of the most successful and well known Portrait Photographers of our time. I was just marveled and intrigued at how he built a foundation and style off of head shots with such a simplistic approach. As my interest in his work grew, I learned about his style of shooting, workflow, lighting, clients,  pricing, etc, being a portrait photographer myself all of this stuff resonated with me. I was on the www.FStoppers.com site and saw that the guys over at FS linked up with Peter to create "The Art Behind the Headshot" DVD which was amazing, that can be found here http://fstoppers.com/peter-hurley-the-art-behind-the-headshot Watching this was like watching a magician expose all of their secrets. Not to dive into the DVD too much but this guy was working magic literally transforming people right before your very eyes. Granted nothing is new under the sun but the fact that he was showing you his techniques and engaging with the audience in such a fashion made you say wow!          

A few months after watching the DVD, I had the honor and pleasure of meeting Peter at the 2012 FStoppers Photo Plus Party located at Peter's Studio in Manhattan. There was food, drinks, and a tone of amazing people.  I went from doing a little research on this guy, to buying his DVD, to actually meeting him in person. Man it was truly a humbling experience to be around such a noted photographer. He was so cool and down to earth I felt as if I was hanging out with a good old friend. He even complimented me by saying I was by far the best dressed person of the night. You talk about a confidence booster that went straight to my ego just kidding lol. The ambiance of it all had me so pumped and excited. By the end of the night I was even more intrigued.

That interest led me on a hunt to obtain those magical fluorescent lights that Peter uses, which are Kino Flo Lights http://www.bhphotovideo.com/bnh/controller/home?O=&sku=258951&gclid=CLe_mMGWjL0CFQ8OOgoduTwAcQ&Q=&is=REG&A=details. I was quickly derailed when I discovered that those Kino Flo Lights were close to 3k a pop for a kit. Looking at those prices in lesser terms paralyzed me, because I knew they were way out of my budget. Instead of getting all depressed, my next best thing was to find an alternative, like my mom always says, "There are many ways to skin a cat." She was absolutely right, because I came across a photographer by the Joe Eldleman who did a fabulous DIY build with some fluorescent lighting banks that can be found here https://www.youtube.com/watch?v=OBPDSBCoN2c After watching his video over 50 times, I took note of everything I needed to do in order to build these lights, and I made it happen. My particular set up slightly varies from Joe Edelman's, however it shares the same principles and mechanics. It feels good to receive, but it feels even better to give back and that's exactly what I was set out to do. I was inspired to share my build and the awesomeness I was creating with it and this is how I came up with "How to achieve amazing catch lights in the eyes series."  You know it still amazes me what you can create with $350 and some appliances from Home Depot. I want to give a huge shout out to Peter Hurley and Joe Edelman for all of their "AWESOMENESS", it's people like these guys who give birth to people like me!  

Showing off that head shot intensive pose!

Showing off that head shot intensive pose!

"How to achieve amazing catch lights in the eyes Pt.1

Big shout out to Emm for posting my video on his Blog http://cheesycam.com/ this is an excellent source for photographers and videographers. I can not say enough good stuff about this site, please go check him out!! 

These photos were inspired by Joe Edelman's video Big shout out to this man for posting this video and helping us all out!!!  DIY Fluorescent Photography Studio Lighting" http://www.youtube.com/watch?v=OBPDSBCoN2c

Photographer: Lorenzo Pickett 
Model: Eliza L
Music: "Fell Apart" Produce by Lorenzo Pickett 
Slide Show: Animoto 
 

Light It Magazine published one of my images as the closing shot in their November's issue, they also used it in the December best of 2012 issue!! Super excited about that!! What a way to end off the year! Go Check it out, and you will see it in there!! 

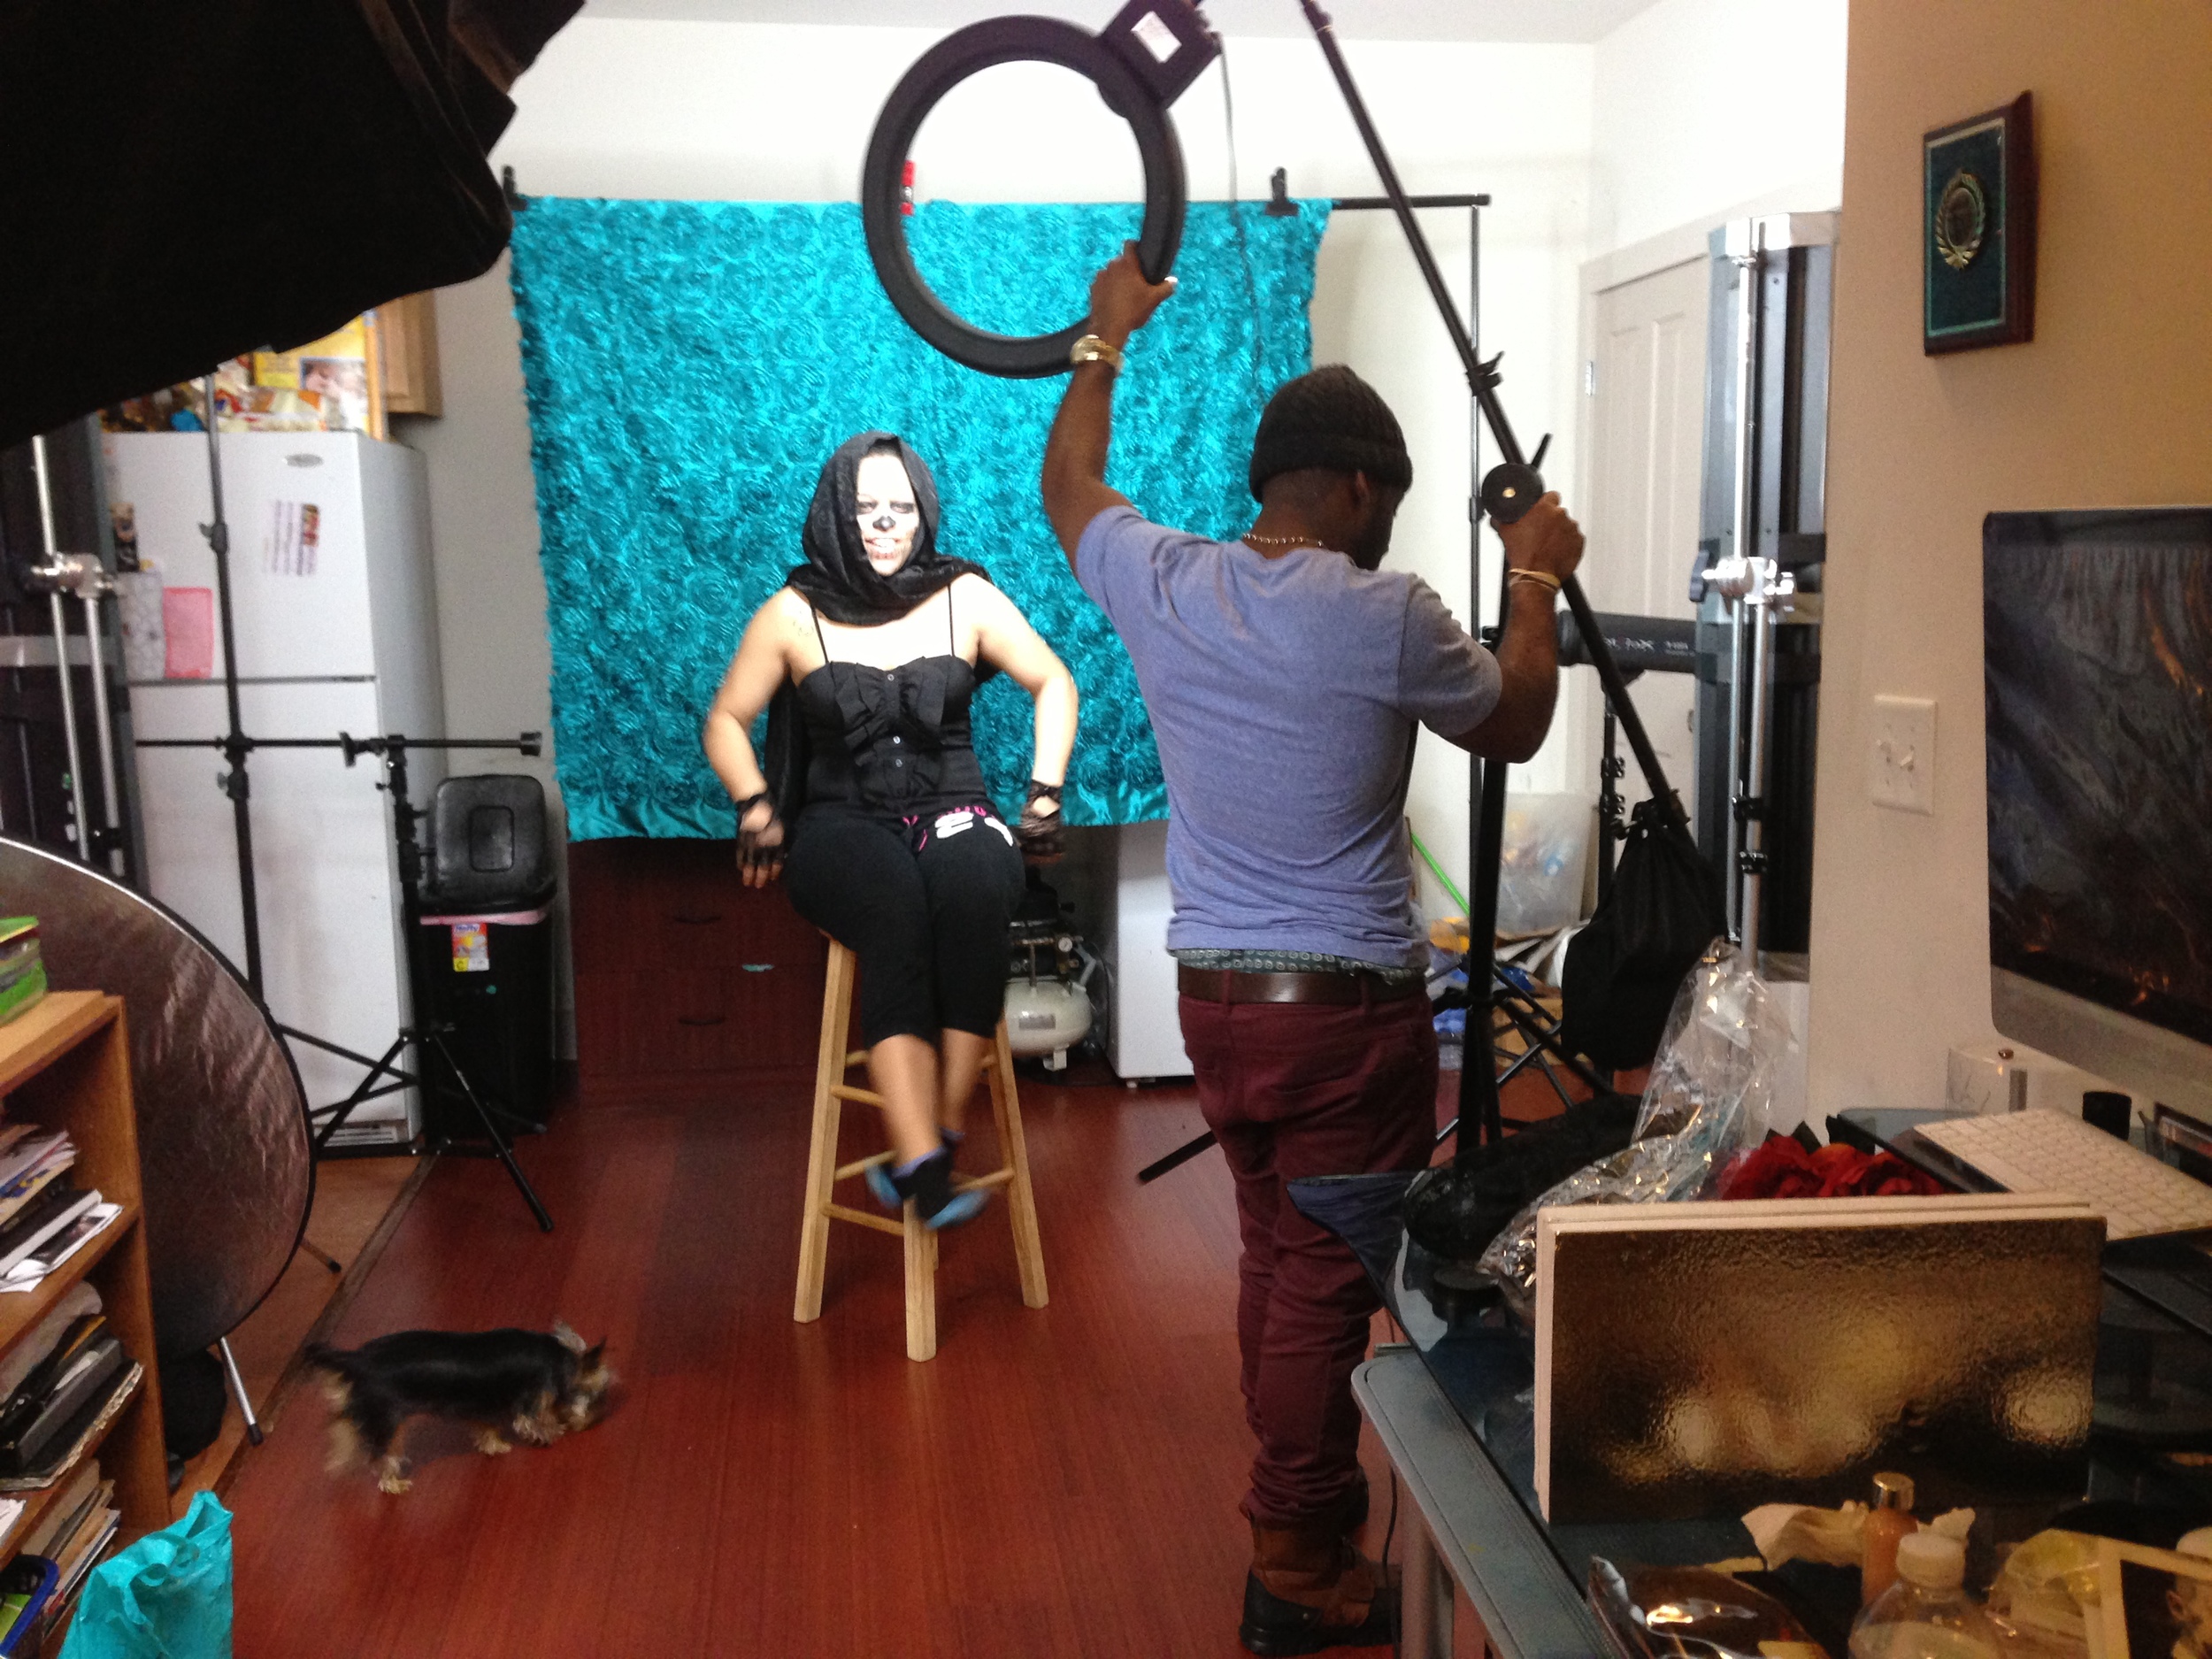
This is some what of an unofficial BTS of my last shoot with model Eliza. 
As I mentioned in the video I don't have the resources to give you guys an actual walk through of how I achieved these shots. 
So I put together a short clip then added some photos and explained my layout!! 
This set up is dummy proof you really can not go wrong shooting with this particular lighting setup, each and every time you will get consistent results. 

Camera: 
5D MarkII Lens 70-200mm is f2.8

Camera Settings:
F2.8, Shutter 1/1000, ISO100  200mm    
Lighting:
I constructed the two 4ft Fluorescent banks myself with appliances from Lowe's 120w each 
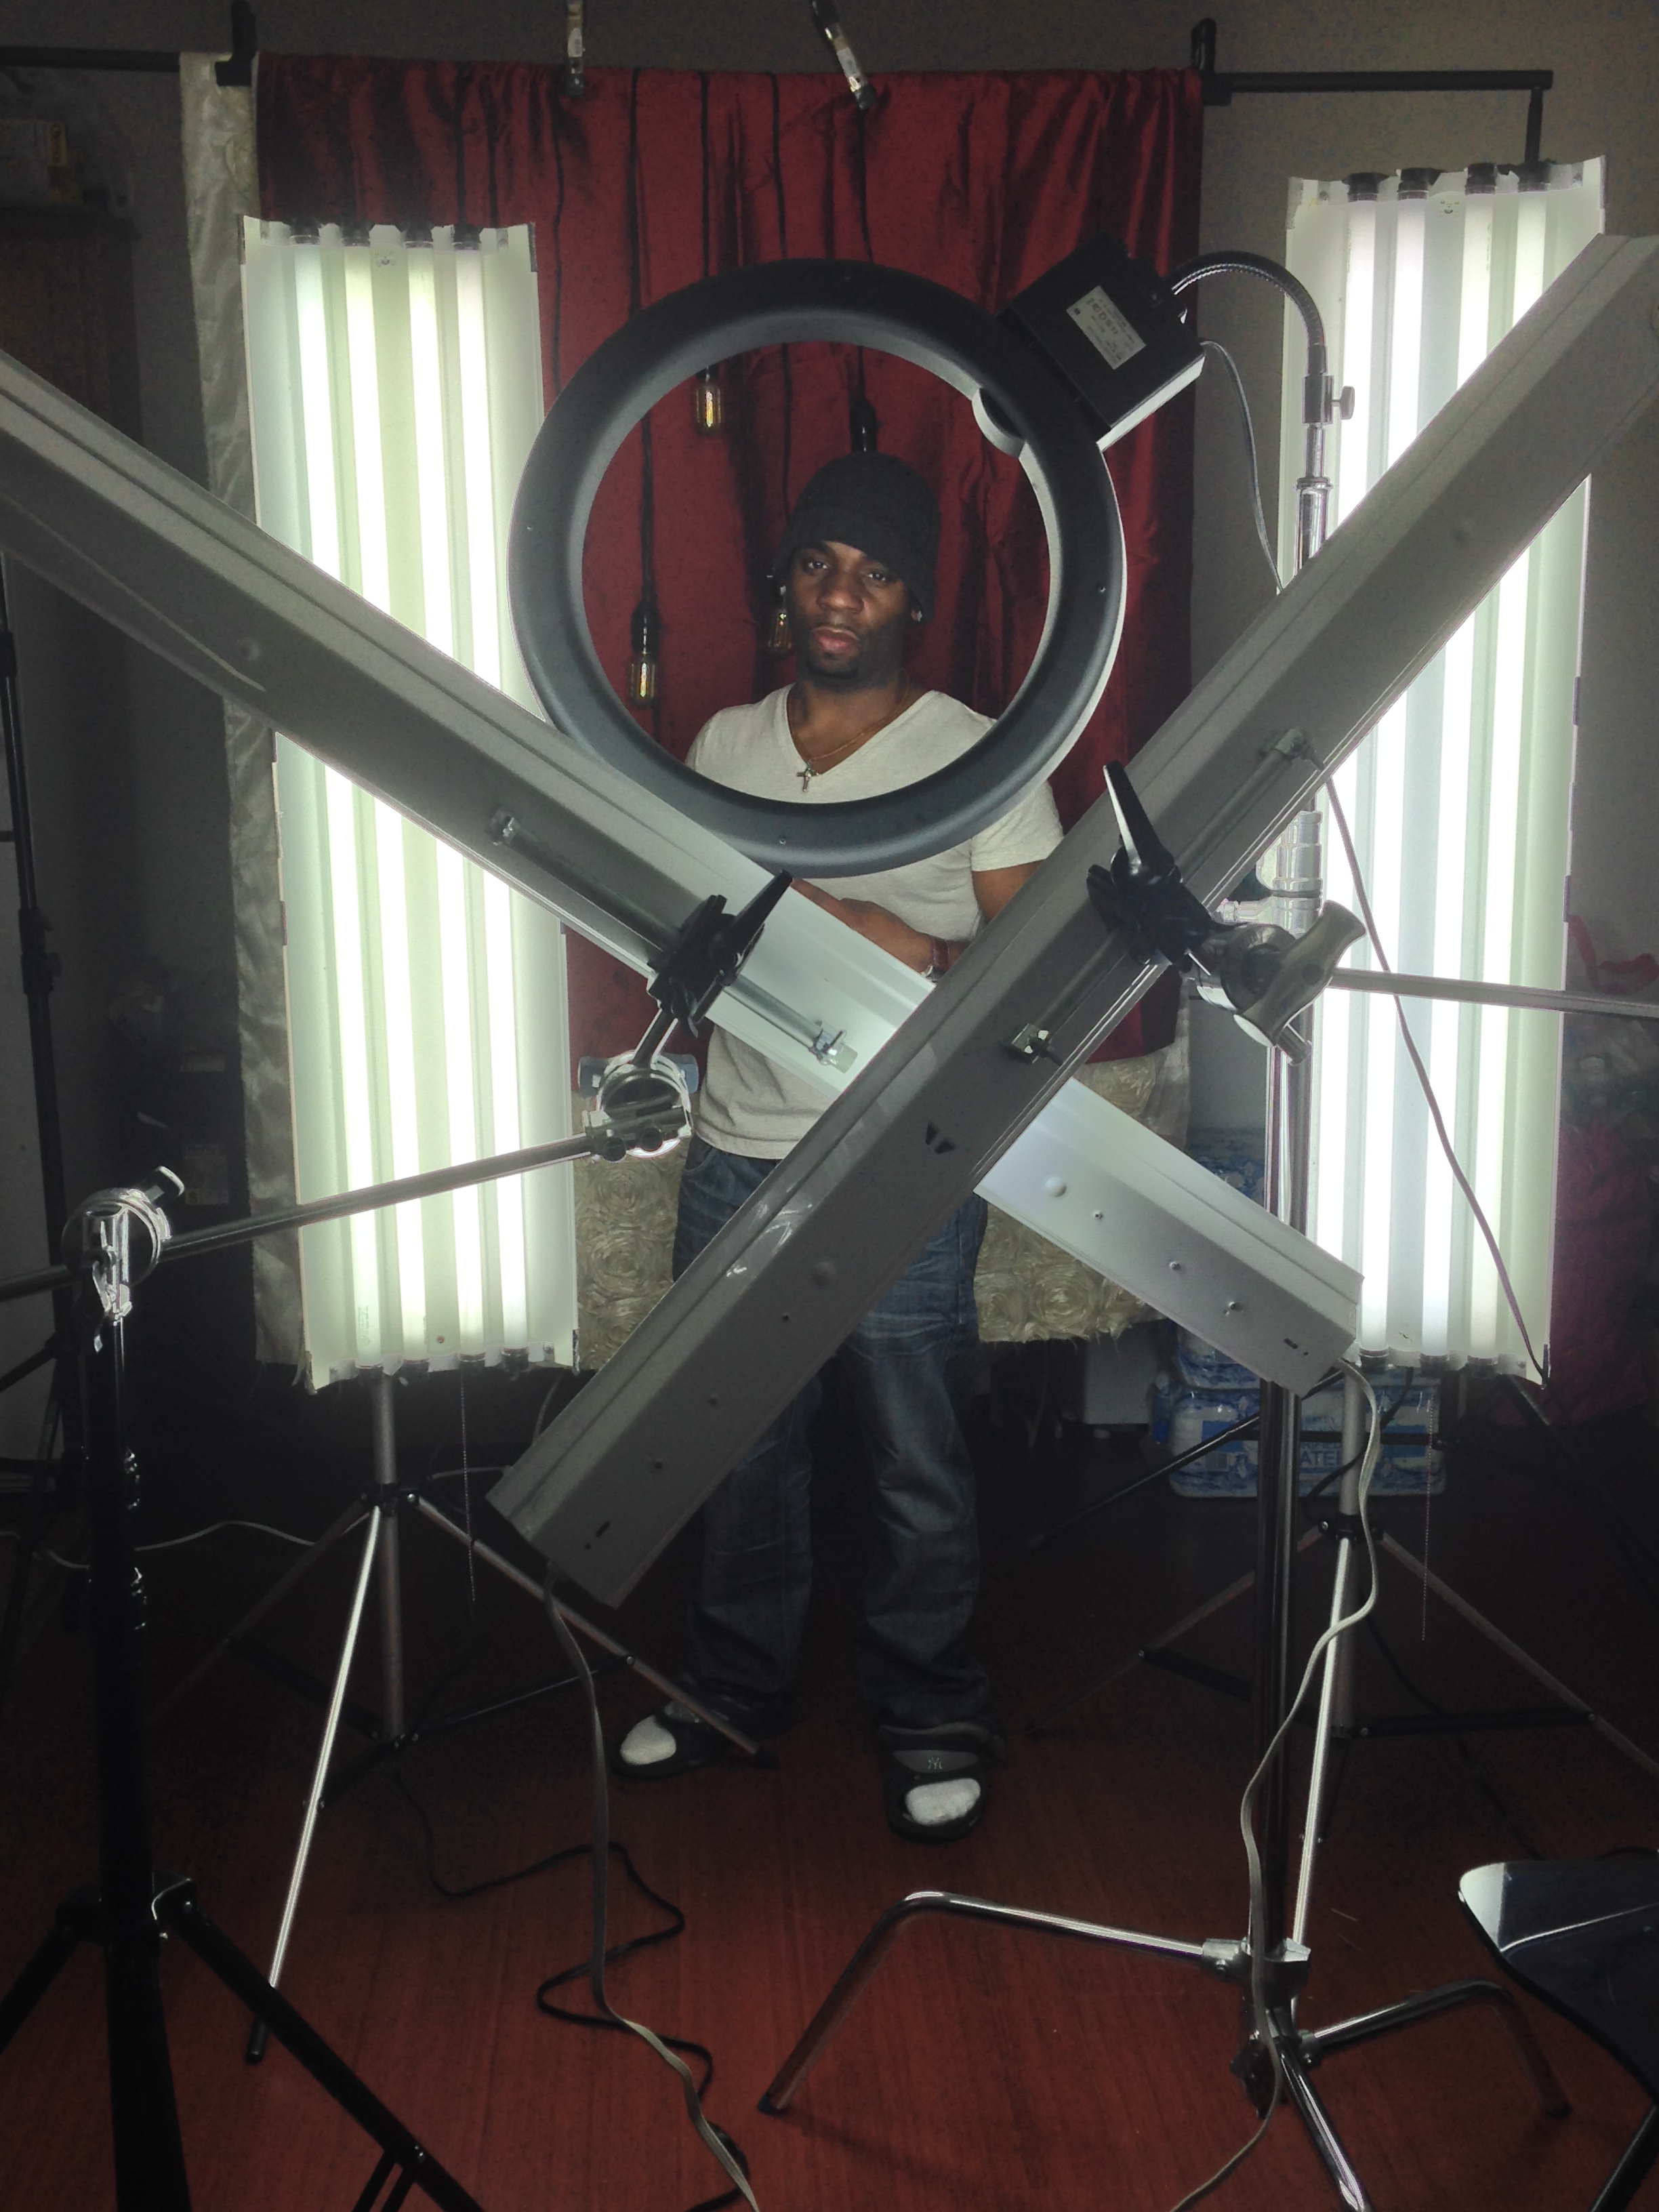
18in Diva Ring light 500w
I had the ring light for a while but never really used it. I wanted to use the ring light on this shoot but I wanted to use it in an interesting way so I got the idea to pair it with the 4ft lighting banks and it worked so well.

Post:
Bumped up: contrast, and vibrancy
Spot healing: to remove unwanted spots.
Clone stamp: blemishes and even skin tones.
Vignetting: darken the outer perimeter of the photo.  
Color Adjustment: to get a bluish tint in the color photos. 
Sharpen and Clarity: I used this mostly on the eyes to give them definition. 
Dodge and Burn: to lighten and darken areas of the photo

RightLight $165
http://www.ebay.com/itm/140674273995?ssPageName=STRK:MESINDXX:IT&_trksid=p3984.m1436.l2649

BackDrop $8 a yard http://www.amazon.com/Rosette-Satin-Blue-Munsell-Fabric/dp/B006ERRPLK/ref=wl_it_dp_o_pC_nS_nC?ie=UTF8&colid=37Y5XY1Z7IEBC&coliid=I38U3EHDSF49DZ

"How to achieve amazing catch lights in the eyes Pt.2

Photographer: Lorenzo Pickett 
Model: Julius 
Music: Produced by Lorenzo Pickett
 

This video was shot handheld using the iPhone5

I explained how using a ring light with some fluorescent lighting can get you some great photos. In this BTS video I show how I achieved the #poundsign catchlight in the eyes. I've seen photographers such as Lindsay Adler use this technique. Achieving interesting catch lights in the eyes is not as hard as it appears to be, it just takes a little of experimenting and tweaking. I thought to use a male this time around for my subject just to show you guys this look can look great on almost anyone. 

This setup is dummy proof you really can not go wrong shooting with this particular lighting setup, each and every time you will get consistent results. 

Camera: 
5D MarkII 
Lens 
70-200mm is f2.8
Camera Settings:
F2.8, Shutter 1/320, ISO100 Focal length 200mm. Subject distance 1.5m

Lighting:
Two 4ft, 4tube Fluorescent banks
Two 4ft, 2tube Fluorescent banks

How to achieve amazing catch lights in the eyes Pt.3

So here it is guys pt3 to "How to achieve amazing catch lights in the eyes. 
To see more photos from the session just swing over to my website!! 

Photographer: Lorenzo Pickett 
Model: Odemarys Olavarria 
Music: "December 10th" Produce by Lorenzo Pickett 

Shooting Settings

White Balance: Auto 
Shutter: 1/100
F/Stop: 2.8
ISO: 100
Focal Length: 170mm

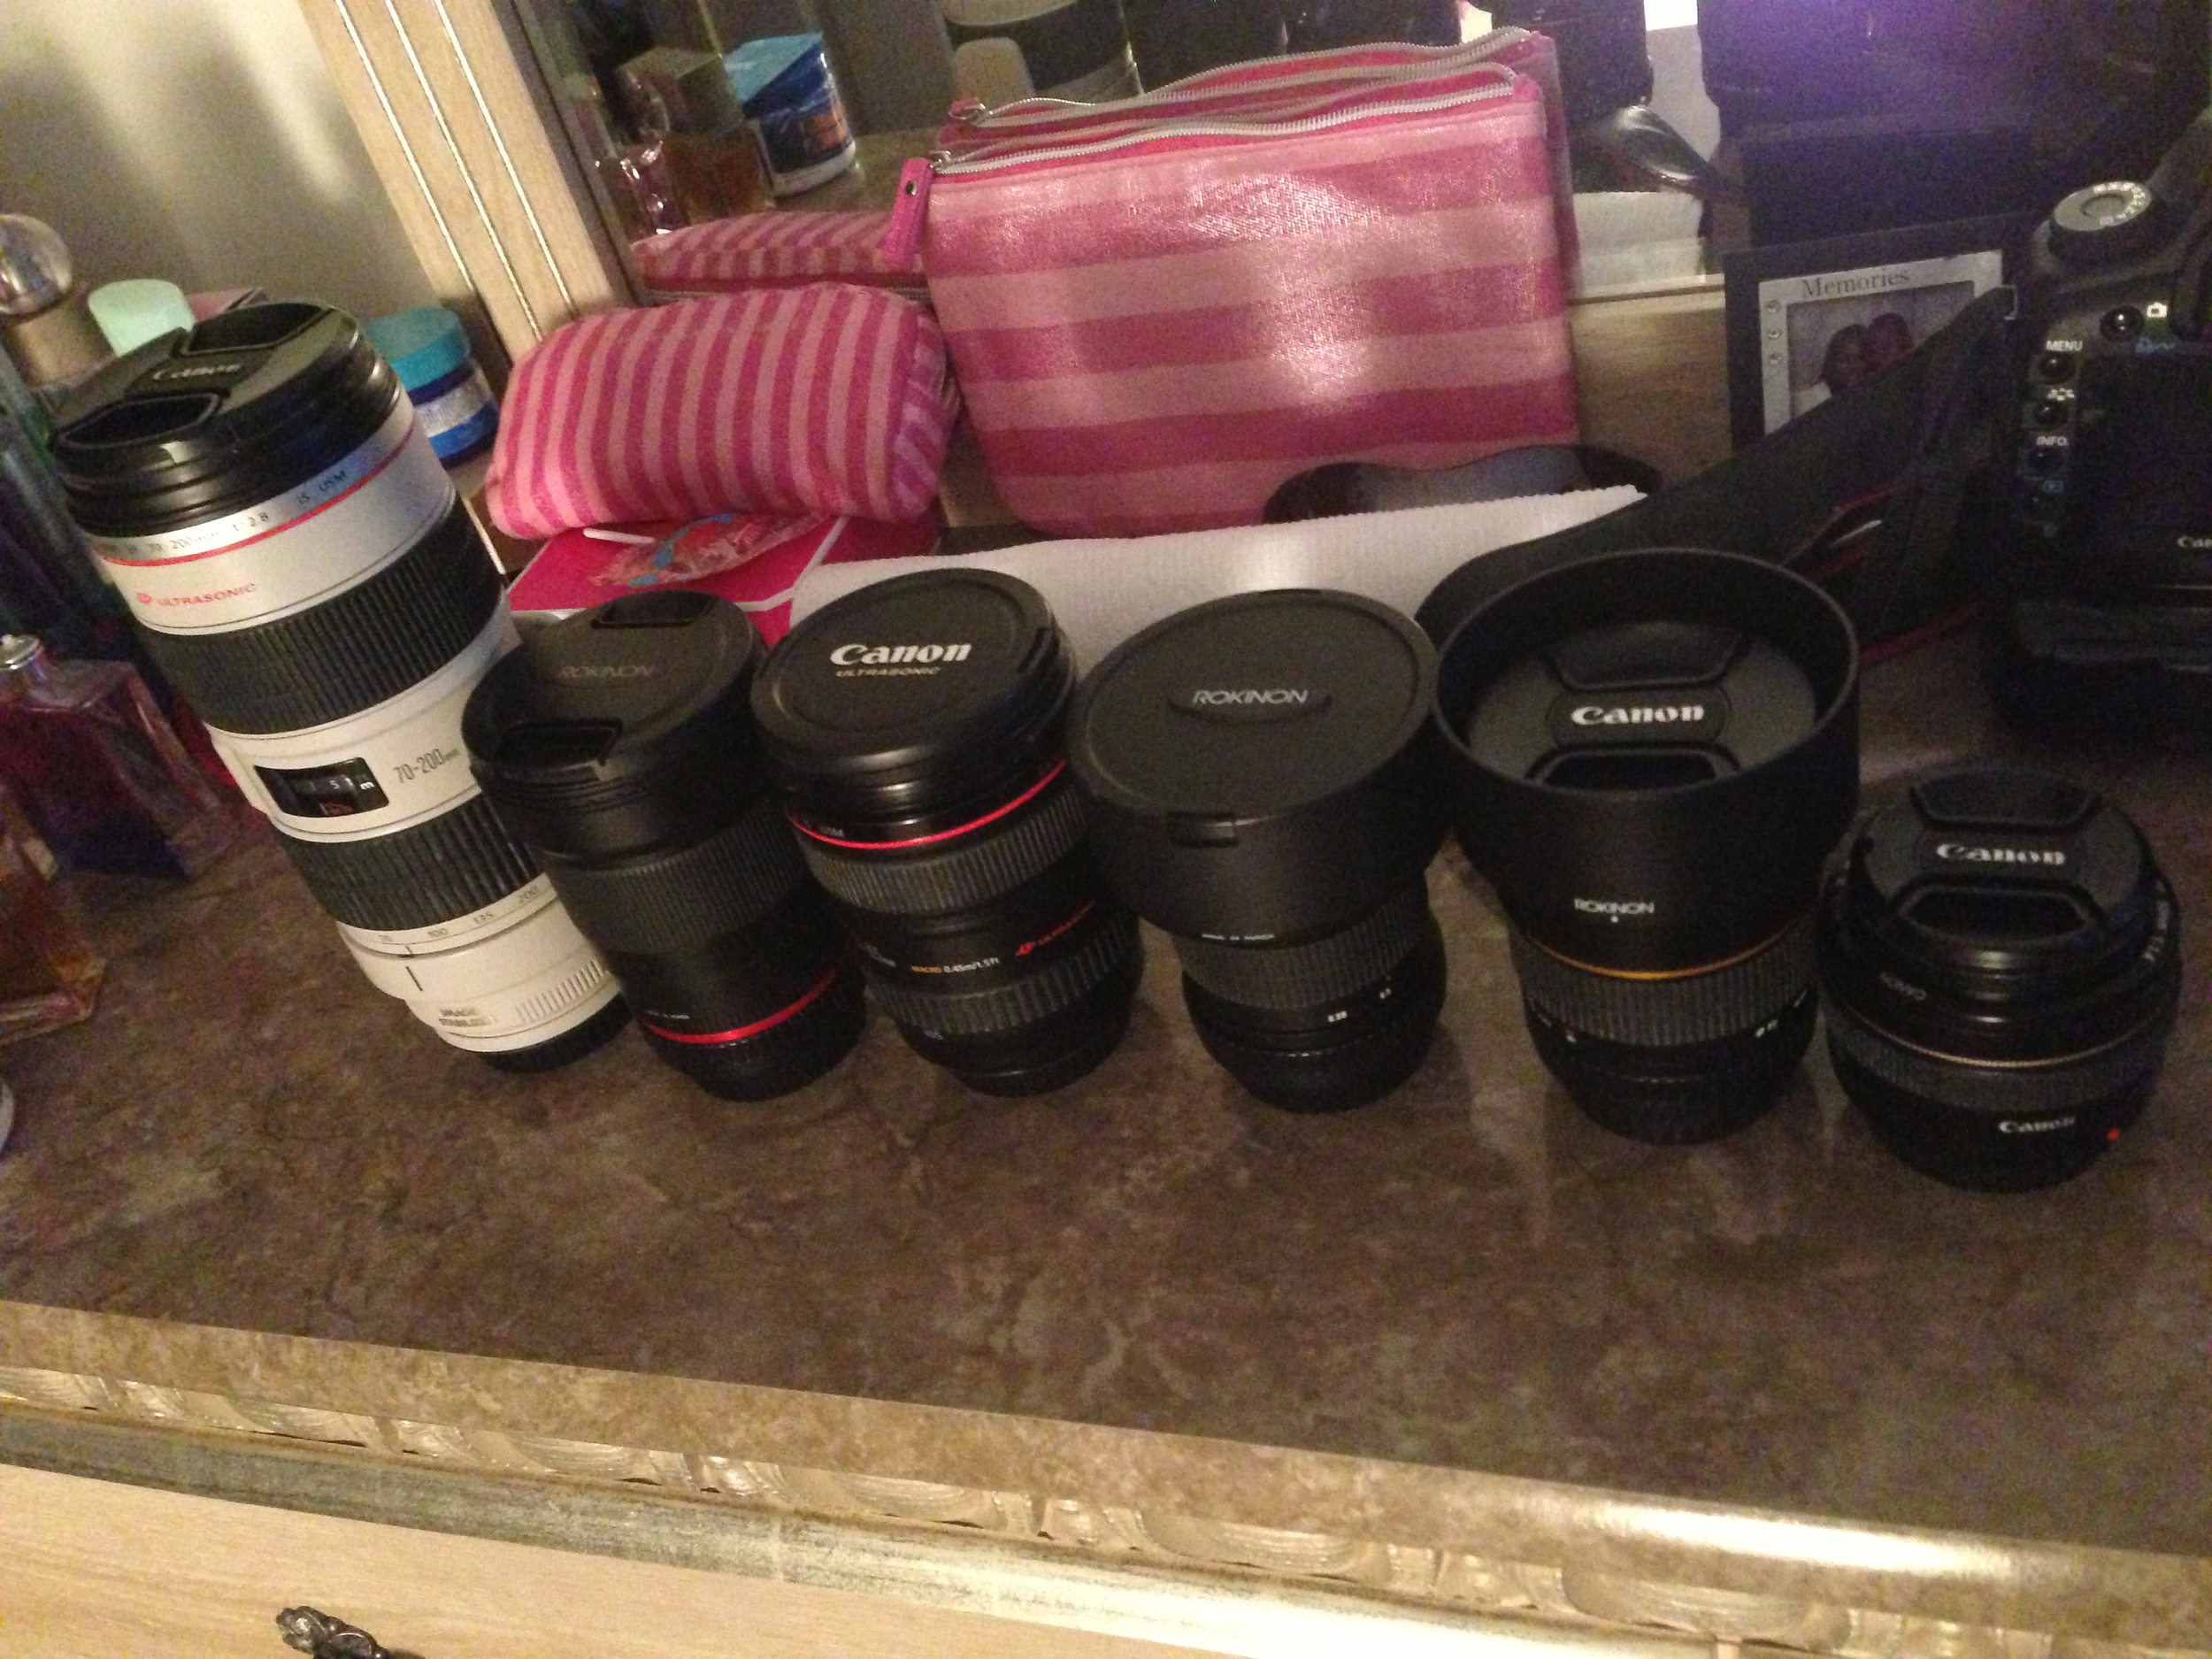
Camera Gear
5D MarkII 
70-200mmF/2.8 USMII
64GB Transcend CF Card
Tripod Gitzo G 2220
Avenger D520L 40" Extension Pole 
http://www.amazon.com/Avenger-D520L-40-Inch-Extension-Chrome/dp/B00127U9X8/ref=sr_1_1?ie=UTF8&qid=1393418750&sr=8-1&keywords=avenger+d520
Avenger D200 Grip Head
http://www.amazon.com/Avenger-D200-2-5-Inch-Grip-Chrome/dp/B001B1G3IK/ref=sr_1_1?ie=UTF8&qid=1393418789&sr=8-1&keywords=avenger+d200
Avenger E650 Baby Pin 8"
http://www.amazon.com/Avenger-E650-6-Inch-Collar-Silver/dp/B001AXKY70/ref=sr_1_1?ie=UTF8&qid=1393418929&sr=8-1&keywords=avenger+baby+pin
Manfrotto Super Clamp
http://www.amazon.com/Manfrotto-035RL-Super-Clamp-Standard/dp/B0018LQVIA/ref=sr_1_1?ie=UTF8&qid=1393418984&sr=8-1&keywords=super+clamp
 

Lighting
18' Diva Ring Light 500w
http://www.amazon.com/Photo-Video-Fluorescent-Ring-Light/dp/B00B64G2A6/ref=sr_1_2?ie=UTF8&qid=1393418673&sr=8-2&keywords=diva+ring+light
Lithonia Lighting Shop light: 
4' Fluorescent lighting 2 Tube Housing 64w 
http://www.homedepot.com/p/Lithonia-Lighting-2-Light-White-T12-Fluorescent-Shoplight-1233-SHOPLIGHT/203081577
4' Fluorescent lighting 4 Tube Housing 128w
http://www.homedepot.com/p/Lithonia-Lighting-4-Light-Grey-Heavy-Duty-Shoplight-1284GRD-RE/202968125

"The Beauty Dish"

The Beauty Dish is one of the most versatile and essential lighting modifiers in my little arsenal. Using the "BD" has dramatically improved the quality of my images, It is used on 95% of my shoots. I acquired the Beauty Dish in 2011 after my good friend John David Pittman, who is an amazing and talented photographer http://johndavidpittman.com/ ,highly recommended I immediately get one.  I was in limbo on making the investment so I called him up. He said to me, "Dude, don't think about it, just buy the 22" Beauty Dish...I promise you will not regret it!" I came to realization he was telling me to get one for some really beneficial reasons. I have to secretly admit I was not sold on it initially, I guess that can be contributed to my previous lack of knowledge on how to use it. I actually tucked it away for some time while I educated myself on its uses and functionalities. It was now time to experiment and put it to the test.

I had an up coming on location shoot I was preparing for and as I was loading my gear something just clicked. I scraped all of the soft boxes I packed and brought along a single Gridded Beauty Dish accompanied with a battery powered 600w Bowens strobe. My goodness, I was simply marveled at the quality of light I was able to produce with it. Not only did I have enough light to over power the sun, I had the perfect tool for sculpting it. I quickly caught on and now I'm using the "BD" on almost every shoot both on location and studio.

Mixed lighting became a thing of mine. Playing around with the "BD" I would mix and combine ambient, gelled, bare bulb, diffused, and gridded light to shape my subjects. I Once used only the modeling light from the "BD" at it's lowest power, to produce a dramatically lit low key image. Literally over night It became one of my "go to" lighting modifiers. The "BD" is infamously used throughout the fashion and beauty industry, hence the word "Beauty Dish." Some of the world's leading professional photographers such as Scott Kelby, Lindsay Adler, Joey L., Jeremy Cowart, Joel Grimes, and many more use the "BD" to create some absolutely stunning work. Your very own Kurt Von http://kurtvon.com/ ,founder of the "Light Shapers" website and fellow photographer also uses the Beauty Dish.

The "Beauty Dish" can be summarized as to providing 3 type of light sources:

1.Bare Bulb- Which is very intense, punchy, and dramatic

2.Diffusion Sock - Produces very soft flattering yet sculpted light

3. Gridded- The grid can be wrapped up as being very controlled and tightly focused light that ultimately has a fast fall off with little to no spill

Here are a some images I produce with the beauty dish:

Model: Casey. S.

Model: Casey. S.

Model: Dalilah. 

Model: Dalilah. 

Model: Teriana.

Model: Teriana.

Model: Latrice. 

Model: Latrice. 

Model: Casey. S.

Model: Casey. S.

Model: Amarie. S.

Model: Amarie. S.

Model: Casey. S.

Model: Casey. S.

Model: Angie. T.

Model: Angie. T.

Model: Eliza. L. 

Model: Eliza. L. 

Rapper: Serious Jones 

Rapper: Serious Jones 

Selfie lol 

Selfie lol 

Here are some great "BTS" videos using the Beauty Dish

Lindsay Adler 

http://www.lindsayadlerphotography.com


Andrea Belluso

http://www.belluso.com/


Now understand that I am not at all trying to advertise a product, or force anyone to go run out and purchase one, however if you are in the real estate of portrait and beauty photography I recommend taking the dive. I just wanted to share my experience and info on one of my favorite modifiers. Photographers who already own a Beauty Dish will concur with it's wonders. Hope you guys enjoyed!!! 

"Photoshop User Magazine" Featured Photographer

Super excited to announce I am the Featured Photographer in July's issue of "Photoshop User Magazine" If you know the "Photoshop User Mag" you know it is a big publication. I have a nice 3 page spread going on! Hard work, determination, passion, drive, and my blessings are all the things that have lead me to this point! I want to thank everyone who has ever supported me, also I want to give a big shout out to all the individuals who took part in this creative process!! This issue hits new stands July 29th


84723754722772414951484619700328.jpg
Featured Photographer3_MG_5314.jpg
Featured Photographer2_MG_5314.jpg
Featured Photographer1_MG_5314.jpg